Skip to primary navigation
Skip to main content
Skip to primary sidebar
Skip to footer
About
Connections
Blogroll
Printables
I’ve Been Featured
Link Parties
Random
A Pinch of Joy
Eat Healthy, Do it Yourself, Live Well, Have Fun.
Snacks
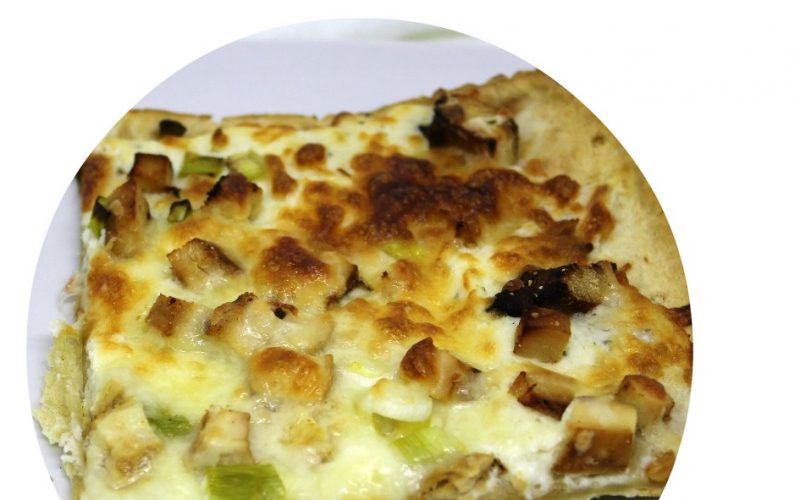
Quick and Easy Chicken Ranch Pizza
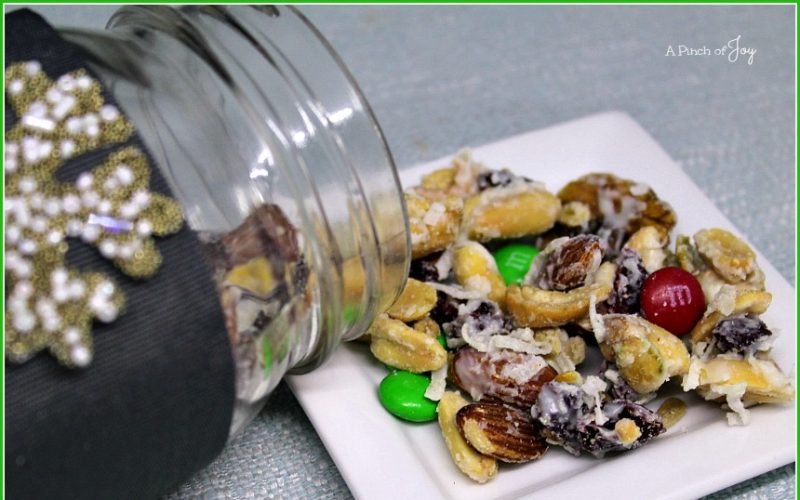
White Chocolate Nut Crunch
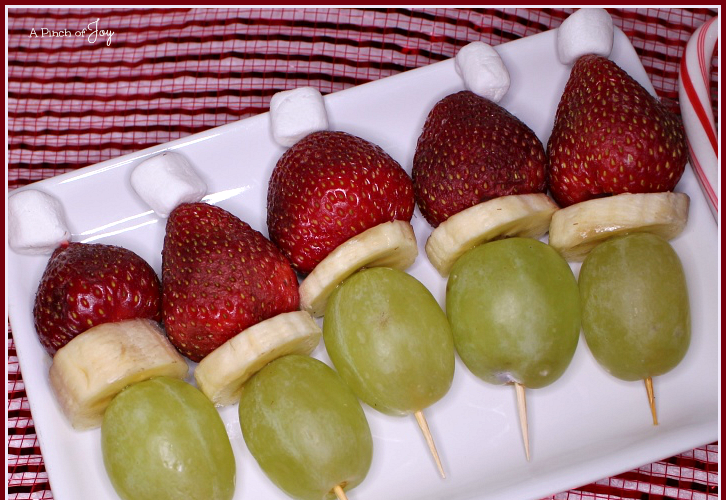
Grinch Kabobs
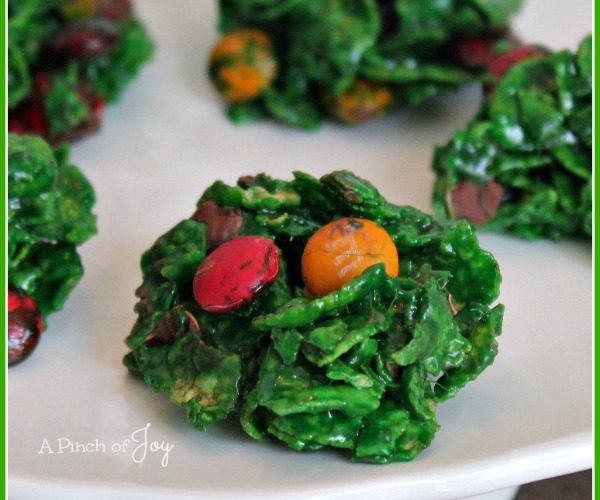
Smashed Frogs – Halloween Candy
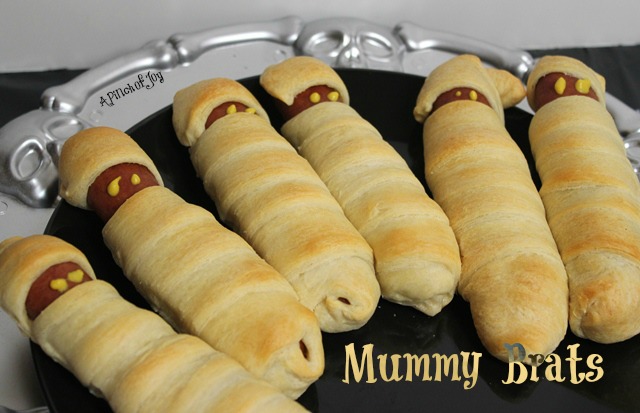
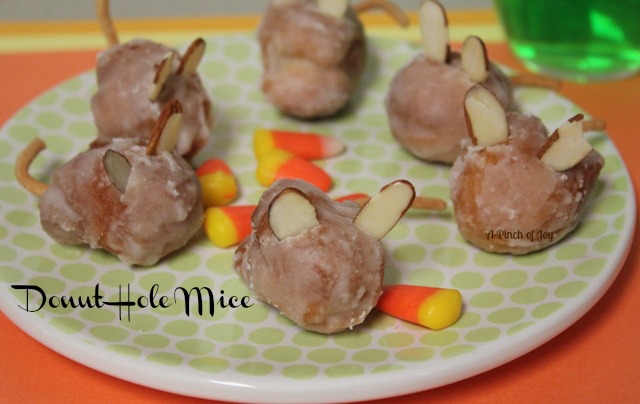
Five Fun Foods for Halloween
Halloween Party for Preschoolers: Snacks