The office is completed and everything (well, the computer, at least!) is where it now belongs! This was one of the quickest makeovers we’ve done, especially considering that it was not even on the radar until I spotted a new desk. It just grew from there with one thing leading to another! We are really happy with the results and it was definitely worth the upheaval! I’ll share a few steps we took along the way and by then everything will truly be in place and you can see the happy ending!
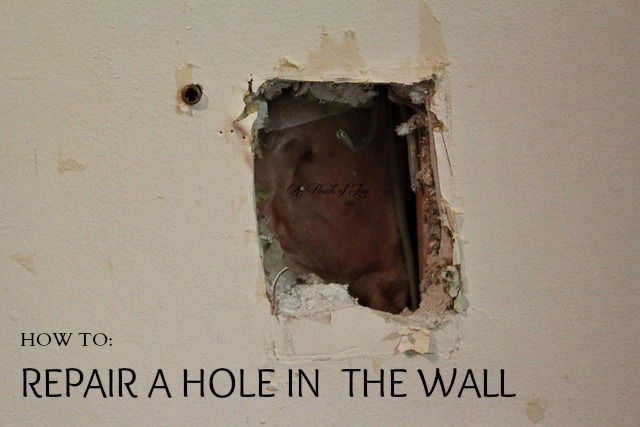
First there were some repairs. This ugly hole was from an old telephone connection about eye level on the wall – never used since we owned the house. It had been covered by a blank plate but was still an eyesore and was always in the way when trying to place anything on the wall.
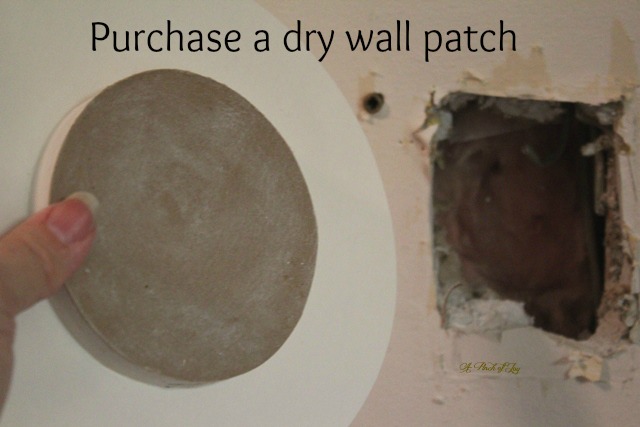
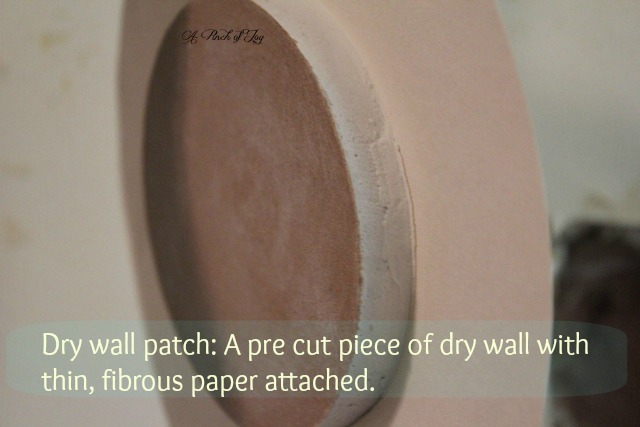
First step was to purchase a standard dry wall patch, although you could make your own if you have some drywall left from a previous project. Bytes noted that this was the size of a man’s fist. I didn’t ask how — or why — he was able to make that correlation! The attached paper is very similar to the material used for dry wall tape. It is what holds the patch in place and allows the joint compound to form a smooth surface.
Besides the dry wall patch, you will need joint compound. You can purchase this premixed in small quantities, or a larger container if you know you will be doing other projects. To store joint compound, clean the sides (on the inside) of the container and place a piece of clear plastic wrap directly on the mixture before snapping the lid on tightly. You will also need a good broadknife. Our container of joint compound came with a plastic applicator shaped like a broadknife that works if you are doing this only once. But a good metal broadknife makes the job so much easier and faster with better results. It is definitely a good investment for a homeowner!
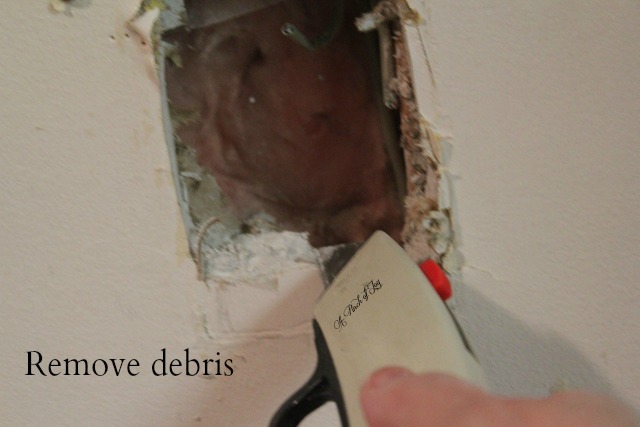
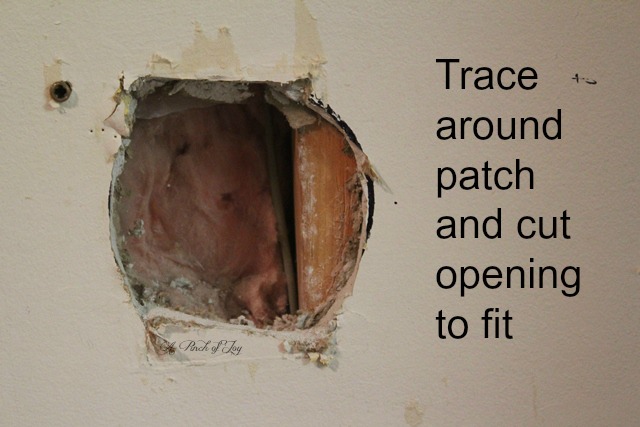
Remove debris from opening with sharp utility knife. A good utility knife with adjustable blade is another good tool for every homeowner to have in their kit! For this project, we first removed the box and the exposed wiring that was no longer functioning. (If you are removing an old electrical outlet, double check to be certain the wires are not carrying electricity before touching them!)
A template is provided with the drywall patch. Center it over the hole and trace the outside edges. Use your sharp utility knife to cut the opening just inside the traced lines. Boxes for phone or electrical connections are usually installed next to a wall stud. Placing part of your patch over the stud, when possible, gives the patch more stability.
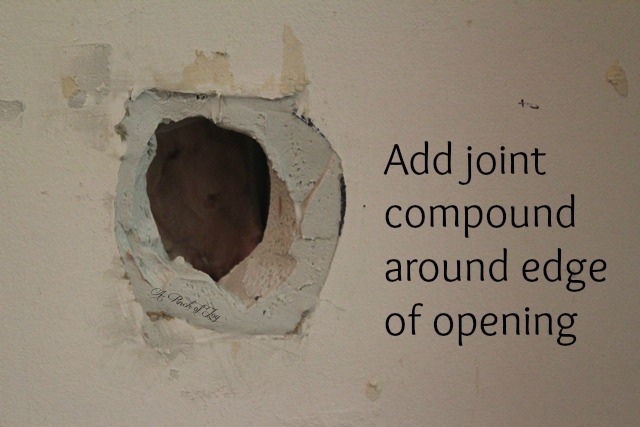
Use the applicator or your broadknife to add joint compound around the inside edges of the opening. Note the brown plastic molly insert is now gone. Use a pair of needle nose pliers to pull them out of the wall before filling hole with joint compound.
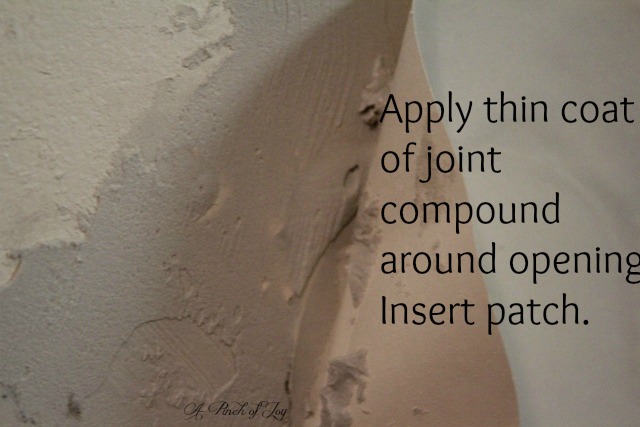
Apply a thin layer of joint compound – barely an eighth of an inch – around the perimeter of the opening. Carefully insert the dry wall patch into the prepared opening. Press the covering paper gently into the layer of joint compound so that it adheres to the wall.
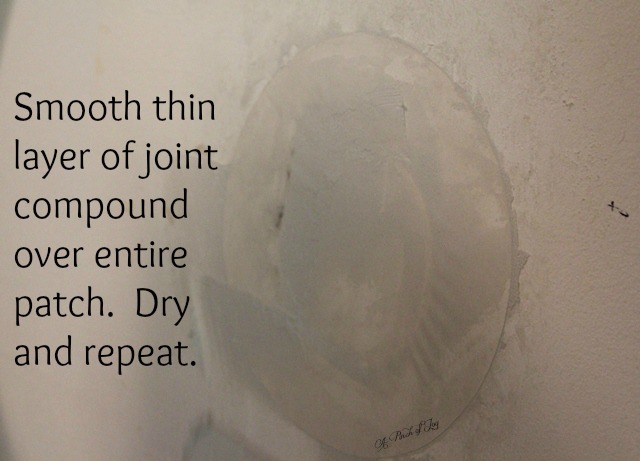
Apply a very thin layer over the entire patch to fill in any indentations. Broad, firm strokes will give you the most control. Let dry — the dark patches will disappear and color will be uniform. Apply a second thin layer over the entire patch. Feather out the edges beyond the patch. Feathering out the joint compound to nothingness is what makes the patch invisible.
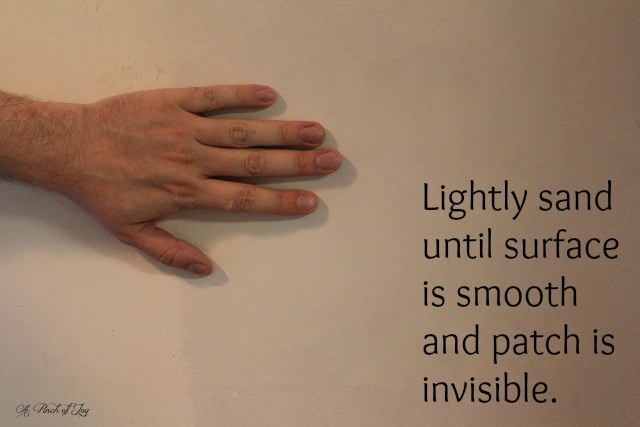
If necessary, lightly sand dried surface to remove any irregularities. Ours did need a third very thin coat of joint compound to make it smooth, but needed very little sanding. The patch is at Bytes fingertip and below.
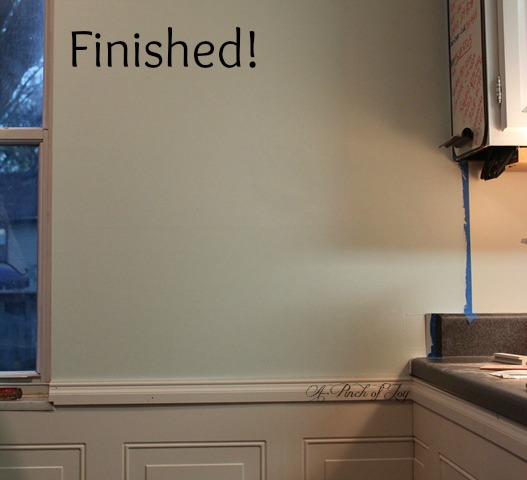
All done! And that homeowner’s lament: Why didn’t we do this sooner?!!!!
Amazon sells kits with everything with everything we used. Order a kit and save time wondering through the hardware store. Drywall Hole Patch Repair Kit
Don’t miss a thing — subscribe by email or RSS feed, follow on facebook or twitter to catch the latest post! If you found this post interesting or helpful, please share with others by giving it a Stumble, Tweet, Pin, or Facebook Like. Your support of A Pinch of Joy is greatly appreciated!
This product presentation was made with AAWP plugin.
Discover more from A Pinch of Joy
Subscribe to get the latest posts sent to your email.


 Welcome! I’m Charlene. I love to share quick and easy recipes, whatever I’ve learned in our last DIY project – anything that helps make life easier, better and more fun!! I hope you will find inspiration and add a pinch of joy to your day!
Michelle Muckala says
This is amazing! I have a hold I need to fix but have no clue what to do with sheetrock, so I put a picture over it lol! This actually makes me feel like hey, I can do this! My husband is not handy AT ALL. Thanks for sharing, I found you on Homemaker on a Dime 🙂
Karima says
You make it look so easy! I leave that kind of work for hubby – but it is still useful to know!