Being the hardy shade plant that they are, hostas will tolerate division from spring until about a month before frost. They need plenty of water the first couple of weeks to help get over the shock and cool conditions will certainly help them reestablish themselves. Don’t expect much new growth until the next season. Most medium sized or small hostas will be ready to divide again in 3-5 years. Larger ones may not need dividing for 8 or 10 years. When the stems and leaves circle around an empty middle, it is definitely time to divide. Otherwise divide when the plant becomes too large for its space or you want to increase the number of hostas in your garden.
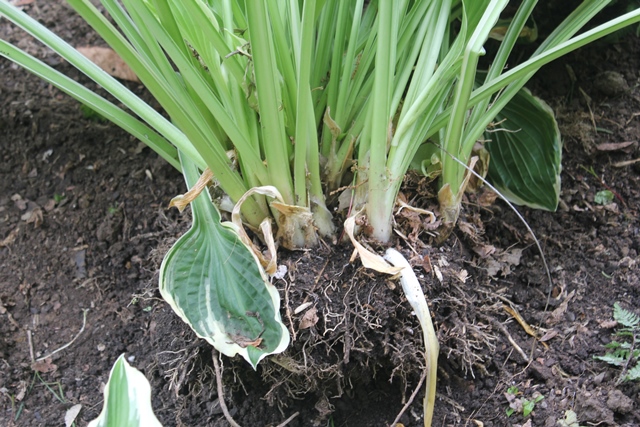
Most hostas can be lifted out of the ground for dividing. Use your spade to cut a circle around the plant about 4-5 inches out from the stems or shoots, cutting to a depth of 8-10 inches for medium sized hostas. Then work the spade under one side of the circle and begin to leverage the root ball out of the ground. I prefer to do this because you can more easily see what you are doing and cut through in the right places. If the hosta is so large you can’t work it free, you may have to divide the main plant in the ground.
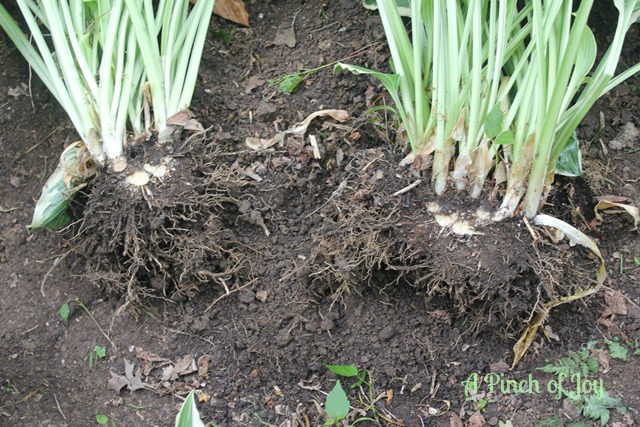
Look at the base of the plant, removing dead leaves and debris if needed, and you will be able to pick out clumps of stems. Some plants have very clear divisions, but others you’ll have to search a bit. I try to make sure that each division has at least three of those little clumps or families because I want to maintain a full lush look. However to expand the number of hostas in your garden, you can divide and plant each single clump.
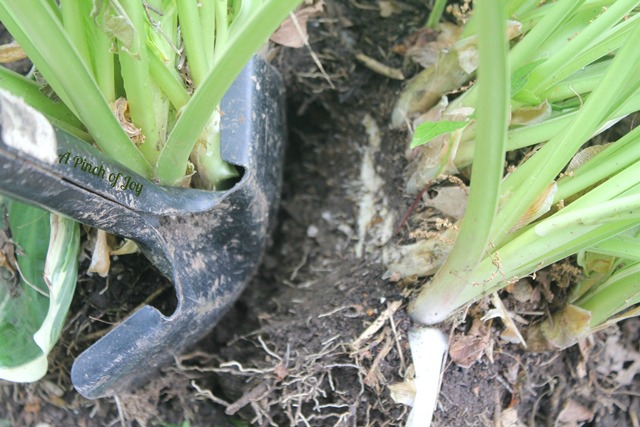
Insert your sharp spade between the clumps and cut through the rhizome (fleshy white part where the stems originate) as cleanly as possible. Sometimes you may be able to separate the clumps by hand and break the rhizome at the point it connects to others.
Most of the time, I just cut through where it seems most logical and have had good results. It may be necessary to use a sharp knife to cut through the rhizome if it is very large, however. You may lose some stems and leaves in the dividing process, but that’s okay. Handling roots and rhizomes with as little damage as possible is the important thing.
Place each section in their new location, using peat moss or organic material added to the soil. With heavy clay soil in my garden, I also add bagged top soil to every new hole. The bottom of the stems should be at the same ground level height as in the old location. Tamp soil firmly around stems and water. Make sure that plants receive an inch of water each week during their first season – especially in warmer weather.

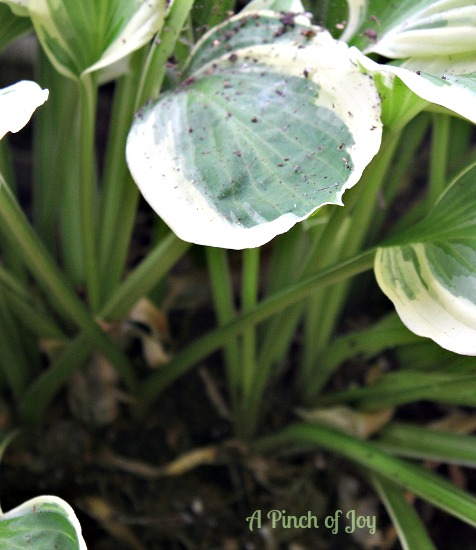
I’ve planted shade annuals – mostly impatiens– as a border around this small hosta garden forever. I’ve recently collected a variety of different hostas so I decided to group them together. Love the interplay of sizes and colors, different shaped leaves. This may be a keeper!
I’m so glad you stopped by today! Be sure to follow A Pinch of Joy so you don’t miss a thing! If you found this helpful, please share on your favorite network by clicking one of the buttons on the bottom of this post.
Discover more from A Pinch of Joy
Subscribe to get the latest posts sent to your email.

 Welcome! I’m Charlene. I love to share quick and easy recipes, whatever I’ve learned in our last DIY project – anything that helps make life easier, better and more fun!! I hope you will find inspiration and add a pinch of joy to your day!
Lori @ A Bright and Beautiful Life says
Good info… Thank you. Now I need to go out and divide some of my hosts.
Lori @ A Bright and Beautiful Life recently posted…Chocolate Ice Cream ~ What’s your style?