The wood floor had been installed in the powder room a few years ago. And then everything came to a standstill while I debated on the color. Color swatches hung on the wall and we had almost come to a decision, when someone said it looked like an Easter egg factory had exploded in our bathroom. Trauma! Another year went by before we came back to the powder room project. And selected the color we liked the first time around. Stripped the wallpaper and painted the walls. And loved it.
Loved the color so much that we went right ahead and painted the dining room just a shade lighter. And did a bunch of other projects in there. Are we the only ones who bring things to a screeching halt in one project to head off and do whole ‘nother project somewhere else?
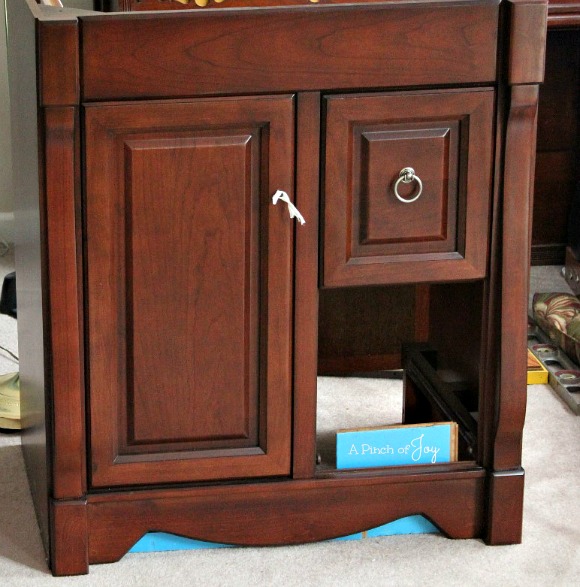
Selecting a vanity was easy. The room is only thirty inches across so that limited the choices a lot! I can’t do a lot of acrobatic cleaning moves (due to a long ago auto accident) so that directed our choices to a vanity that was snug against the walls. Here we are deciding how to place a kickplate behind the legs of the vanity so that it is easier to clean in this small half bath.
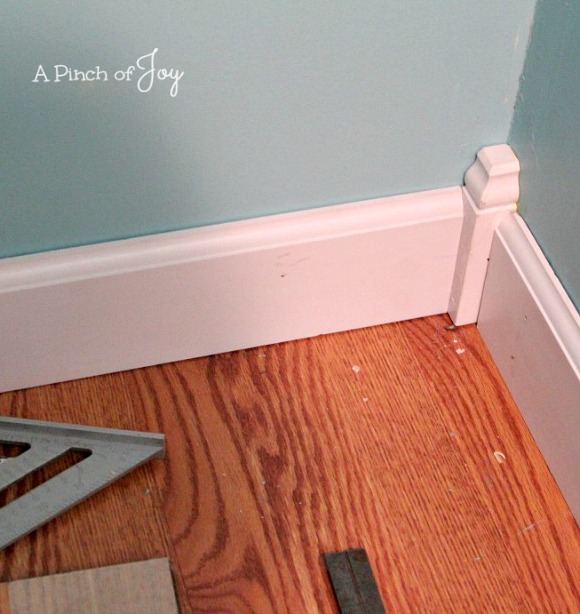
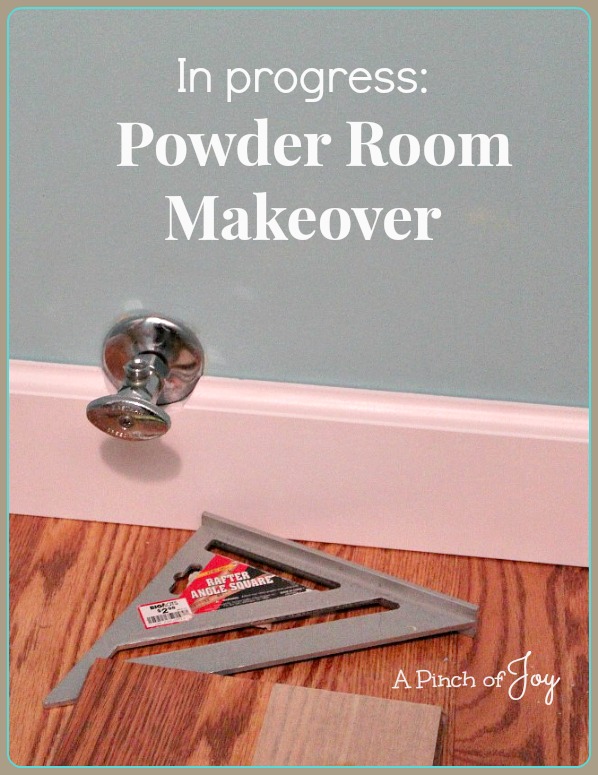
We added baseboard. I bought primed trim and gave it a coat of our chosen white. Bytes cut it to size and nailed it in place. We used the corner pegs so we didn’t have to miter the corners, since we still considered ourselves beginners at this kind of thing! He also had to cut one piece of baseboard around the plumbing as shown in the title picture above. Here the baseboard had just been installed and I still had to caulk the gap between the wall and baseboard and then another quick coat of trim white to hide the nails and installation scuffs (told ya we were beginners!) .
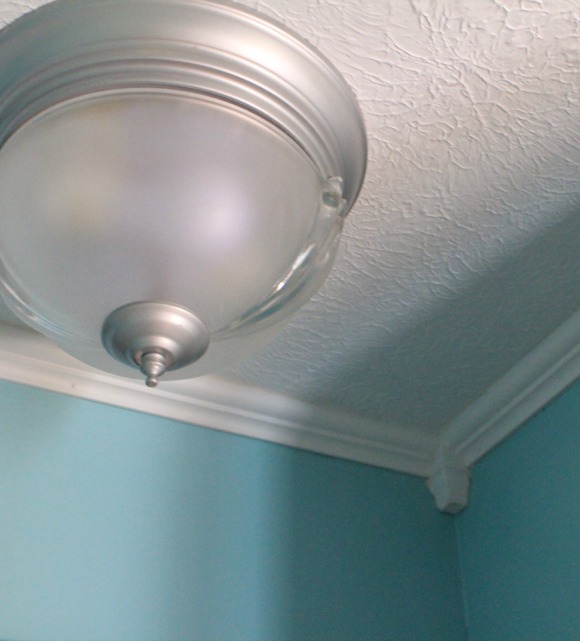
Next was crown moulding. I didn’t want to use the larger moulding because I was afraid it would overwhelm such a tiny room. Plus the soffit above the sink creates odd angles at the ceiling and the large moulding would really emphasize that. Removing the soffit is not an option since it is full of plumbing for the laundry room above. We used a small inch and a half moulding. Bytes took the same corner pegs we used for the baseboard and cut them down so they fit the moulding.
I’d love to find a sleek modern chandelier that would fit this room. But for now, I turned the shiny nineties brass to matte nickel with my trusty spray!
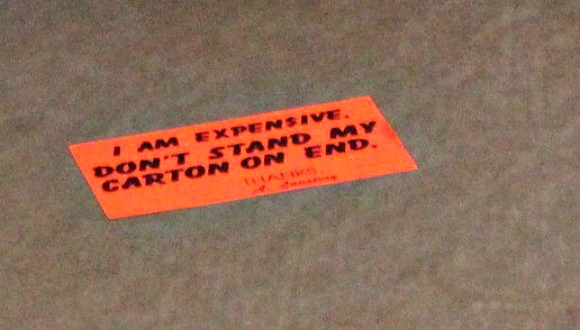
This sign on the vanity top box made me laugh. Every makeover project should come with a warning sticker — “I am expensive”! Because this room was small and we did all the work ourselves, the cost was quite reasonable. And the lessons we learned for future projects — priceless!
Next time: The Reveal!
I’m so glad you stopped by today! Be sure to follow A Pinch of Joy so you don’t miss a thing! I’d love to have your company on this venture!!
Subscribe: email on the sidebar or follow on Facebook / RSS feed / bloglovin’ / twitter and check out my pinterest boards. Share: if you found this helpful or inspiring please click one of the buttons below! Your support of A Pinch of Joy is appreciated!
Discover more from A Pinch of Joy
Subscribe to get the latest posts sent to your email.

 Welcome! I’m Charlene. I love to share quick and easy recipes, whatever I’ve learned in our last DIY project – anything that helps make life easier, better and more fun!! I hope you will find inspiration and add a pinch of joy to your day!