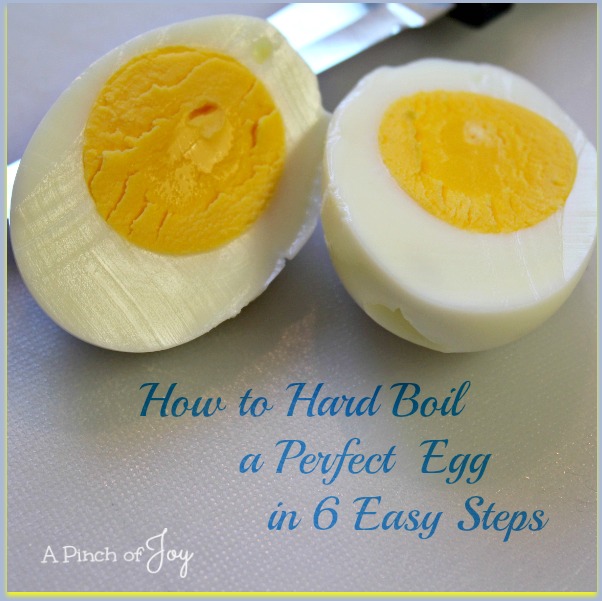
A perfect hard boiled egg. Great for salads, deviled eggs, breakfast, protein source and more. Whatever use you have for hard boiled eggs, it is so easy to make them so they turn out perfectly every time. No green ring — no rubbery white — no stubborn shell that refuses to come off — everything comes out right.
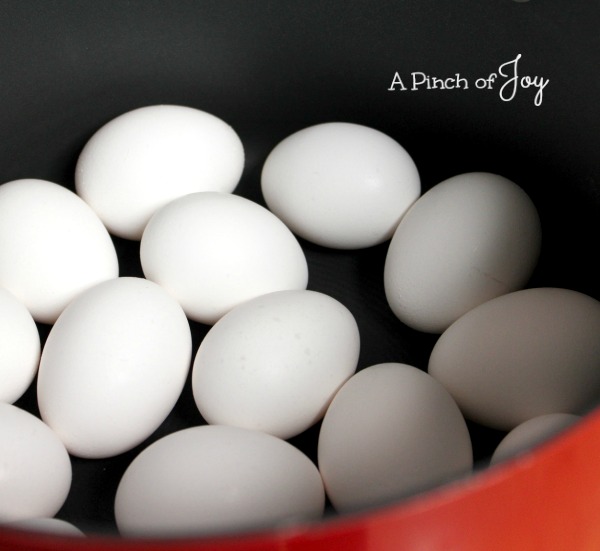
Step 1: Place eggs in a single layer on the bottom of a large pan. For easy to peel eggs, choose ones that are at least five days old. New or farm fresh eggs are hard to peel and are notorious for taking chunks of white with them. I usually have older eggs in the refrigerator since they are one thing I always try to have on hand, but for Easter or when I know I will want to serve egg salad or have deviled eggs, I buy an extra dozen about a week ahead of time.
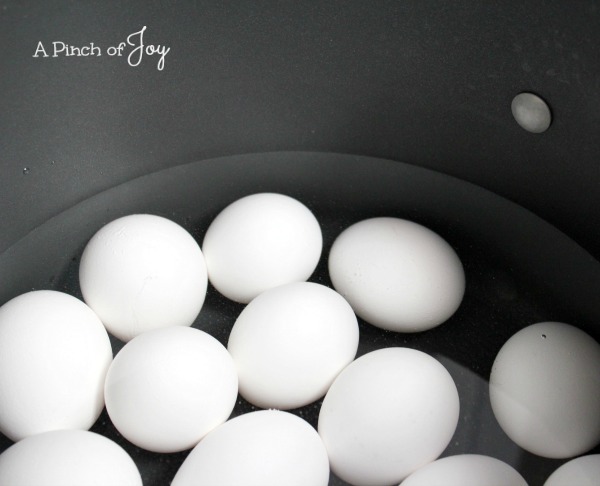
Step 2: Cover the eggs with water to a depth of 1 to 1 1/2 inches above the eggs. Water temperature should be on the lukewarm scale — not hot and not cold.
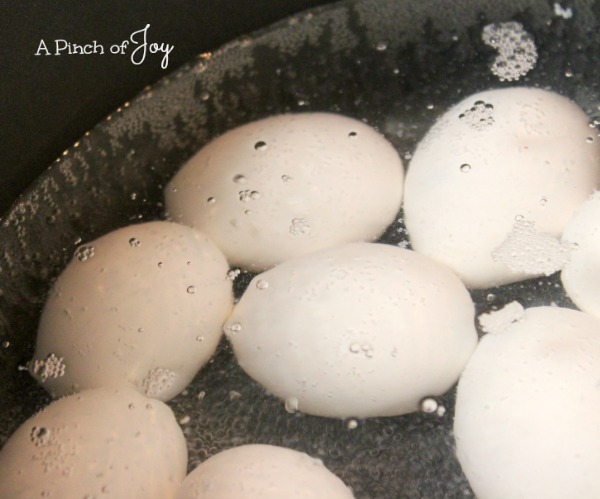
Step 3: Place pan over medium heat, uncovered, and heat just until water begins to boil. Time will vary depending on the number of eggs and size of pan.
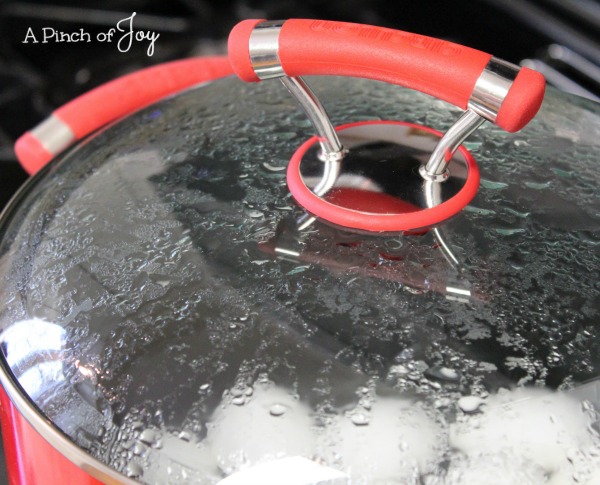
Step 4: Turn off heat. Cover tightly and let set for 12 minutes (14 for larger eggs).
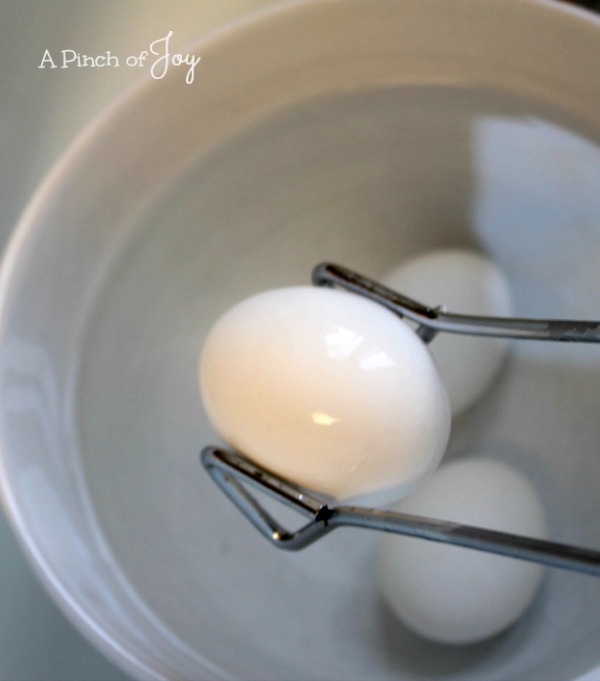
Step 5: Remove cover from pot and, using tongs, plunge eggs immediately into cold water. You can also drain hot water (carefully and away from little ones) and fill pot with cold water or ice cubes. The cold water stops the cooking process so the white does not become tough and the green sulfur ring does not form. It also helps separate the shell from the white. 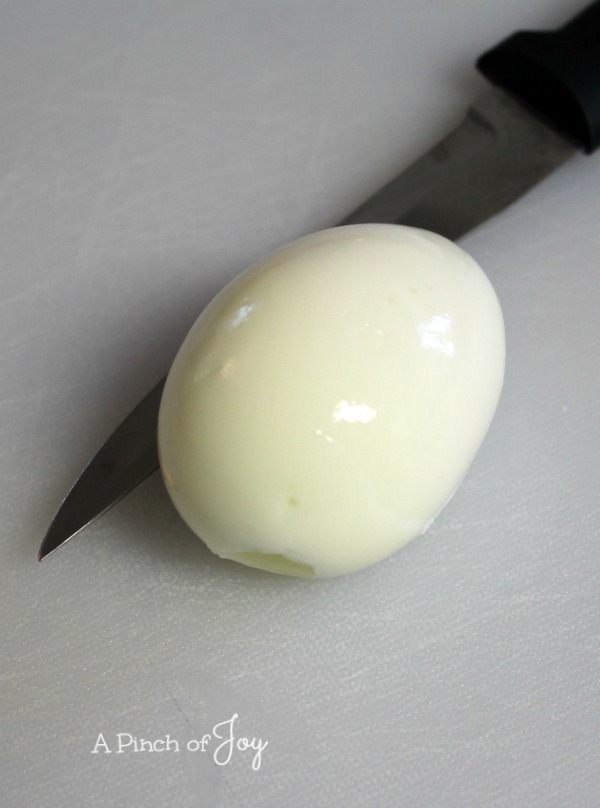
Step 6: To use eggs later, return them to their original carton after cooling and store in the refrigerator. Marking HB on the carton, at least, and preferably each egg is the rule at our house. IF not marked, remember hard boiled eggs will spin and raw ones will not. (Why do you think I know that little tidbit? See above rule / guideline / mom said thing. Got it? ) Hardboiled eggs will keep for up to one week, refrigerated. When ready to use, break the shell by tapping the egg on its large end where the air bubble rests. Gently separate the shell from the egg and enjoy!
I’m so glad you stopped by today! Be sure to follow A Pinch of Joy so you don’t miss a thing!
Subscribe by email on the sidebar or follow on Facebook, RSS feed, bloglovin’ twitter and check out my pinterest boards. If you found this helpful or inspiring please share below! Your support of A Pinch of Joy is appreciated!
Discover more from A Pinch of Joy
Subscribe to get the latest posts sent to your email.

 Welcome! I’m Charlene. I love to share quick and easy recipes, whatever I’ve learned in our last DIY project – anything that helps make life easier, better and more fun!! I hope you will find inspiration and add a pinch of joy to your day!