The kitchen remodel was just part of our get it done blitz. We got the cabinets installed and in use, then moved on to some other big projects while my brother was here with muscle and know how. For several weeks we used the cupboards with handles made of blue tape folded back on itself. They wore out and were replaced with green tape before we had time to take care of details — like real cabinet knobs! Turned out to be quick work!
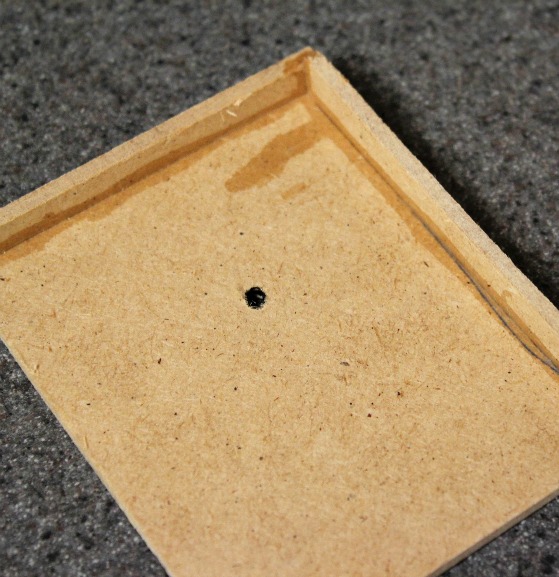
Bytes kept telling me to buy cabinet knob installation templates at the home improvement store on my daily supply runs. I could NOT find them — until after we were done with this. But I think the alternative he constructed was better anyway. Certainly more cost effective! Bytes cut a corner off a thin (quarter inch thick) paneling. Use a square, a protractor or just line it up with the corner of the cupboard door to verify a perfect 90 degree angle! He took smaller slices of the paneling and super glued them to the edges of the larger square, making sure they fit tightly. Let glue dry and it’s ready to go! With fifteen knobs to install, this was a few minutes well spent!!
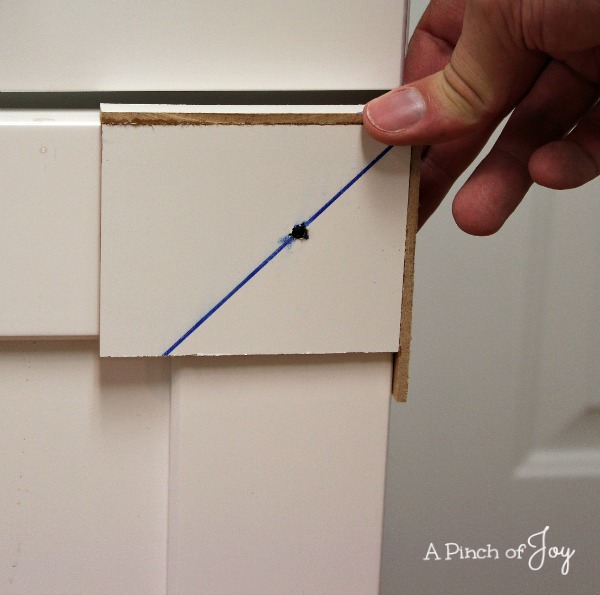
Once the square was done, we determined the position of the knob on the door. Our cupboards are Shaker style and I wanted the knobs in the center of the upper and side trim pieces. Beginning at the corner of the door, draw a line that passes through the exact point where the two trim pieces meet. Measure along this line on the door itself to determine the center point. That is where I wanted the knobs installed. You may want to change this depending on the depth of trim on your cupboard doors and the shape of the knob. Once you decide, mark the location on the template and drill a pilot hole. (We also used this template on bathroom vanities with same style doors — worth tossing in the keep it bin!)

Mark the location of the hole on the door. The side pieces on the template will insure the same location on every door and keep the template from slipping and sliding during the marking process.
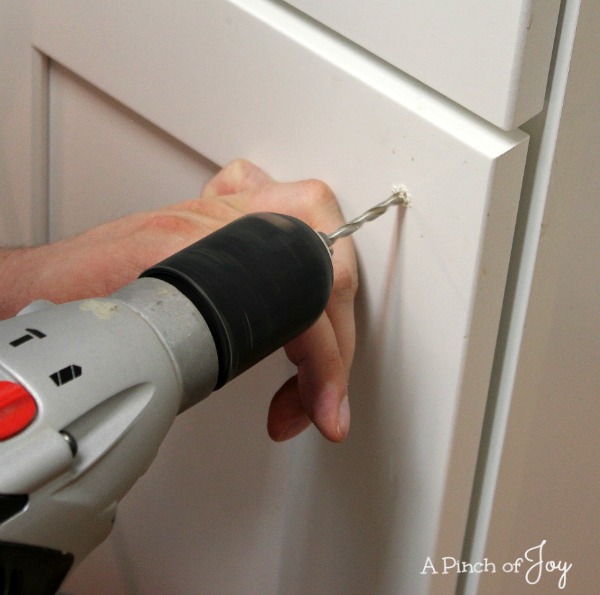
Drill a hole for the screw. Use a the size of bit indicated on the screw package. Who knew screws came in sizes besides long and short???
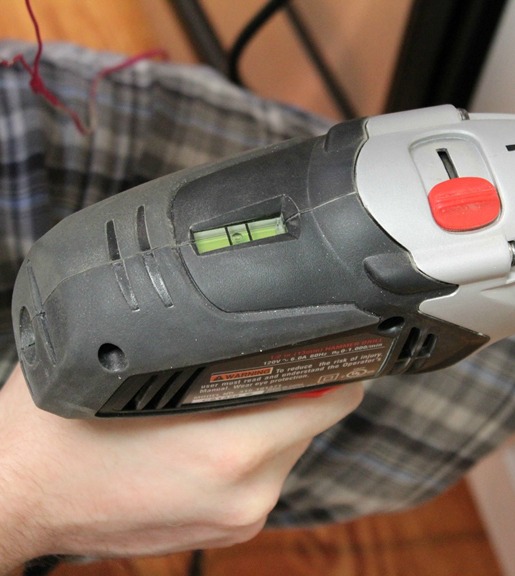
If the door trim has any depth, keeping the hole level — parallel with the floor — will be a concern. We had to replace our ancient drill in the middle of our redo blitz and the new one Wheels brought home has a level on top. Handy! (But not required — a steady hand and an awareness that straight is necessary, will work.)
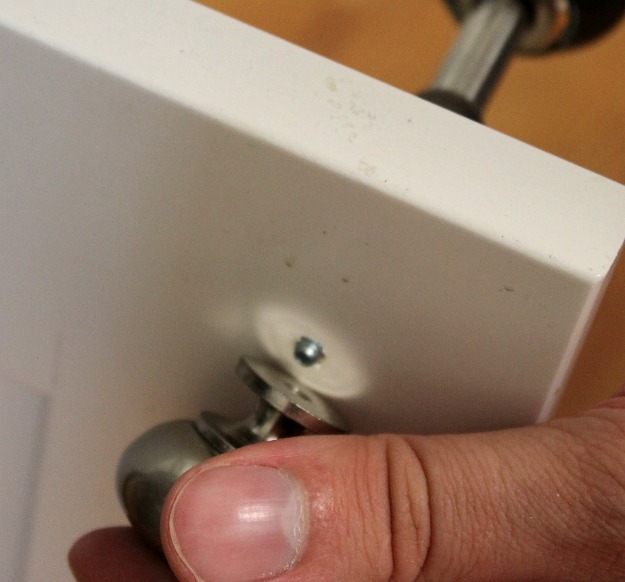
Insert screw from BACK of cupboard door and run it in until just a bit is visible on the front of the door. Hold knob in place and finishing running in screw until the head is flush with the back of the door and the knob is securely in place on the front.
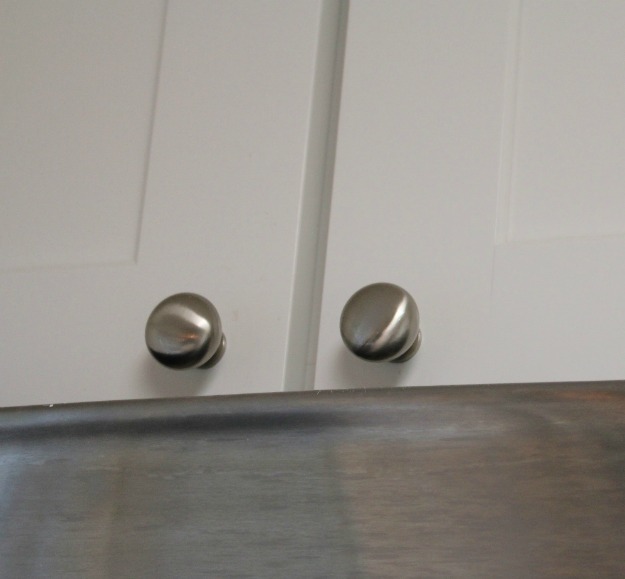
Lovely above the microwave . . .
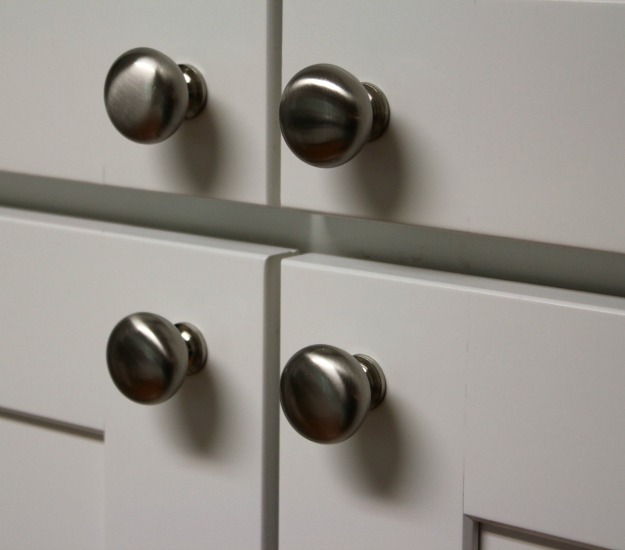
And on the four door pantry! I looked all over for hardware. I wanted something simple, classic and sleek. Haunted the hardware aisles for days — at least six different stores. And then one day on a trip through Target — there they were! And much better priced than the ones I had been considering. They fit my hand — and are the right size for the big guys too. They look great! Love them!
I’m so glad you stopped by today! Be sure to follow A Pinch of Joy so you don’t miss a thing! I’d love to have your company on this venture!! Follow: Facebook / RSS feed / bloglovin’ / twitter and pinterest. Share: if you found this helpful or inspiring please click one of the buttons below! Your support of A Pinch of Joy is appreciated!
Discover more from A Pinch of Joy
Subscribe to get the latest posts sent to your email.

 Welcome! I’m Charlene. I love to share quick and easy recipes, whatever I’ve learned in our last DIY project – anything that helps make life easier, better and more fun!! I hope you will find inspiration and add a pinch of joy to your day!