Our “Before Kitchen” had seven small drawers. The “After Kitchen” has one very large drawer to replace two of the seven plus one small drawer next to the range that holds spatulas and whisks. Definitely some tradeoffs!!! I now keep my towels in a basket in a cupboard instead of a drawer. But I have a great place to store cookie sheets and cutting boards that were formerly in the garage! Worth losing some small drawers. Those two new drawers had to have drawer pulls installed to make them fully useful. Imagine! Here’s how Bytes did it:
- Count out the number of pulls needed.
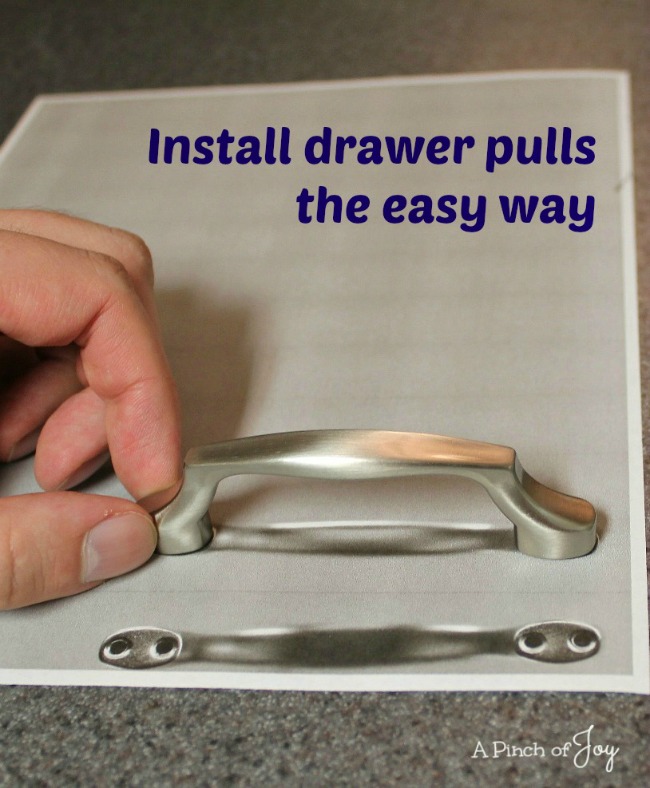
- Place them on the copier glass very carefully so as not to scratch or mar the glass.
- Press copy. If the resulting image is not readable, it may be because the top of the copier won’t close over the pulls. Try draping a towel over the pulls on the glass, while keeping them all upright.
- Determine and mark placement of pulls on the drawer front. I wanted pulls in the center of the drawer front and above the interior front wall. That way the screws only had to go through one layer of wood.
- Cut the images apart. Determine and mark the middle of the paper image.
- Match the middle of the drawer and the paper image at the predetermined location, check to make sure the image of the pull is level and tape the paper image in place.
- Pierce the paper image at the correct location for the screws, either with a small drill bit or a nail to mark the correct placement on the drawer front. If you drill through the paper template, it will shift so mark before even thinking about drilling. (Even though two holes are shown on either side of the pulls, package directions said to use one screw per side.) He used the outside set of holes.
- Drill holes at the marked location.
- Insert screws from the inside of the drawer, add handles and tighten screws.
- Done!
I’m so glad you stopped by today! Be sure to follow A Pinch of Joy so you don’t miss a thing! I’d love to have your company on this venture!! Follow: Facebook / RSS feed / bloglovin’ / twitter and pinterest. Share: if you found this helpful or inspiring please click one of the buttons below! Your support of A Pinch of Joy is appreciated!
Discover more from A Pinch of Joy
Subscribe to get the latest posts sent to your email.

 Welcome! I’m Charlene. I love to share quick and easy recipes, whatever I’ve learned in our last DIY project – anything that helps make life easier, better and more fun!! I hope you will find inspiration and add a pinch of joy to your day!