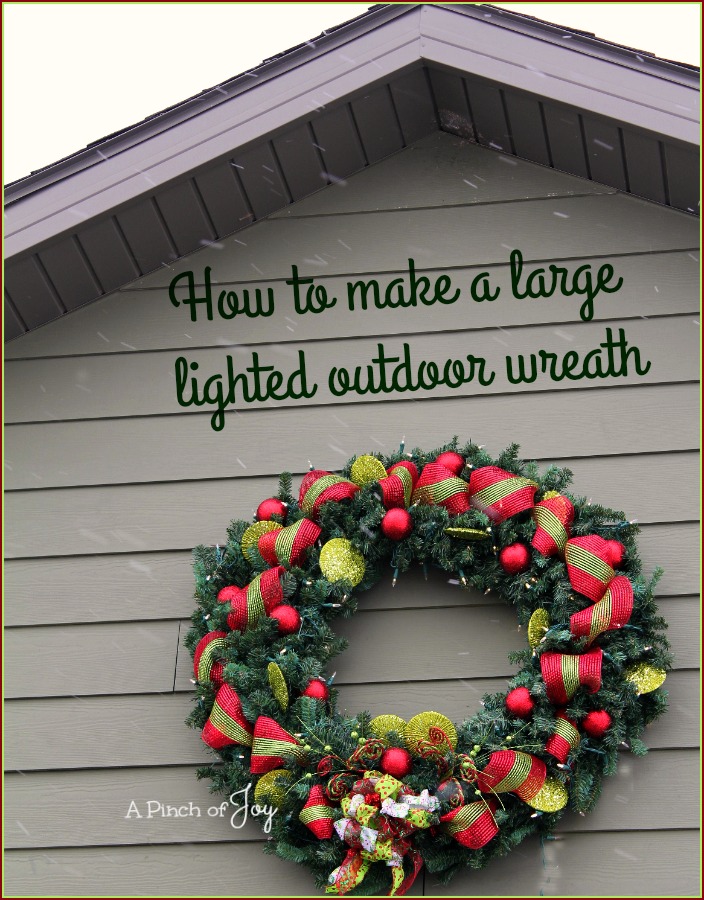
Christmas time in a new house totally different from the last abode. How to decorate for Christmas? We were spoiled with our 10 minute exterior decorating. Ease of installation in potentially frigid air was at the top of our list. Weather is a huge factor and everything has to be able to withstand wind and snow. Our something new needed to be simple enough that it could be done in an afternoon without breaking the budget. Yet large enough that it would make an impact on its own. That large triangle at the front of the house – yes, the one over the garage door – was calling out for something. That space needed: A wreath, of course.
The previous owners, who built the house, planned ahead with outlets under the eaves. The wreath could be lighted very easily. There was even a hook at just the right height for a decoration of some kind. Most of the Christmas things we own, including material for such projects, are in storage two hours away. So off to the local craft store, which happens to be a very large Hobby Lobby. I am a practitioner of the “buy things AFTER the season is over for the best price” lifestyle, and this was a reminder why. But it is our first Christmas here – worth it, right?
Here’s the tutorial showing how I made a 48” lighted wreath. If you’d like to see the condensed version, scroll on down to find the video instructions.
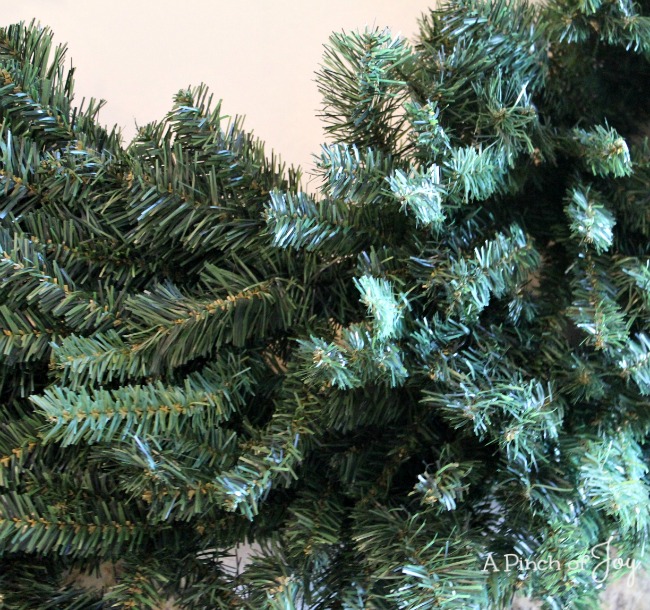
- Fluff the wreath. It is flattened for shipping and needs the branches lifted, separated and arranged to bring it into three dimensions!
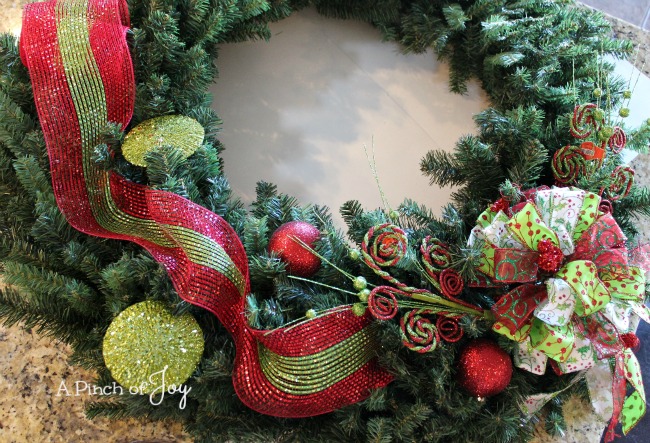
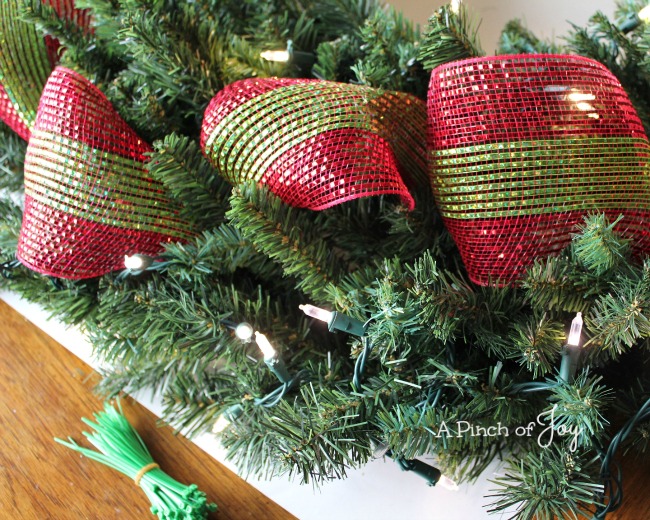
- Do a rough lay out of the decorations. We chose a contemporary theme with two main colors, bright red and lime green, lots of glitter, and ornaments of varying size and texture. I decided to keep to a tight structure, with the 4 inch wide mesh ribbon down the middle of the wreath and lights on the side and center. The ornaments would be randomly placed to balance one another, providing visual interest and movement.
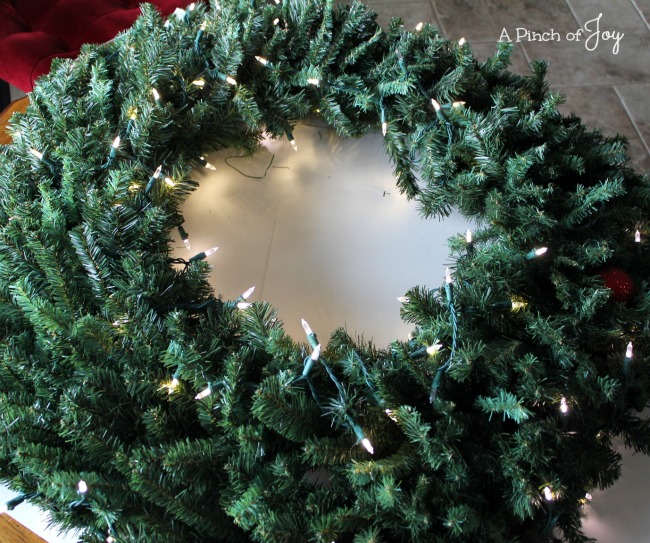
- Plan the lighting layout. Decide where the bottom of the wreath will be so the strands of light can begin and end at the proper points. Distribute the lights evenly around the wreath, with some tucked inside the wreath. We used two strands of bright white – one for the middle and one for the center opening. One end was left free to plug into the extension cord so that it was hidden beneath the bow. The two strands plugged into each other, also under the bow. Fasten the lights securely to the wreath frame using small plastic zip ties. (Don’t use wire to fasten electrical lights.)
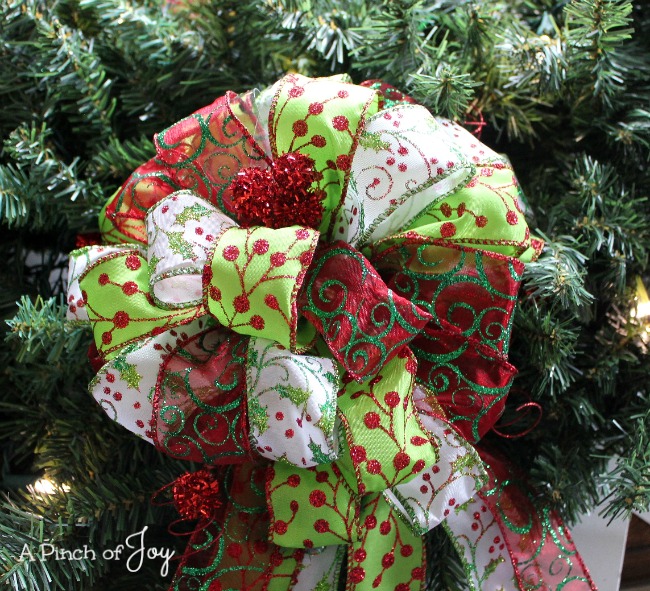
- Securely fasten the bow to the wreath frame. Begin by firmly twisting the wire at the bottom of the premade bow around the metal wreath frame, then reinforce that with zip ties or wire. I also fastened the ribbon with wire on the underside of the bow to the frame in several places.
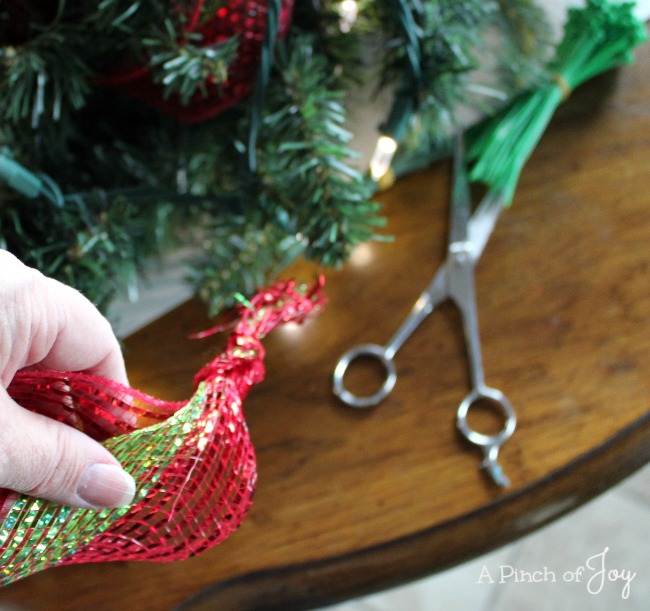
- Tie a knot in the end of the mesh so it will not fray. Tuck it under the bow and fasten securely with zip tire or wire. You will repeat this step at the other end of the ribbon.
- Make loops (or little poufs of ribbon) every four to six inches. You can vary the amount of ribbon used in each pouf, with more ribbon creating a looser pouf. I kept mine fairly tight so the wind couldn’t catch them easily.
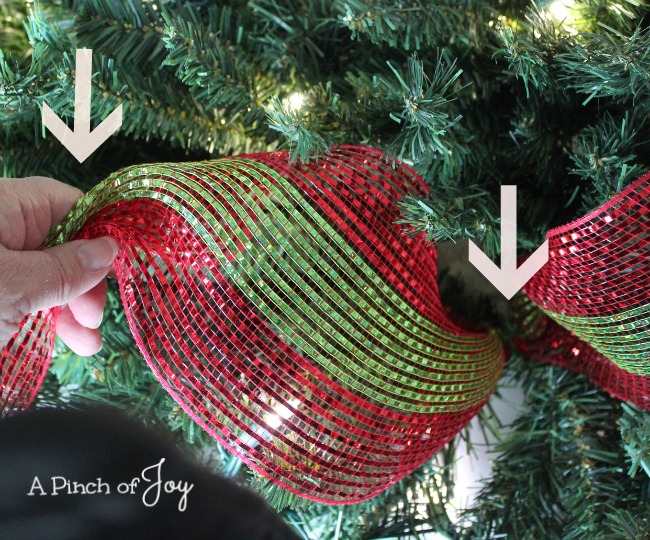
- To make pouf, simply pinch the ribbon tightly between thumb and fingers,then fasten them securely to the wreath frame with zip ties (what I used) or wire. The wire frame of the wreath is made with concentric circles. I varied the circle to which I fastened the ribbon creating some visual movement.
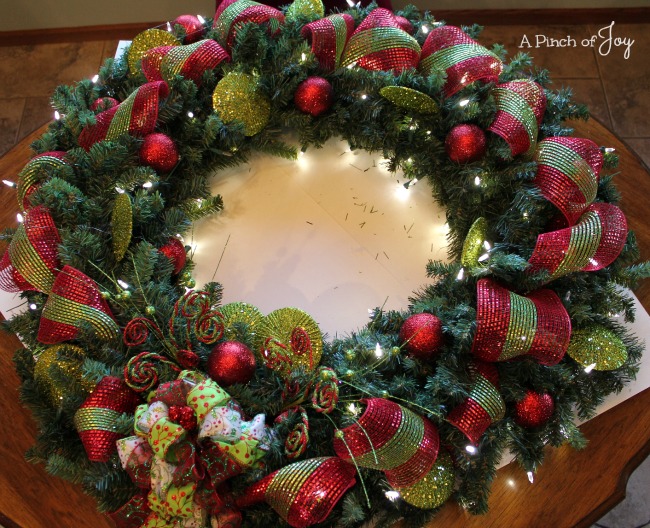
- Lay out all ornaments, rearranging as necessary to create a visually balanced whole.

- Securely fasten all ornaments using zip ties or wire. When all ornaments are in place, use a low temperature glue gun to firmly secure all ornaments in place. Even the low temperature can cause some ornaments to melt a bit, so proceed with caution, keeping the glue application at the fastening point so it can be easily hidden.
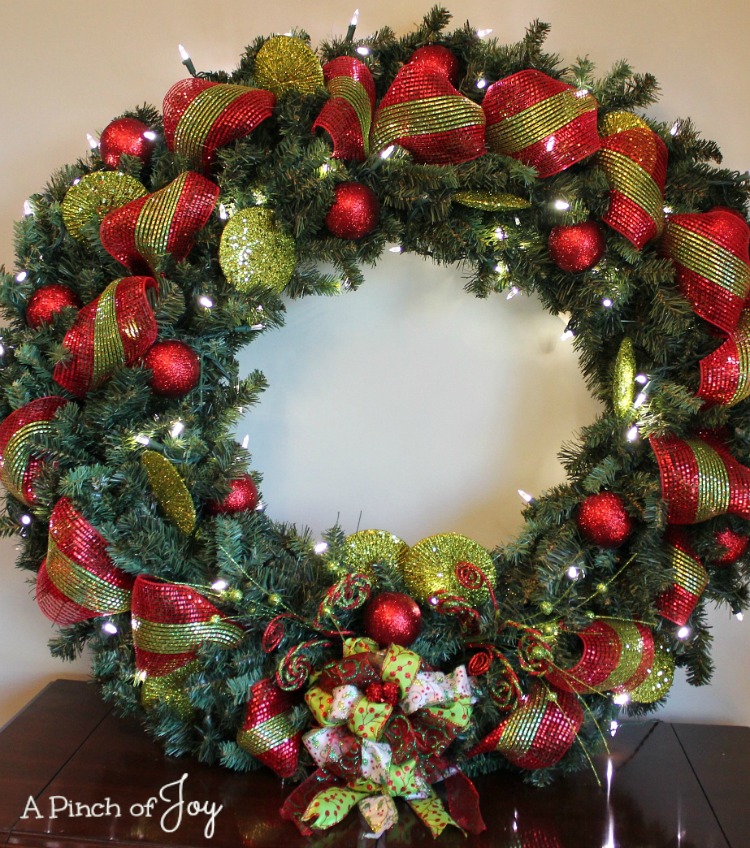
- Stand back and admire! This size wreath, and making sure everything was as windproof as possible, took around four hours of work time. I had planned and unplanned disruptions so actually had it spread out, first on the kitchen counter and then the dining table for most of one day.
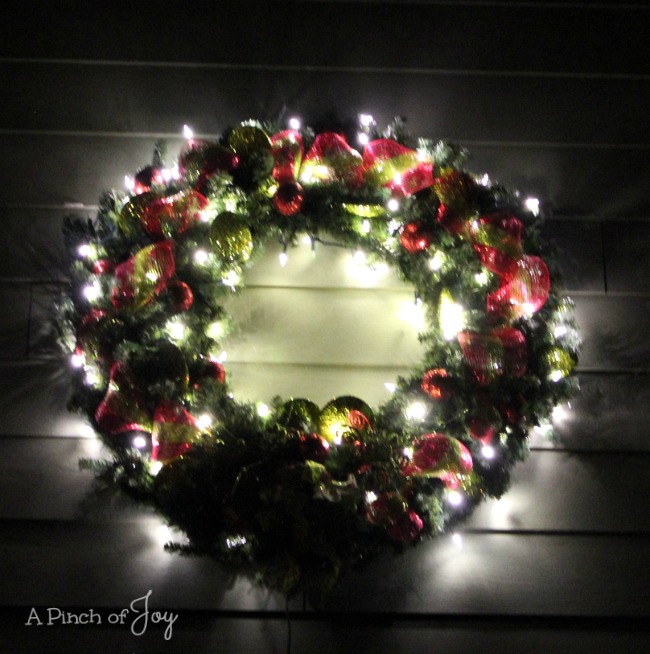
- Night view.
Welcome to A Pinch of Joy! I’m so glad you stopped by today! Follow A Pinch of Joy using the icons on the teal bar at the top of the page so you don’t miss a thing! I’d love to have your company on this venture!! Share: if you found this helpful or inspiring please click one of the buttons below! Your support of A Pinch of Joy is appreciated!
Shared with these awesome link parties here
[amazon box=”B00LKRMWEY”]
Check out the new for caregivers website. Both A Pinch of Joy and for caregivers can be found on Blue Sky. Follow @pinchofjoy.bsky.social for more recipes, crafts, and home decorating. Follow us at @caregivers.bsky.social for information and discussions on Elder and Family care.
Discover more from A Pinch of Joy
Subscribe to get the latest posts sent to your email.

 Welcome! I’m Charlene. I love to share quick and easy recipes, whatever I’ve learned in our last DIY project – anything that helps make life easier, better and more fun!! I hope you will find inspiration and add a pinch of joy to your day!