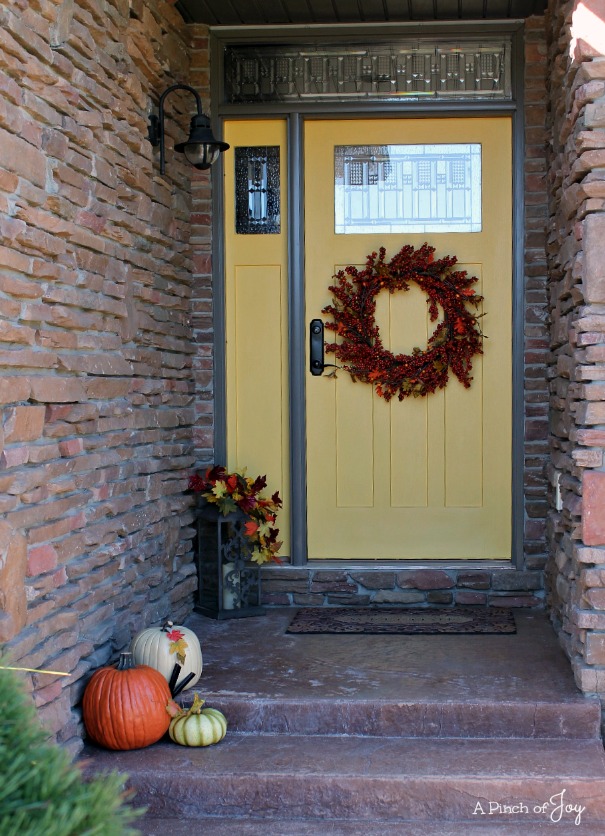
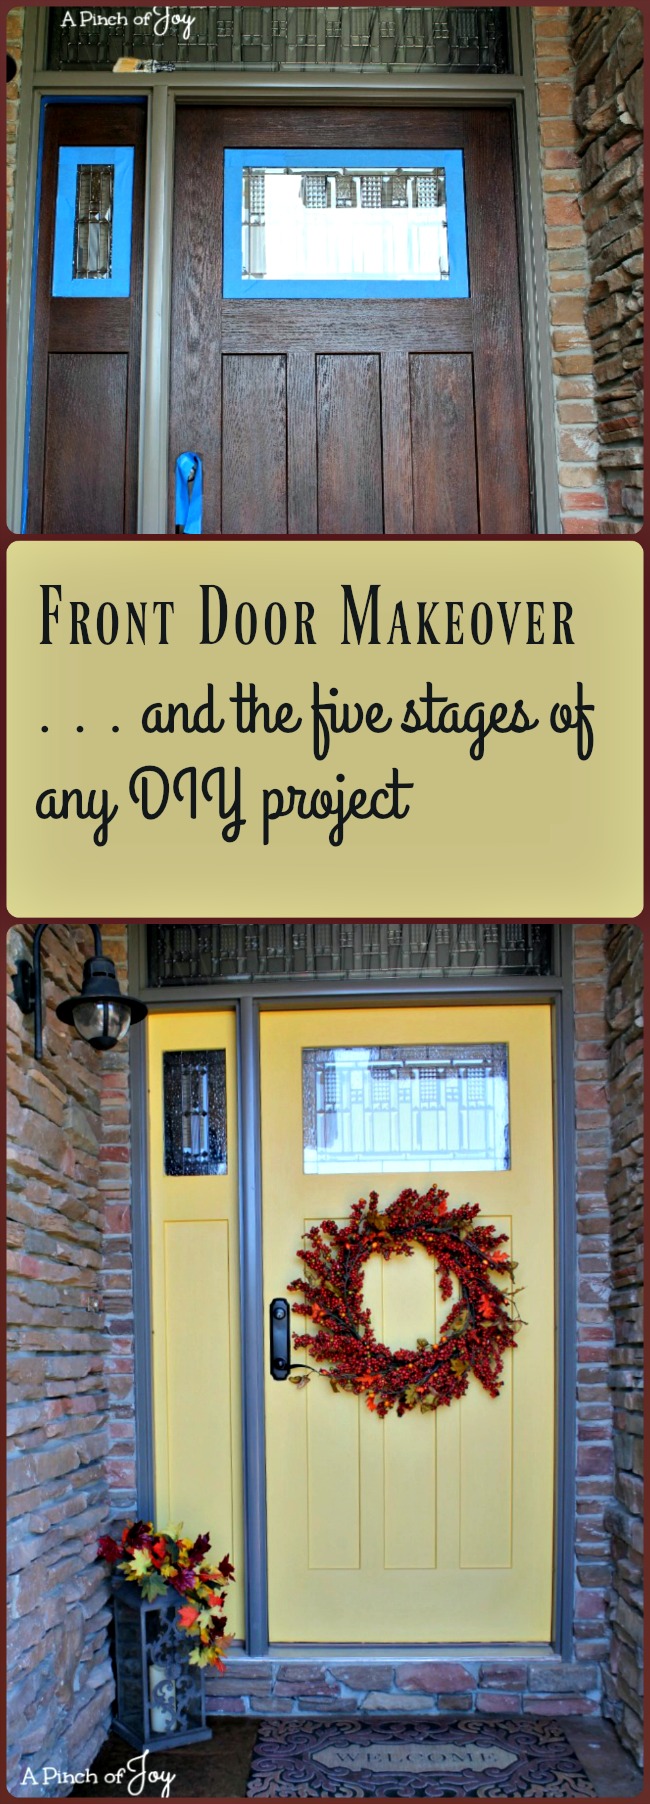
We’ve been planning to paint the front door and the perfect weather this weekend was just the motivator I needed. This is the finished door — visible from the street, lighter color to brighten up the small entry area, a happy pop of color! As I painted, I thought about the 5 stages of almost every DIY project we’ve done, big or small. And at this point, after three houses — that’s a lot!!!
Stage 1– Planning
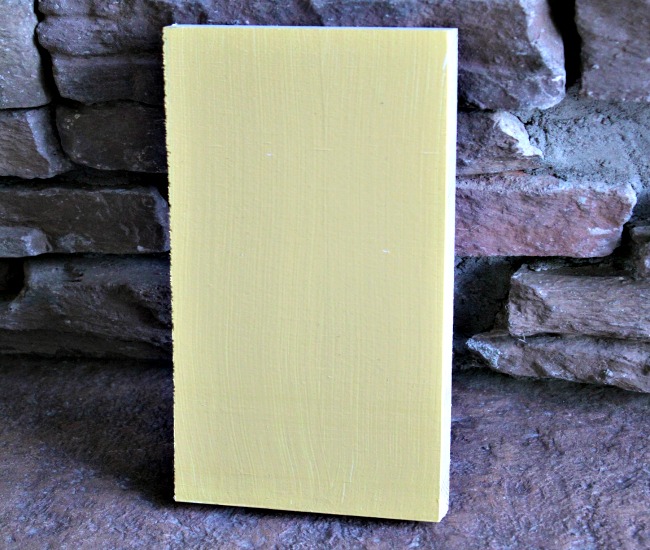
Figure out what you want to accomplish with the project — in other words set the parameters. For this project our goals were to: make the door visible from the street, using a lighter color to brighten up the small entry area, creating a happy pop of color! This is the time to solicit opinions, to research options, if necessary and even figure out how the job can be accomplished. This was the color option we settled on out of five samples. Even the neighbor approved as he strolled past on his way to the mailbox! It’s June Day by Sherwin Williams . This is a fun stage!
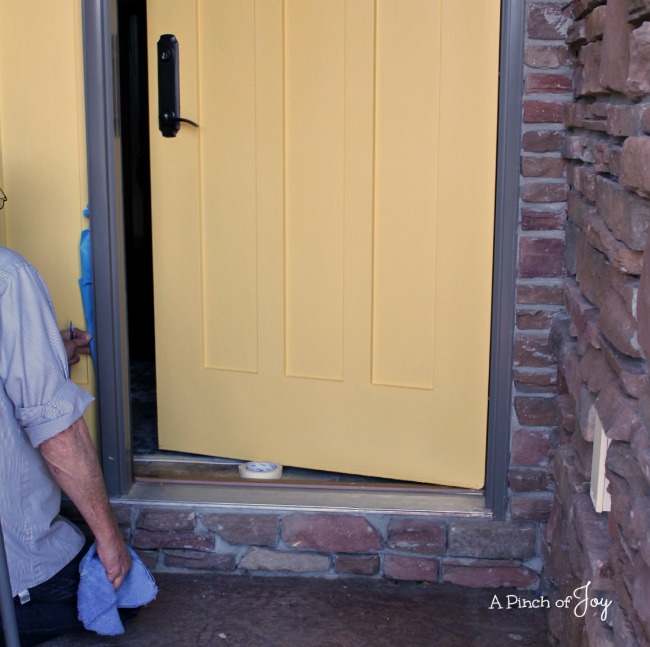
Stage 2 Preparation
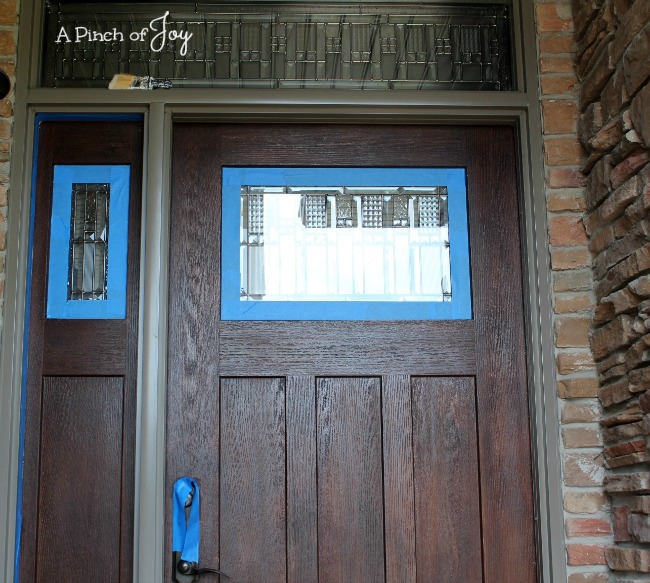
This is very important and sometimes is more time consuming than doing the actual project! Wheels cleaned the area thoroughly to remove cobwebs and other natural debris. Then, since construction in the neighborhood coats everything with a thick and not so fine layer of dust, he scrubbed the door the day before so it could dry overnight. I was so excited to get the paint on the door, I jumped right in with the masking tape before I remembered to take a picture.

Stage 3 — OMG! Is this going to work?
Every project hits a point of doubt sometime. And if it’s a big project, there may be several periods of doubt! Doubt doesn’t always come early on — sometimes it waits until you are almost done. Panic! If you’ve planned well and prepared well — you’ll have the confidence it takes to just carry on. It does not happen often, however, sometimes you just know that whatever you are doing is just plain WRONG! Give it a couple of days to simmer and it will either grow on you or a better inspiration will hit. Or you will know positively that the work you’ve done, the materials you’ve used no longer matter. If it doesn’t sing, the only thing you can do is abort and go a different direction!
Stage 4 — Hope
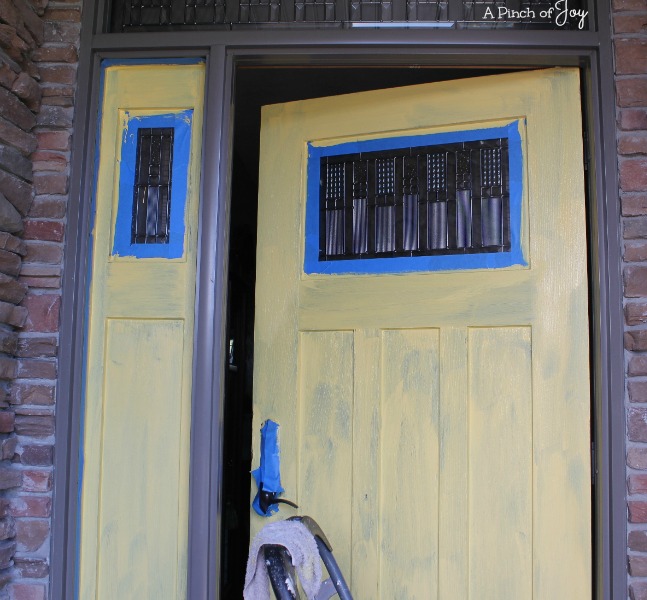
Hope comes along sooner or later. Like “I hope this works!” or “I hope another coat of paint will make this mess look better”. Or even “If this looks terrible, at least we won’t have to put so many coats on for the next color!” You might decide to try a different technique. For example, I switched here to using a small roller instead of my favorite brush. And then for the THIRD coat, I used both the roller and the brush. Finally — coverage!
Stage 5 — Clean up
This is another time consuming step. Peeling masking tape off is an art (and another blog post!) So is scraping/scrubbing/whatever it takes to get rid of mistakes, blemishes and imperfections. This is where the project begins to shine. And you actually bond with it 🙂 Or something like that — pride begins to grow. I did this! I created this/changed my environment to make it better for me and for my family. Love it!
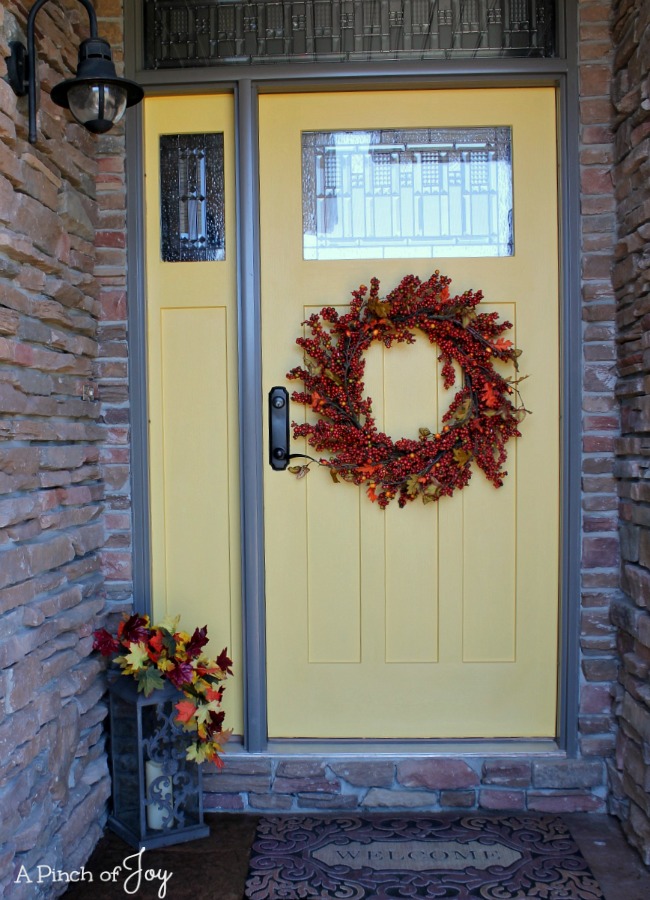 Another project well done! The welcome mat is from the Ohio house, just a hint of yellow to go with the new door color. Almost as if we planned it — which we didn’t. If you keep choosing things that “sing” for you, they will generally go together to make a consistent whole! Without even trying!
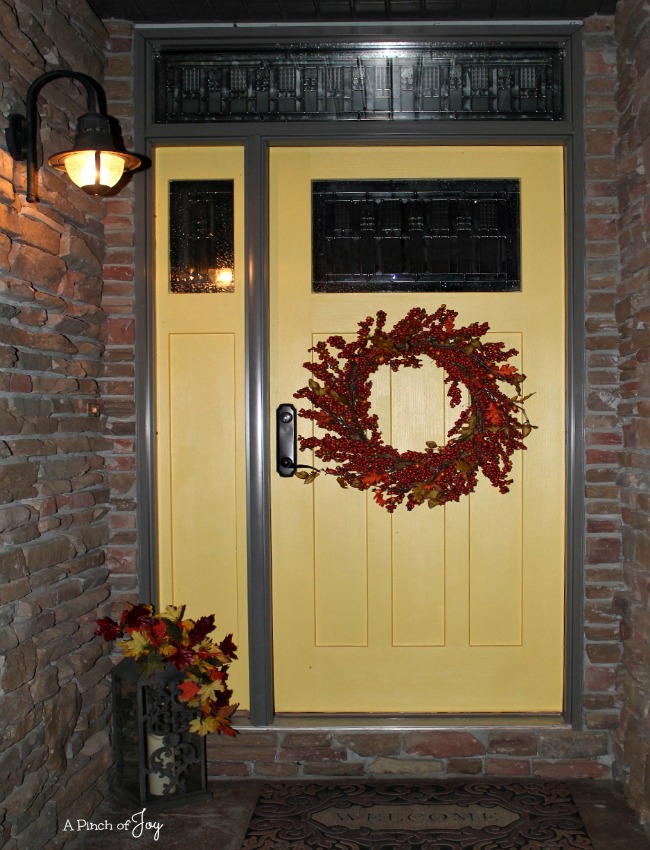
At night
I’m so glad you stopped by today! Be sure to follow A Pinch of Joy so you don’t miss a thing! Subscribe by email on the sidebar or follow on Facebook, RSS feed, bloglovin’ twitter or pinterest If you found this helpful or inspiring please share below! I’d love to have you along on this journey!
Discover more from A Pinch of Joy
Subscribe to get the latest posts sent to your email.

 Welcome! I’m Charlene. I love to share quick and easy recipes, whatever I’ve learned in our last DIY project – anything that helps make life easier, better and more fun!! I hope you will find inspiration and add a pinch of joy to your day!
Wendi@H2OBungalow says
Love the color you choose and even more your description of how a home improvement DIY project works! LOL Thanks for the good smile to start my day off. Your entry looks bright & cheery now!
Miz Helen says
Hi Charlene,
I just love your front door, we have a yellow front door and it just says a cheerful hello. Thanks for sharing, you did a great job!
Miz Helen
Charlene says
Thank you! It makes me so happy to come and go through that door now — it is the little things that make a difference!
Charlene recently posted…Front Door Makeover and the five stages of a DIY Project
Linda at Mixed Kreations says
Wow what a big difference! Love the color, and it looks great. Brightens up your front porch making your pretty wreath stand out.
Charlene says
Thank you! From the street, it looked like the house had no door before — can’t miss it now!
Charlene recently posted…Front Door Makeover and the five stages of a DIY Project