We used decorative nailhead trim on a quick and easy upholstered headboard. Nail head trim can be used in all sorts of upholstered projects. So this a separate post for reference in whatever upholstered project you happen to be creating. That and the headboard post was getting way too long! 🙂
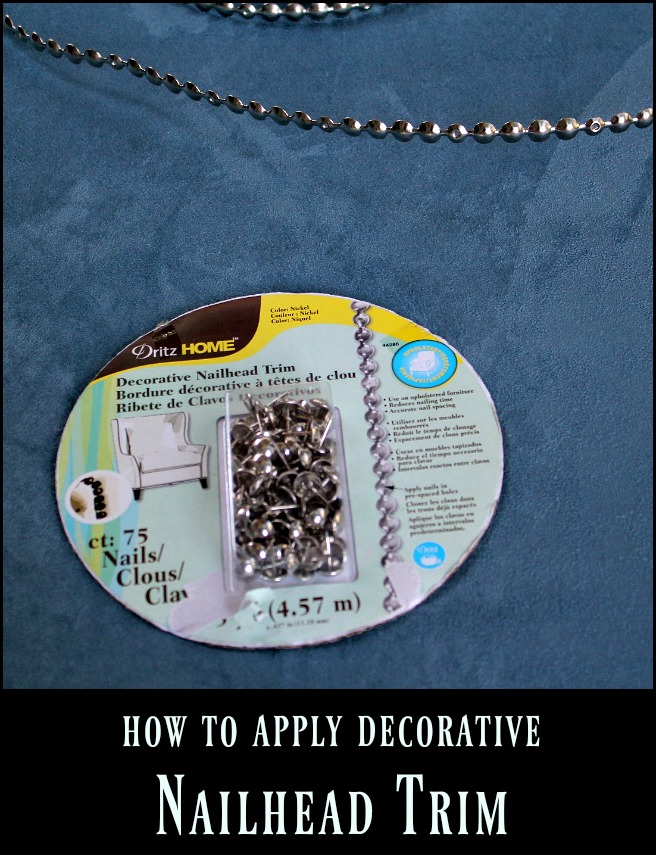
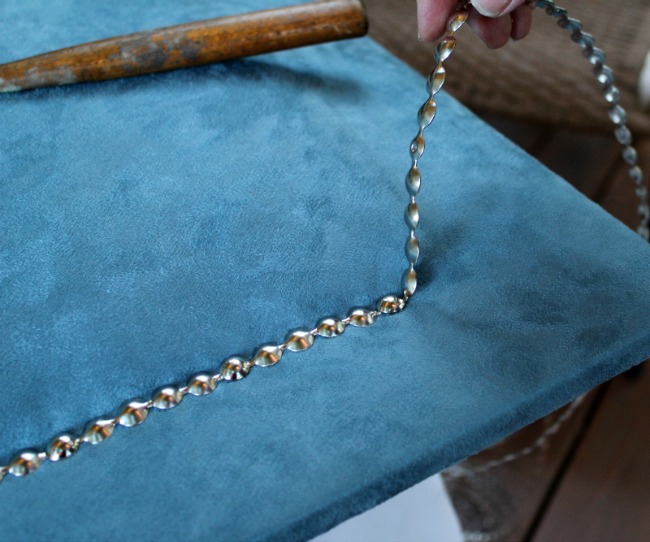
Nailhead trim comes in a roll of faux nailheads as shown above. Buy as many rolls as needed to equal the length of trim necessary for your project. You will also need a package of single upholstery nails as shown. The roll includes a faux nailhead with a hole in the center about every fifth circle. Use the single upholstery nails to nail through the hole and into the wood underneath. We were constructing a headboard, but the techniques apply to other projects as well.
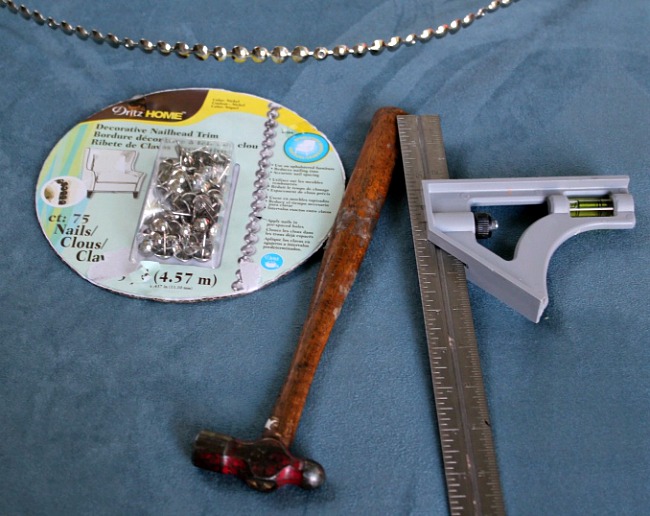
Tools you’ll need: Small lightweight hammer. That’s a tack hammer shown and is intended for this very purpose. However, if you didn’t inherit a stash of old tools from grandpa as we did, any small hammer will work. A big heavy hammer is harder to control and will smash the nailheads. A measuring device that will lock the measurement into place will save you tons of time. Don’t have one? Cut a piece of cardboard — like a cereal box — to the exact measurement you need and use it instead of a searching over and over for the correct number on a ruler or a tape measure.
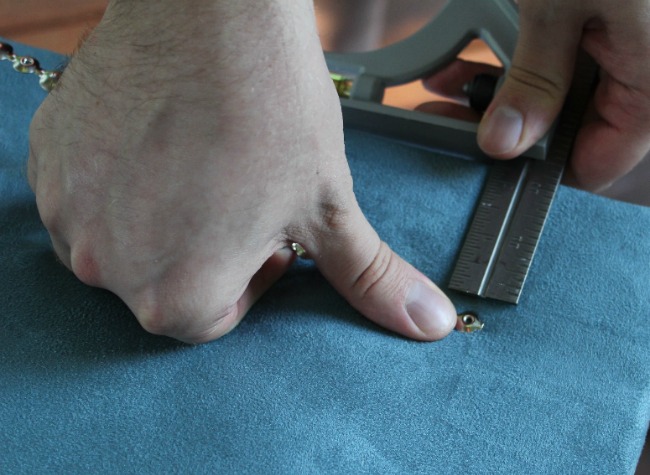
Measure from the edge to the place you want the trim placed. This measurement will allow you to keep the trim even and straight as you apply it. For the headboard, measure in three inches from the outside edge. This will place the trim at the edge of the foam layer of the headboard. Bytes measured as he worked. That was easier and more accurate than marking in advance.
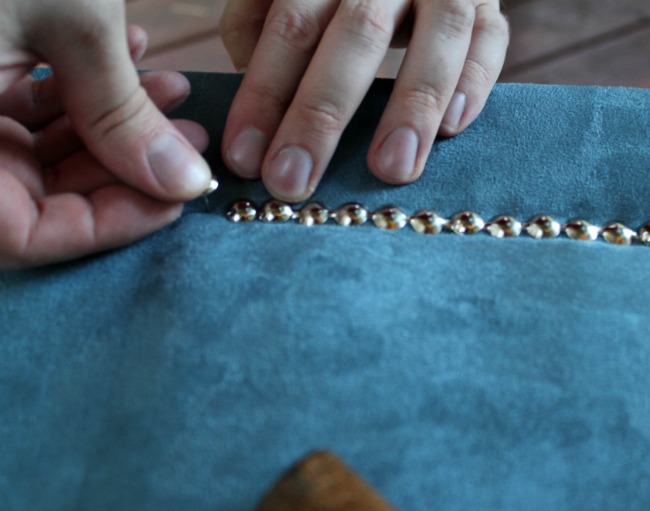
Start the nail head trim. You can see that Bytes is three inches from both sides at the starting corner. Note that the first nailhead in the trim actually has a hole in the center. Drive one of your single nails into this hole. This will tack the trim securely to your wood base. The head on the nail will cover the faux nail on the strip.
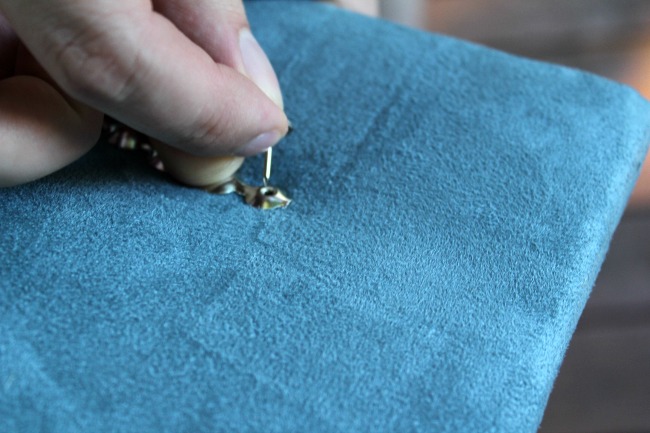
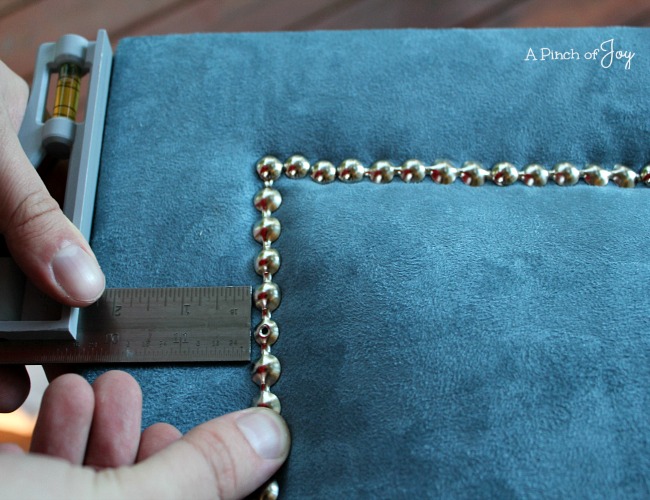
 Apply trim across one side, measuring as needed to keep it straight. To turn a corner, stop the strip at the last possible nail hole before the corner. You can see that the strip is securely nailed, but there are two or three more nail spaces from the last nail hole to the spot where you actually turn the corner. Using regular scissors, snip the trim strip as close as possible to the real nail.
Use single nails to add to the line of trim until you reach the corner. Place each nail so that its head will touch the adjacent nail. When you reach the corner, stop.
 Resume using the strip at the corner. Continue to check evenness by measuring frequently.
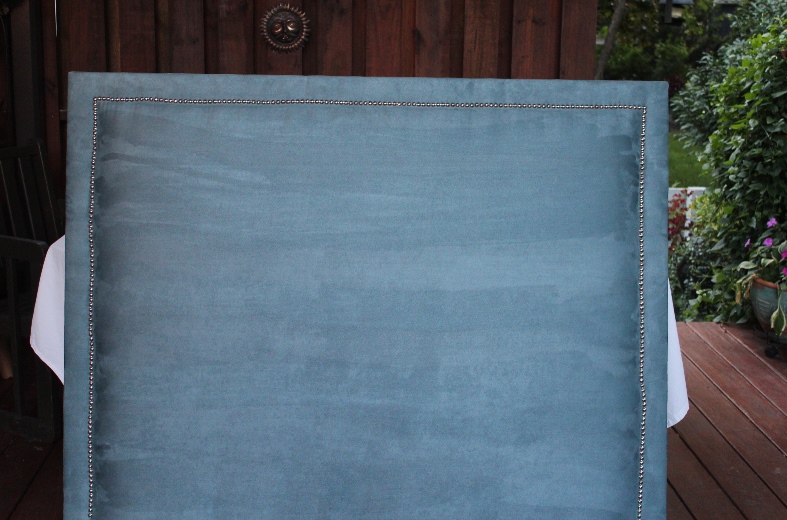
Finished headboard
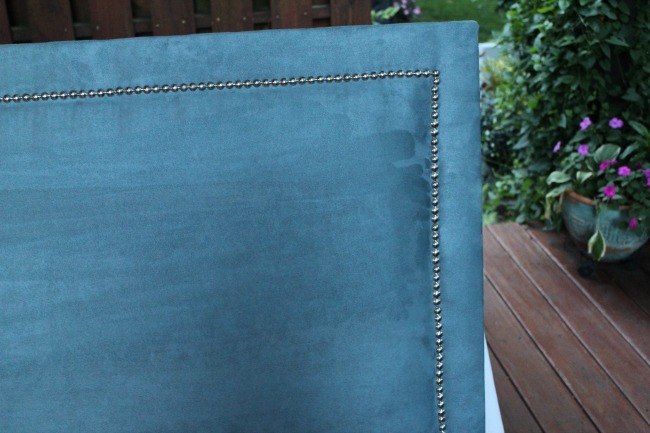
Close up of trim. So easy to do and looks fabulous!!
I’m so glad you stopped by today! Be sure to follow A Pinch of Joy so you don’t miss a thing! Subscribe by email on the sidebar or follow on Facebook, RSS feed, bloglovin’ twitter or pinterest If you found this helpful or inspiring please share below! I’d love to have you along on this journey!
Discover more from A Pinch of Joy
Subscribe to get the latest posts sent to your email.

 Welcome! I’m Charlene. I love to share quick and easy recipes, whatever I’ve learned in our last DIY project – anything that helps make life easier, better and more fun!! I hope you will find inspiration and add a pinch of joy to your day!