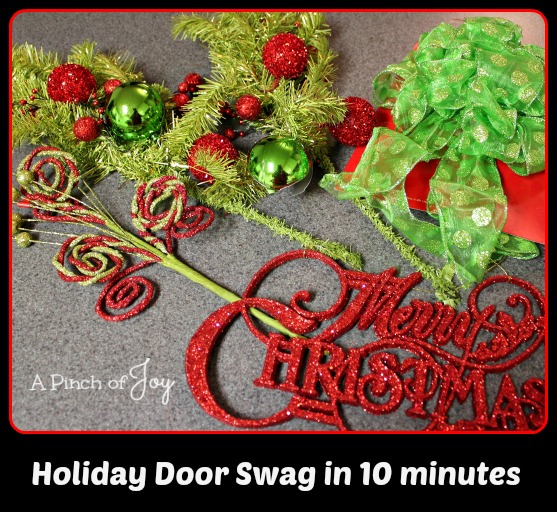
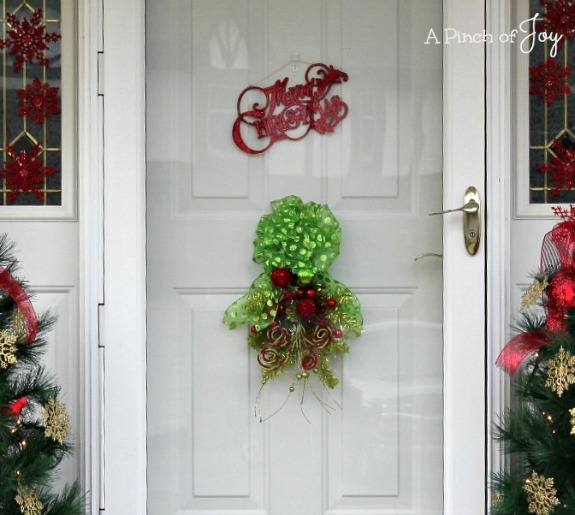
I was astonished at how quickly this holiday door swag went together! It took me longer to choose the colors and coordinate them with the other holiday outdoor decor, than it did to make the door swag! I laid them on the work surface and in ten minutes the finished swag was hanging on the door!
You will need three large stems — two are fluffy and one is decorative. You will also need a fluffy bow. I usually make mine but this lime green bow was 50% off AND a coupon, too. My original thought was to place the Merry Christmas under the bow. Instead it got it’s own clear Command Hook on the door because the swag was too bulky with the words in place. (Yes, the green ball is broken on one of the stems in the photo. It was minding its own business in the trunk on the way home. I bought something heavy which also needed to go in the trunk . . .and dropped it on the bag of swag. Lucky that was the only thing that broke!)
To make: Place two fluffy stems side by side with one a couple of inches lower than the other. Place decorative stem on top so the swirls and “fancy stuff” extends a bit below the other two stems. Grasp all three stems firmly in one hand and begin to twist first one and then the other fluffy stem firmly around the base of the decorative stem in a sort of braid pattern. The crossovers do not need to be tightly placed together, but they do need to be firmly fastened around the center stem. One stem (the one you placed higher than the other) will extend beyond the other two when the twist is completed. Bend it over to make a loop for hanging. Fasten the bow to the swag. Fluff and arrange until pleasing. Done!
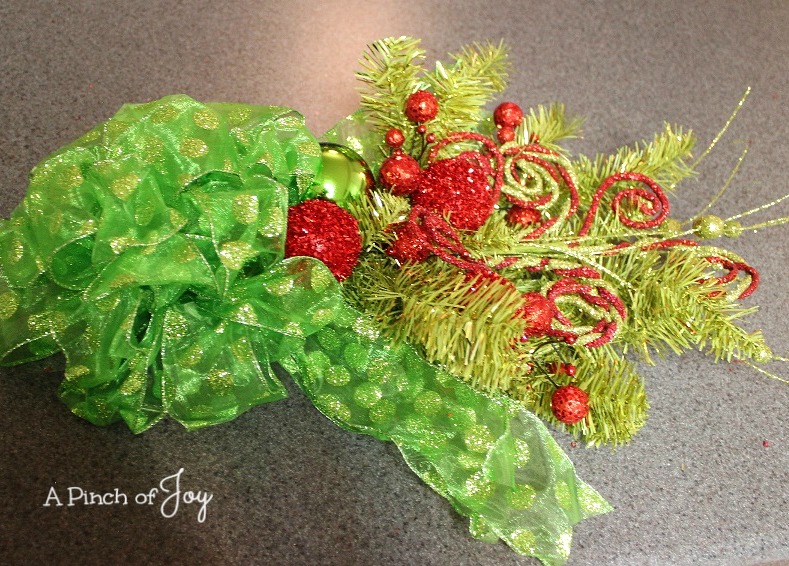
And there it is all finished, on the work surface. I don’t have pictures of the process — no hands leftover for photography — but it is very simple and, I hope, easy for you to understand. There is very little space between our glass storm door and the front door, certainly not enough for a wreath, but this swag fits perfectly. A very strong magnet hook holds the swag in place.
And on the front door. Merry Christmas!
I also promised I would show you how the lighted gift boxes got their snowflakes. 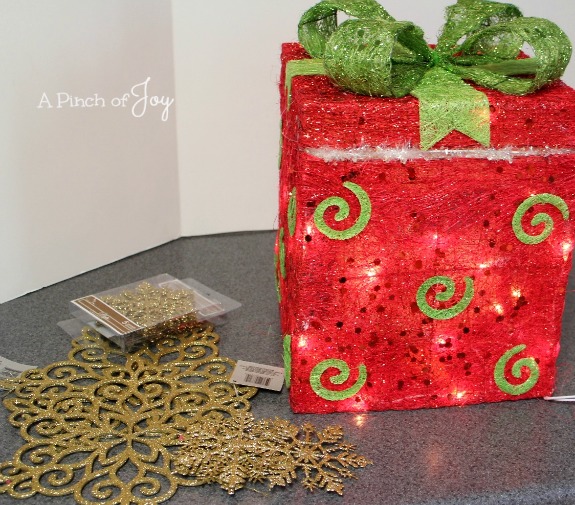
It all began this way — large and medium sized glittered snowflakes from the Dollar Store.
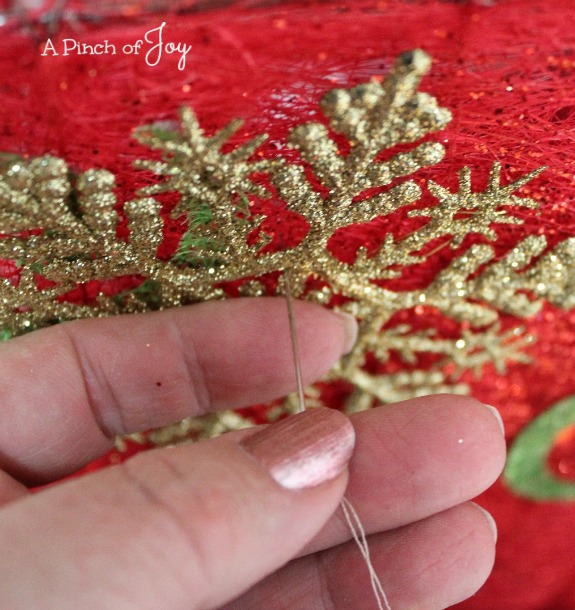
Place the snowflakes where you want them on the box and simply sew them on! Easy Peasy!
I considered hot glue, but thought I might want to change out the snowflakes to something else someday.
Easier to cut stitches without damaging the “gift” than prying off hot glued snowflakes!
I’m so glad you stopped by today! Be sure to follow A Pinch of Joy so you don’t miss a thing!
Subscribe by email on the sidebar or follow on Facebook / RSS feed / bloglovin’ / twitter and check out my pinterest boards. If you found this helpful or inspiring please share below! Your support of A Pinch of Joy is appreciated!

Discover more from A Pinch of Joy
Subscribe to get the latest posts sent to your email.

 Welcome! I’m Charlene. I love to share quick and easy recipes, whatever I’ve learned in our last DIY project – anything that helps make life easier, better and more fun!! I hope you will find inspiration and add a pinch of joy to your day!