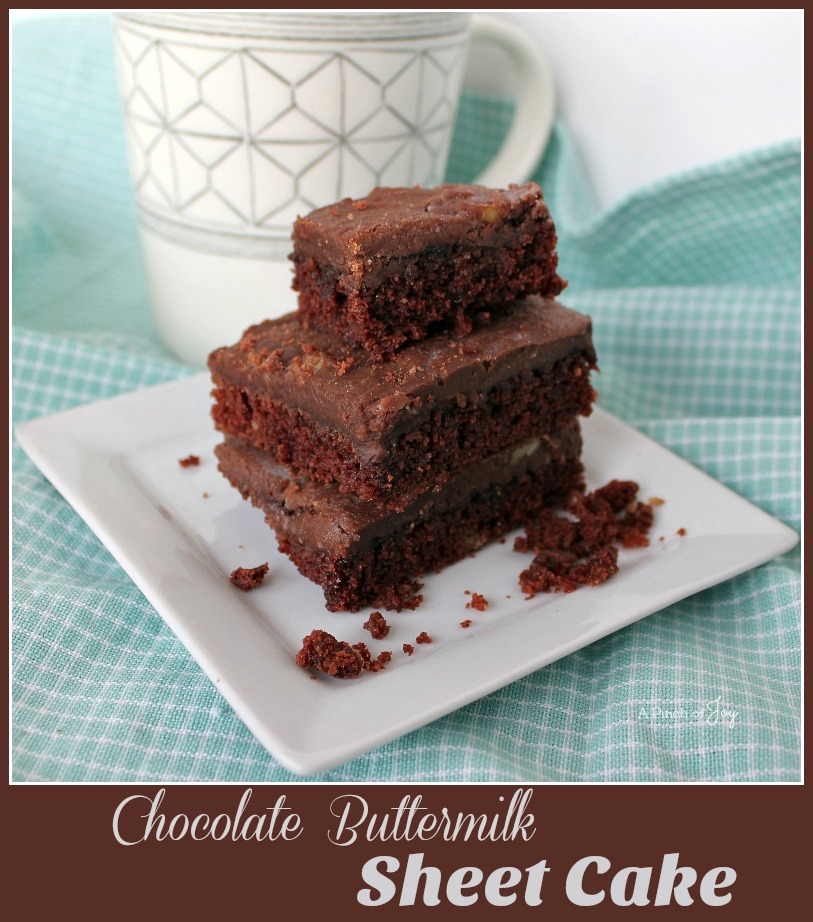
A dense moist cake with the slight tang of buttermilk topped by decadent fudgy frosting, Chocolate Buttermilk Sheet Cake is also quick and easy to make and feeds a crowd. Perfect qualifications for contribution to a potluck dinner.
Like our recent family reunion. We are usually a creamy concoction and all kinds of pie for dessert bunch. I wanted something a little different and definitely chocolate. I remembered a big sheet cake that was a signature contribution to Ohio church potlucks and went looking for a recipe. In my mother in laws handwritten file was this chocolate sensation. Bonus – delicious, plus quick and easy to make!!
Like most baking projects, this one goes faster if you gather all the ingredients in one spot before starting. Dairy products are available in so many sizes that you can buy just the amount of buttermilk needed and no leftovers. It’s the simple things in life 🙂 Rounded measurements mean the measure is not leveled even with the measuring cup. There is a bit extra cocoa for flavor according to your taste — not so much that it needs to be measured or will significantly affect the moistness of the cake, but not heaping and running off the measuring cup either. You might want to skim the entire recipe before starting. Always a good idea but who has time???? Note there is some multitasking – heating water while the butter is melting on the stove and making the frosting while the cake is baking. Use a jelly roll pan, usually 13 by 18 inches, it’s bigger and heavier than a cookie sheet. Move the bowl over the pan as you pour the batter and use a spatula afterwards to make sure the batter is evenly distributed and bakes evenly.
The frosting – that heavenly concoction! Stir all ingredients well and make sure the butter especially is thoroughly incorporated. (Or you will end up with not so tempting butter pools on top when the cake cools!) Leave out the nuts if you are concerned about allergies. For those who love nuts, chop the walnuts (or pecans) into small biteable bits of about a quarter inch before stirring in. Let the cake cool slightly – maybe 5 minutes or so – before adding the frosting. Try to pour as evenly as possible all over the surface, so you won’t have to do much spreading over the just baked cake. Warm cake and warm frosting help! Gently push the frosting toward the corners and bare spots as needed, but the less you work to spread the frosting, the better. Serve warm or hide (well covered) for serving the next day. Yummy both ways!!
PrintChocolate Buttermilk Sheet Cake
A dense moist cake with the slight tang of buttermilk topped by decadent fudgy frosting, Chocolate Buttermilk Sheet Cake is also quick and easy to make and feeds a crowd.
- Prep Time: 15 mins
- Cook Time: 20 mins
- Total Time: 35 mins
- Yield: 24 servings
- Category: Cake
Ingredients
Cake:
- 2 cups flour
- 2 cups sugar
- 1/4 teaspoon salt
- 1/4 cup cocoa, rounded
- 1 cup butter (2 sticks)
- 1 cup boiling water
- 1/2 cup buttermilk
- 2 eggs, lightly beaten
- 1 teaspoon baking soda
- 1 teaspoon vanilla
Frosting
- 1/2 cup chopped walnuts
- 1-3/4 stick Butter
- 1/4 cup cocoa, rounded
- 1/3 cup milk
- 1 teaspoon vanilla
- 3 cups powdered sugar, plus 1/4 cup if needed
Instructions
Cake
- Preheat oven to 350 degrees.
- Prepare large sheet pan with cooking spray OR butter and flour.
- Combine flour, sugar, and salt in large mixing bowl.
- Melt butter in medium saucepan. Stir in cocoa.
- While butter is melting, heat 1 cup water in microwave for 90 seconds on high. Add hot water and bring mixture to full boil for 30 seconds, then turn off heat. Pour over flour mixture, and stir lightly to cool.
- In two cup measure, pour the buttermilk to half cup mark. Add beaten eggs, baking soda, and vanilla. Stir buttermilk mixture into butter/chocolate mixture. Pour into sheet cake pan and bake at 350-degrees for 20 minutes.
Frosting
- While cake is baking, make the icing.
- Chop walnuts into small pieces, while butter is melting.
- Melt butter in a medium saucepan over low heat.
- Add cocoa to melted butter, stir until combined, then turn off heat.
- Add milk, vanilla, and powdered sugar to cocoa mixture. Stir well, until butter is fully incorporated. If frosting seems too thin, add up to 1/4 more powdered sugar.
- Stir in nuts and pour over slightly cooled cake.
Notes
[url href=”http://www.apinchofjoy.com/wp-content/uploads/2018/08/Buttermilk-Chocolate-Sheet-Cake.gif”] [/url]
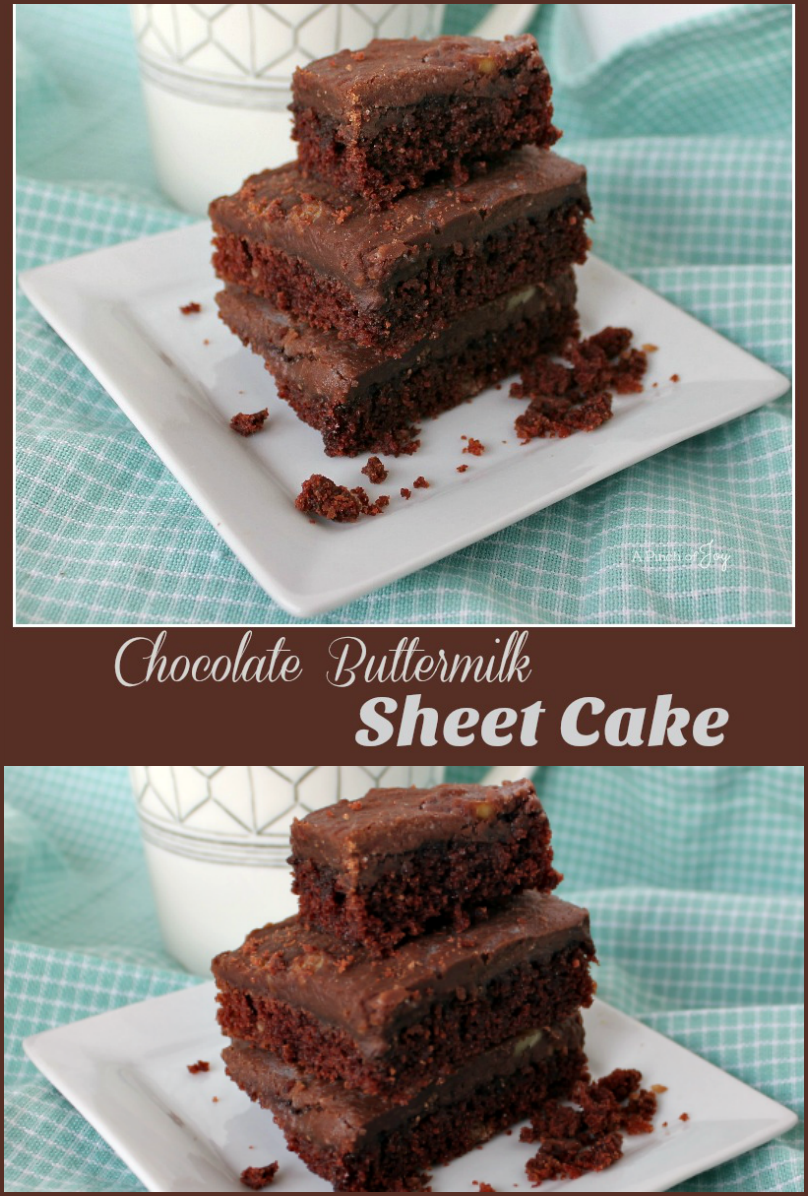
Shared with these awesome link parties here Pin the photo below- pretty please! Thanks!
 I’m so glad you stopped by today! Follow A Pinch of Joy using the icons on the blue bar at the top of the page so you don’t miss a thing! I’d love to have your company on this venture!! Share: if you found this helpful or inspiring please click one of the buttons below! Your support of A Pinch of Joy is appreciated!

Related posts:
White Pizza
Chicken Bacon Biscuit Cups
Fudgy Chocolate Cookie Dough Mini Cheesecake - No Bake
Red Velvet Cookies with white chocolate and walnuts
Chicken, Mushrooms and Bacon in the crockpot
Risky Dark Chocolate Covered Cheesecake Balls
Quick and Easy Apple Cream Cheese Danish
Quick and Easy Chicken Ranch Pizza
Discover more from A Pinch of Joy
Subscribe to get the latest posts sent to your email.

 Welcome! I’m Charlene. I love to share quick and easy recipes, whatever I’ve learned in our last DIY project – anything that helps make life easier, better and more fun!! I hope you will find inspiration and add a pinch of joy to your day!