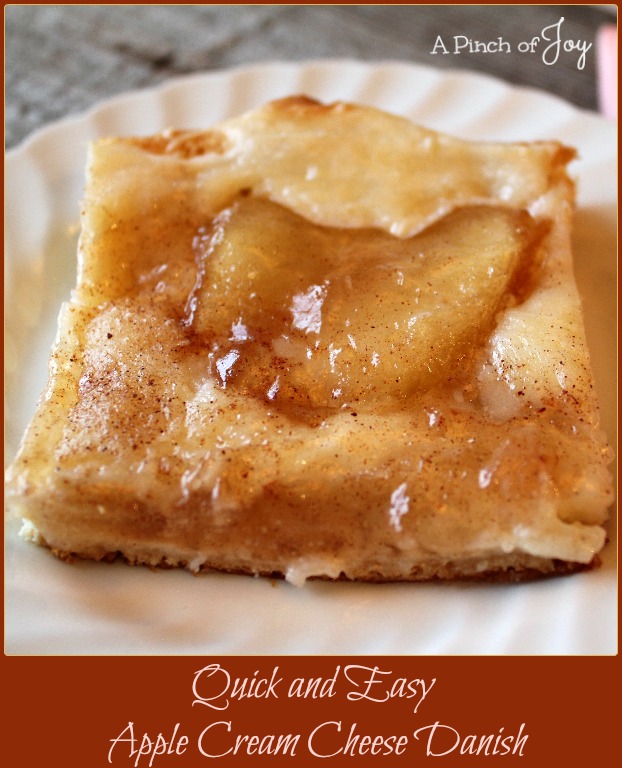
Cream Cheese sharpened with lemon juice, topped with cinnamony apples on a barely there crust — out of this world goodness! This is a perfect make ahead dish for a group brunch. And sooo good hot out of the oven for a spur of the moment snack or dessert. It is so quick and easy to make, which makes it even better.
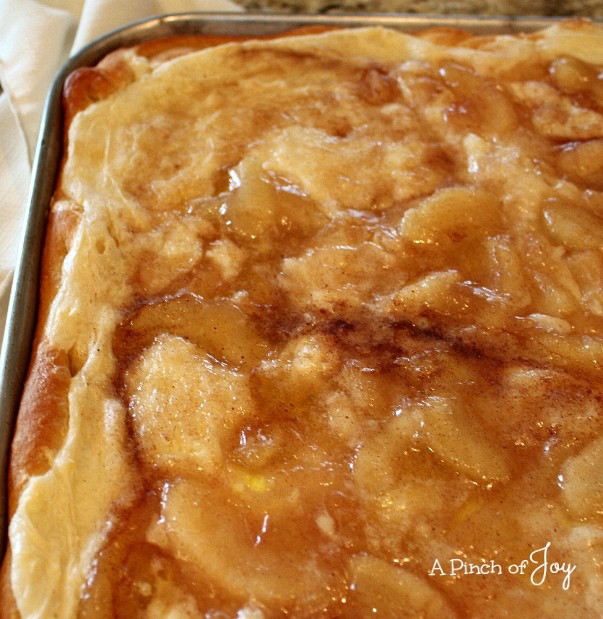
I used no sugar added apple pie filling. One can is okay, but two cans are better, especially if you are using this as a brunch or breakfast dish. Prettier and more filling. Cool the danish overnight or refrigerate after baking. This allows the cream cheese filling to set up and the flavors to meld. It will cut easier and look very nice on the serving plate.
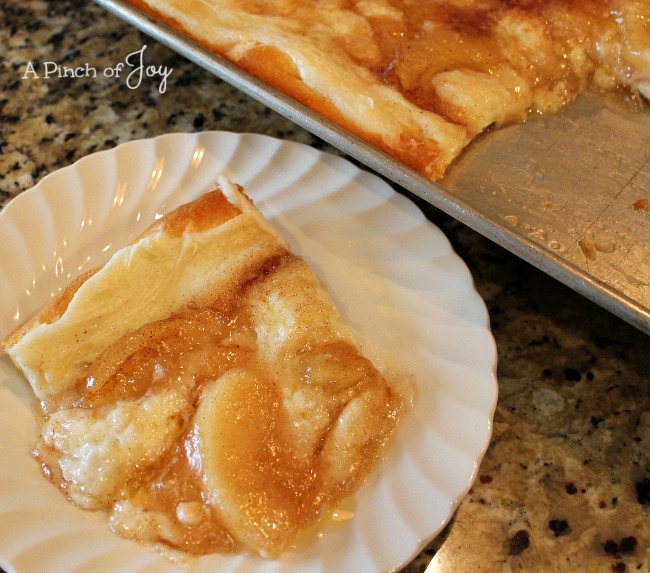
On the other hand, right out of the oven — well not right out of the oven literally. Wait 10-15 minutes before diving in so you don’t burn anything! Eating it hot is a treat — on the messy side but delicious. Makes a quick dessert for an evening meal or even a Sunday afternoon snack. Or when you don’t have time to plan ahead — like most of the time around here.
 Be sure to use a pan with sides at least an inch high. Or you will be adding the smell of burnt butter to your house, just as I did to make our Thanksgiving guests oh so welcome! I had to improvise because the jelly roll pan was missing. Next time — shuddering at the mere thought of moving again — not in the plans!!!! — but if I ever need to improvise again, I will make an aluminum foil pan and dam on top of the cookie sheet.
Quick and Easy Apple Cream Cheese Danish

Cream cheese sharpened with lemon and topped with cinnamony apple pie filling on a barely there crust — heavenly for breakfast. Or dessert. Or anytime.
- Prep Time: 10 mins
- Cook Time: 25 mins
- Total Time: 35 mins
- Yield: 16 servings 1x
- Category: Breakfast Quick and Easy
Ingredients
- 2 packages crescent rolls
- 2 packages cream cheese
- 1/3 cup sugar
- 1 teaspoon vanilla
- 1 1/2 teaspoons lemon juice
- 2 cans no-sugar apple pie filling
- 1/3 cup butter (6 tablespoons), melted
- 1/3 cup sugar
- 1 teaspoon cinnamon
Instructions
- Preheat oven to 350 degrees.
- Unroll the two packages of crescent roll dough and pat out in ungreased 11×15 jellyroll pan or cookie sheet with sides, pressing perforations together.
- Place the cream cheese, vanilla, lemon and 1/3 cup sugar in medium mixing bowl. Beat until fluffy.
- Spread cream cheese mixture across the crescent roll dough.
- Top with apple pie filling, distributing evenly.
- Mix 1/3 cup sugar and cinnamon and sprinkle over the pie filling.
- Melt butter in microwave and drizzle over the top of everything.
- Bake at 350 for about 25 minutes until golden brown.
I’m so glad you stopped by today! Be sure to follow A Pinch of Joy so you don’t miss a thing! I’d love to have your company on this venture!! Follow: Facebook / RSS feed / bloglovin’ / twitter and pinterest. Share: if you found this helpful or inspiring please click one of the buttons below! Your support of A Pinch of Joy is appreciated!
Discover more from A Pinch of Joy
Subscribe to get the latest posts sent to your email.

 Welcome! I’m Charlene. I love to share quick and easy recipes, whatever I’ve learned in our last DIY project – anything that helps make life easier, better and more fun!! I hope you will find inspiration and add a pinch of joy to your day!
Liz says
Yum – thank you.