A therapeutic heat pack is also, and probably more often, called the rice bag. How can a cup or two of rice sewn into a fabric casing be therapeutic? Ahhhh — the Cambridge Dictionary says anything that causes one to be happier, more relaxed and healthier is therapeutic. And the rice bag will do all three!
Chilly winter night = cold feet. Zap the rice bag in the microwave for a minute or so, slide the rice bag between the covers at foot level a few minutes before climbing into bed. Slide under the covers and it’s instant cozy. Happy, relaxed and, because that will help you sleep better, healthier. Over did it in the garden and muscles are aching? Warm rice bag eases those muscles before they cause big problems, whether the underlying problem is chronic or just a one time thing. Ready to settle down under a comfy throw with a cup of hot chocolate for the evening? A warmed rice bag tucked under the throw takes the coziness level to therapeutic — warm, relaxing, happy. See how that works?
Making a rice bag is as easy and satisfying as using one. Ours were well used and ready for replacement. A couple of them would even leave a little pile of rice in the microwave after warming — a silent call for help if there ever was one! A trip to Hobby Lobby for heavy flannel at half price and a trip to the grocery for two ten pound bags of the cheapest rice and I was in business. And once I got started not only were ours replaced, but there were gifts for others too!
To make flat heat packs for knees, shoulders, backs
- Cut fabric to size. The small pack needs a piece of fabric that is 16 inches by 11 inches. Finished dimension is 10 inches by 7 1/2 inches. The larger one shown needs a piece that is 19 inches by 13 inches. Finished dimension is approximately 9 inches by 12 inches before adding rice. This allows for a half inch seam allowance. The measurements do not need to be exact and can vary a bit according to your needs.
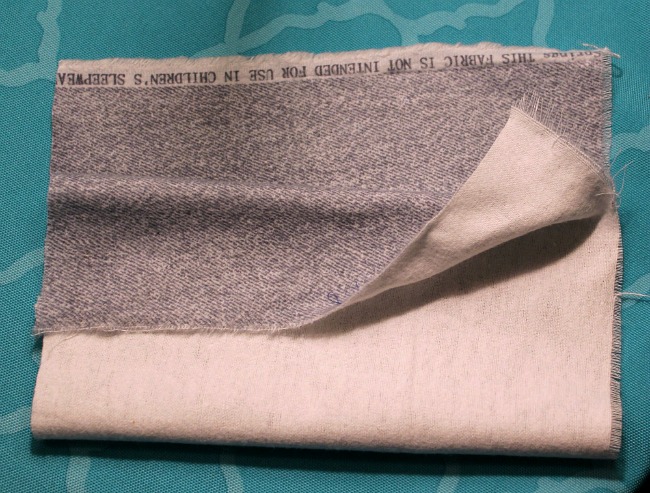
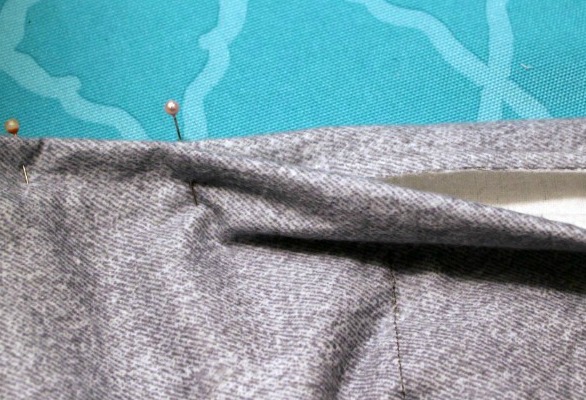
- Fold fabric in half on the long side of each piece, with right sides together as shown above, matching edges of the short sides evenly.
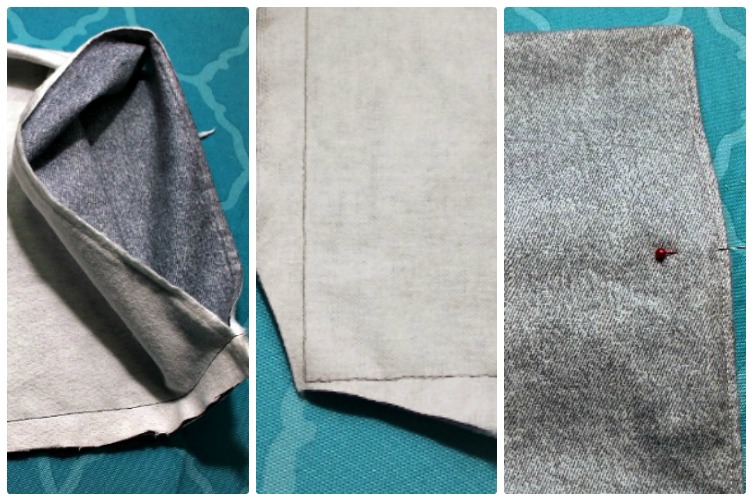 3. With right sides together, stitch one half inch from edge along two open sides. Leave one short side unstitched for adding rice.
4. Trim stitched corner as shown. For corner on the fold snip a small triangle from the edge of the seam allowance to the folded corner to remove excess fabric.
5. Turn rice bag right side out, using the point of your scissors or the blunt end of a skewer to square the corners. Topstitch across the bottom end as an extra precaution to keep rice from working through the stitches and to create a finished look.
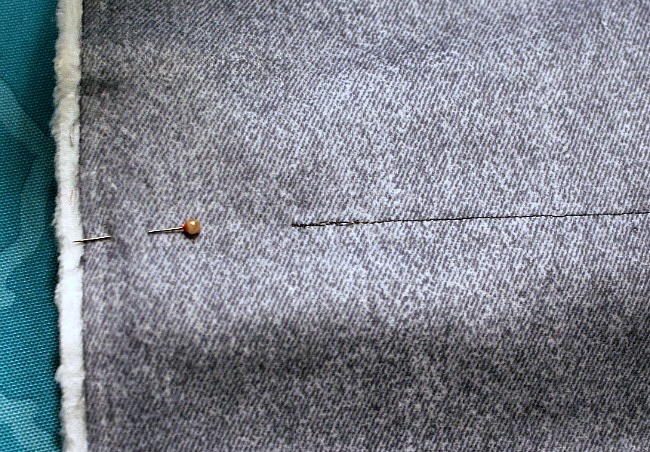
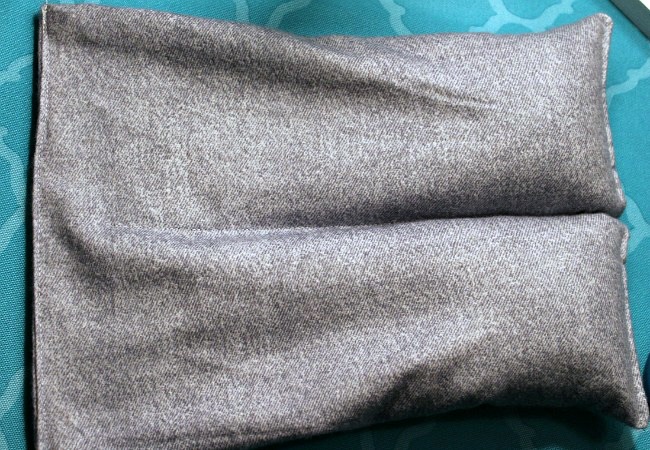
6. To create channels in larger bag: Fold stitched bag in half lengthwise and mark the center on both ends with straight pin. Open the fold. Stitch down the center from the bottom end to about 2 inches from open end. Back stitch at end of line of stitching.
7. Fill bag just slightly over half full, and less than two thirds full, of dry rice. An empty toilet paper roll makes an easy funnel or roll a sheet of paper into an open bottom cone. Fold open edges in as shown about half an inch and pin in place.
8. Topstitch across pinned open end. Remove pins.
To use: Heat for 90 seconds on high in microwave. Your microwave may require more or less time so you may have to experiment a bit to achieve the right temperature. Place rice bag on a paper towel or plate to avoid food particles or splatters. (Don’t try this at home!) These rice bags can also be slipped into a zipper plastic bag and stashed in the freezer to be used as cold packs.
 To Make Tube Heat Packs for Neck and Shoulders, Warming Hands and Feet
Cut fabric to size. The standard is 18 inches by 9 inches, which can be made from a half yard of fabric. The hand warmer is a 9 inch by 9 inch square. The extra long shoulder warmer is 23 inches by 9 inches. Fold each piece in half along the longest dimension, right sides together to begin assembly.
Follow assembly steps 2 through 8 above. To create channels in extra long warmer, mark tube in thirds (about 7 inches for each third). Fill bottom third about one half full of rice and stitch across the rice pack on the 7 1/2 inch mark beginning on one long side, stopping about an inch from the opposite long side. Repeat for middle third and finish last third by filling about half full, turning under fabric edges and topstitching closed.
Scroll down for more ideas. . . .
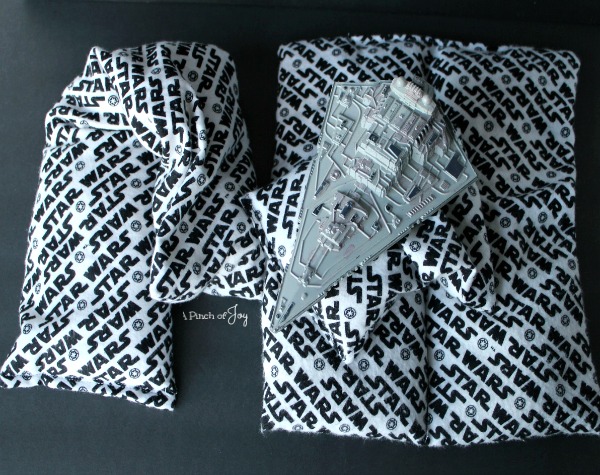 For the Star Wars Fan
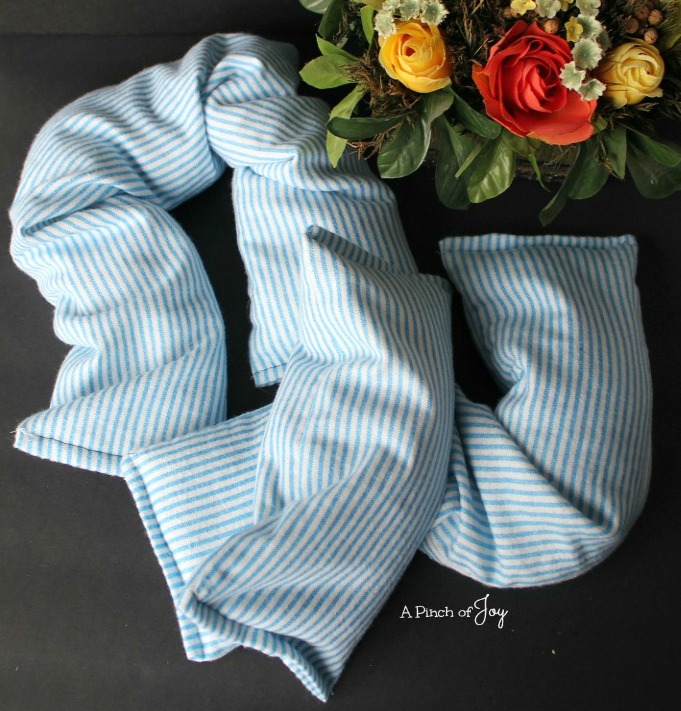
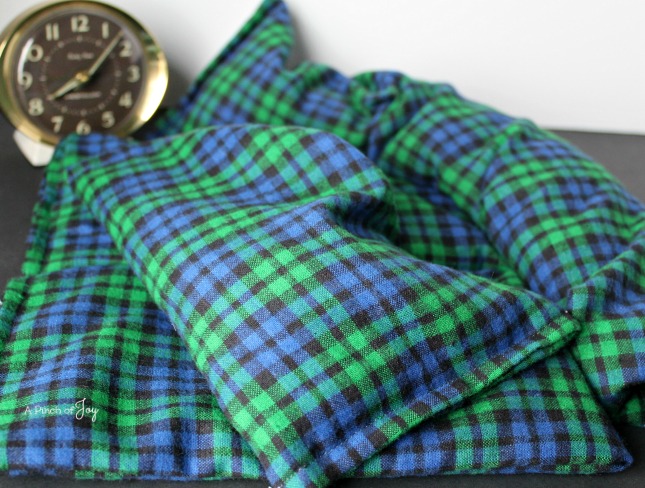 A Gentleman’s Plaid
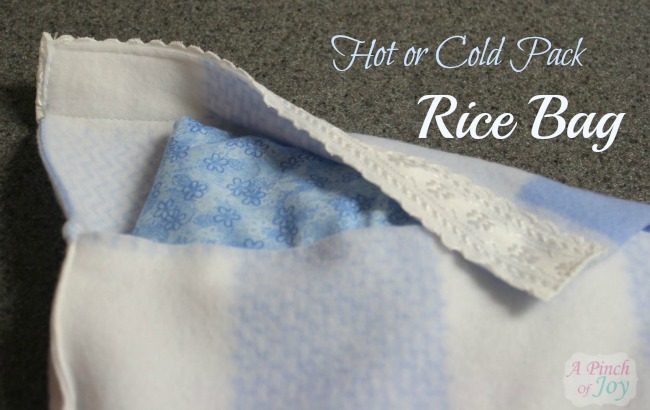 Hot or Cold Pack Rice Bag with fleece cover and gifting poem
I’m so glad you stopped by today! Be sure to follow A Pinch of Joy so you don’t miss a thing! I’d love to have your company on this venture!! Follow: Facebook / RSS feed / bloglovin’ / twitter and pinterest. Share: if you found this helpful or inspiring please click one of the buttons below! Your support of A Pinch of Joy is appreciated!
Discover more from A Pinch of Joy
Subscribe to get the latest posts sent to your email.

 Welcome! I’m Charlene. I love to share quick and easy recipes, whatever I’ve learned in our last DIY project – anything that helps make life easier, better and more fun!! I hope you will find inspiration and add a pinch of joy to your day!