Sometimes, it’s the little things that make the biggest difference. When we first moved here, we immediately took down a wall that separated the living room from the kitchen and dinette. Now you can see from the east end of the house to the west end – across three rooms. We love the open feeling! But if something is wrong in one part of the space – that’s visible from one end of the house to the other, too!
One of our kitchen upgrades pointed out the fact that we needed to replace all six of the original dingy switch plates. I looked through the hardware store collections and to buy all six at once – well, I tend to drag my feet when prices go over the limit I have set in my head. So we lived with the old ones while I continued to drag my feet. Then Bingo!
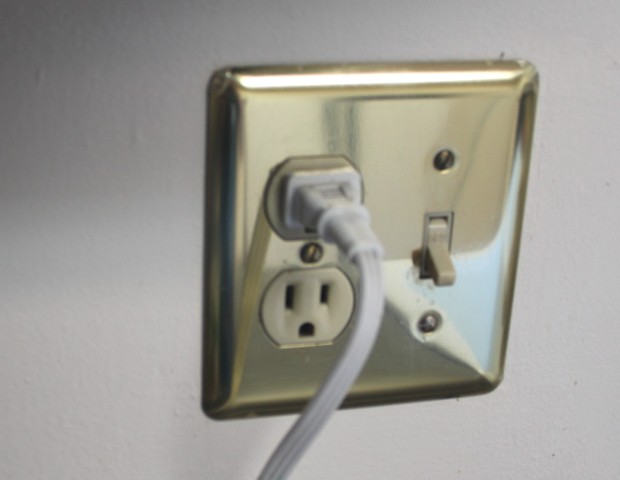
A garage sale that looked so unpromising that we almost didn’t stop had a shoebox of brass switchplates, duplex covers in all sorts of combinations. I sorted through, picked out what I needed and went to the seller. 25 cents each. Then he reached into a plastic bag and counted out the screws I would need. He was afraid they would get lost if he left them in the shoebox. I thought I would just reuse the screws from the ancient ones we already had! I came home happy that I had gotten a great deal at $1.50!
Cleaned up those little metal squares and Wheels installed them the same day. Now I know there is a great debate, at least in blogland, about brass and whether it is totally out of the picture or if it is making its way back. Forget trendy — the brass winked and reflected things at me all day long. Still, those little flashes of brass that caught my attention several times each day as I moved about were such an improvement over the old electrical plates that I could get along. I’ll get to them someday. . .
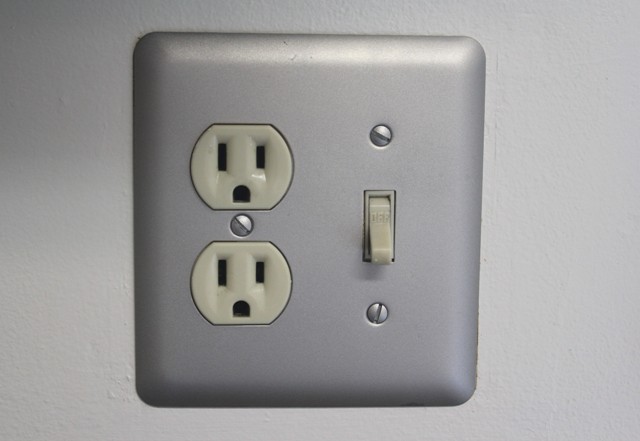
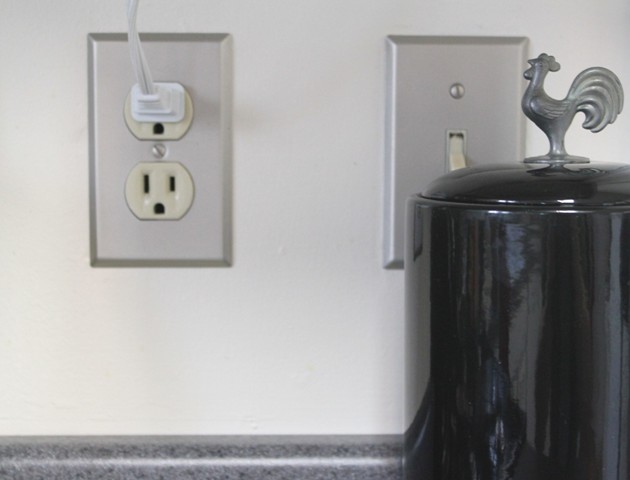
Then we changed the countertop from yellow based to gray based. Not only did those brass switchplates wink at me everywhere. They clashed! And we can’t have that! Soooo — out came the can of matte nickel spray paint!
 Changing the color was so simple and took me less than five minutes, not counting drying time. It went like this:
- Remove switch plates, duplex covers, etc.
- Wipe each one with a degreaser so they are absolutely clean
- Push screws into a piece of corrugated cardboard so they are upright
- Spray everything with an even, light coat of desired color
- Dry and repeat with a second coat. A third coat can be applied if needed.
- Replace each piece.

No more yellow metallic flashes blinking and reflecting. Just calm, matte finish blending in with everything else. Harmony restored! Have a joyous day!
I’m so glad you stopped by today! Be sure to follow A Pinch of Joy so you don’t miss a thing! Subscribe by email on the sidebar or follow on Facebook, RSS feed, bloglovin’ twitter or pinterest If you found this helpful or inspiring please share below! I’d love to have you along on this journey!
Discover more from A Pinch of Joy
Subscribe to get the latest posts sent to your email.


 Welcome! I’m Charlene. I love to share quick and easy recipes, whatever I’ve learned in our last DIY project – anything that helps make life easier, better and more fun!! I hope you will find inspiration and add a pinch of joy to your day!
Melody of ChattyChics.com says
They look amazing! I have tried spraying a couple of mine and they didn’t turn out well but they were plastic. ugh. Anyway, sharing this on Facebook! Great job!
Paula @ memakeythings.com says
I don’t know why I never thought about painting these before…instead of buying new ones. Thanks for the clever tip.