You’ve seen it pinned all over Pinterest, especially if you are a gardener. I had it on my own “Brilliant” board for a while — brilliant as in “why didn’t I think of this!” I love ideas that are slightly out of the box — and cheap! This sounded perfect. “It” is a plastic milk jug with holes pierced in the cap to make a watering bottle. The pictures showed a couple of different versions with water gently pouring through the pierced cap. I went looking for the original source and found at least three possibilities — and then decided it didn’t matter who was first because they probably don’t want the “credit” for my experiment.
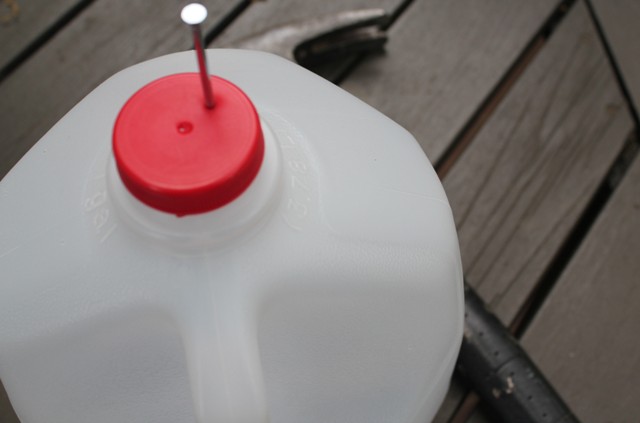
The blog I first saw associated with this pin didn’t have any directions. But really how hard could it be? I grabbed my trusty hammer and a smallish nail and got to work.
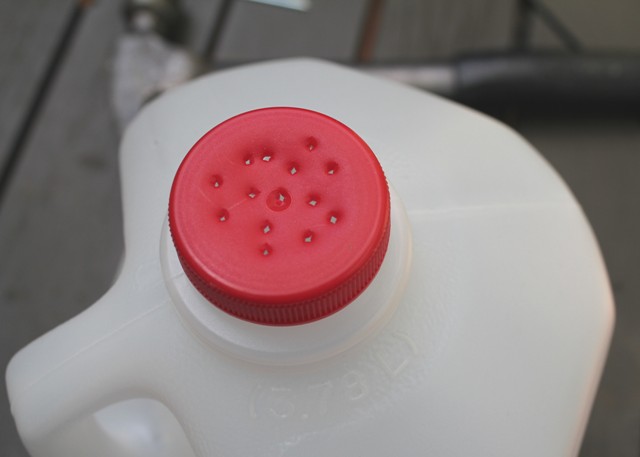
 Surprisingly the milk jug cap was on the soft side. If I just put the point of the nail through, the plastic sort of healed itself and came back together. I shoved the nail into the holes then and wiggled it to get the openings shown above.
Full of hope, I filled the milk jug and stood by the newly planted pots full of impatiens. I anticipated a gentle stream of water, soaking the pots evenly without damaging the plants or gouging a hole in the potting soil. There was a spotty sprinkle. I hoisted the back end a little higher. The sprinkle stopped. I assessed the situation and decided I must have been holding it wrong (Isn’t that a typical woman response — all MY fault!) So I tried again, even more gently tipping the bottle so the water flowed to the holey cap. It dribbled until the level of the water completely covered the cap. Nothing. Impatiens was quickly translating into impatient me!
I tried a third time with the same results. Okay, maybe the holes are wrong. Took the cap off and looked to see if there was a way the holes would plug themselves. Nope! Even all the way around, no “flaps” to plug the holes. All right! It was hot and I had been gardening all day — tired and dirty and quickly moving to the crabby side of life!
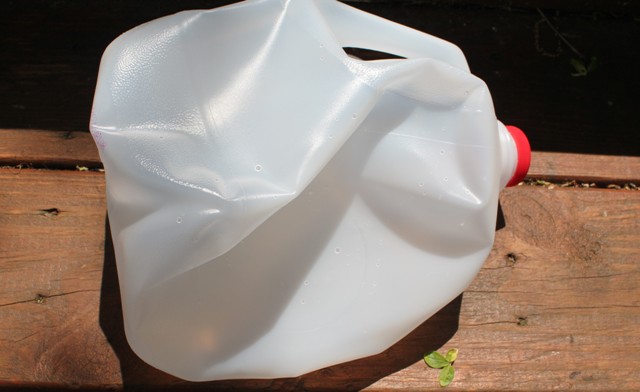
Apparently once the holes were covered with water, a vacuum was created in the bottle and there was no air pressure to force the water out. A bit of experimentation showed that trying to leave the top couple of holes open to allow air into the bottle was not going to get those pots watered this week! No place to pierce the bottle itself to balance the air pressure without creating a dribble hole. So I squeezed. That got results — for about 15 seconds. A good squirt of water before the vacuum took over. Set the bottle upright, air rushed back in and repeat the process. Not the most efficient process. Plus I ended up with this:
I’d say — don’t bother to try this at home! Unless you use a more rigid bottle than a milk jug and can figure out how to overcome the vacuum issue. Or maybe your pin had the secret key with it — if so, would you mind letting us in on the secret???
I do love Pinterest! Love everything about it — even if a very few of the ideas don’t work for me. In fact, come back Sunday afternoon. I have something planned in conjunction with Busy Monday that involves Pinterest and you. An experiment you won’t want to miss!
Don’t miss a thing — subscribe by email or RSS feed, follow on facebook or twitter to catch the latest post!
Discover more from A Pinch of Joy
Subscribe to get the latest posts sent to your email.


 Welcome! I’m Charlene. I love to share quick and easy recipes, whatever I’ve learned in our last DIY project – anything that helps make life easier, better and more fun!! I hope you will find inspiration and add a pinch of joy to your day!
Judy says
You need to create a vent hole on the bottle to prevent the vacuum. I would put it a hole in the handle up towards the top, close to the body of the bottle but not in the bottle. Make sure you fill the bottle with water below the vent hole. It’s kind of like a sippy cup – drinking spout on one side, vent holes on the other. Hope this helps!