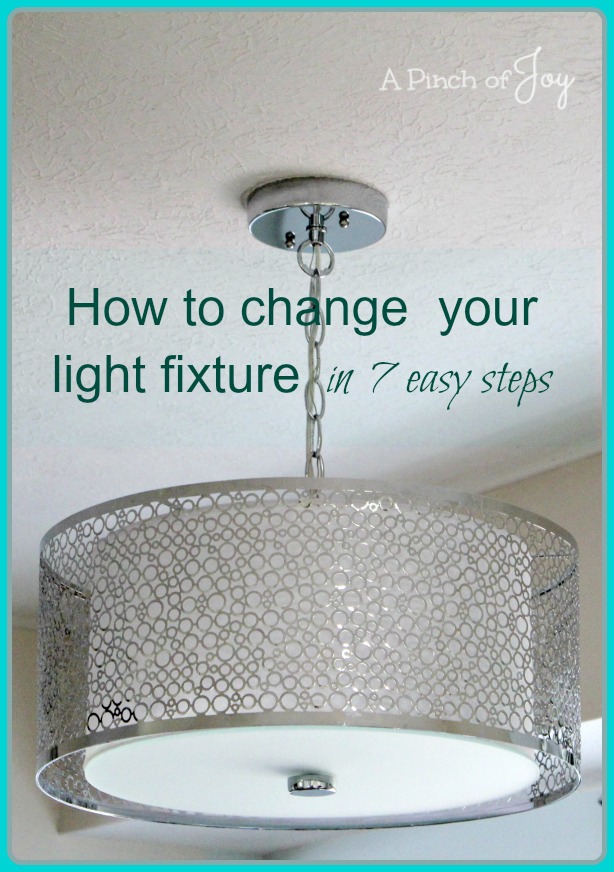
After we added the decorative paneling to the office, removed the wallpaper and painted the walls, the rest of the room began to whimper for change. We needed a new light fixture and knew it would be a do it yourself installation. We’ve installed a number of them before and have it down to seven easy steps for installing light fixtures. If everything goes right, of course. The office lighting definitely needed improvement — in more ways than one. Want proof? Look below . . . .
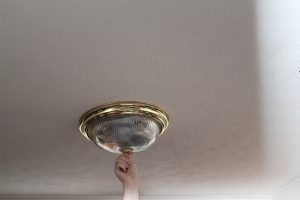
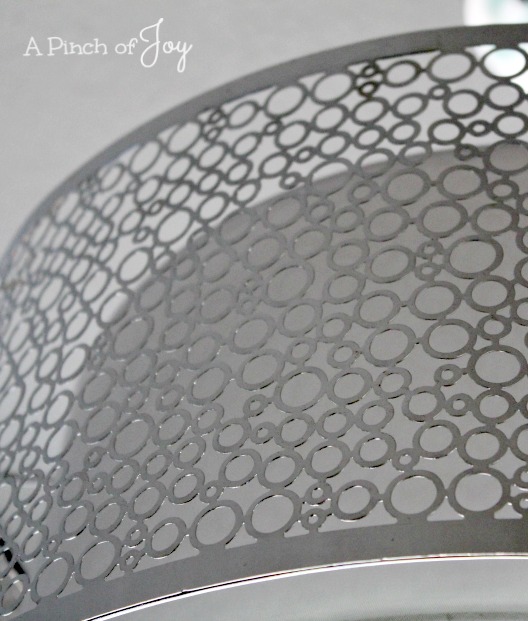
Once again Wheels and I were in the home improvement store — this time ISO a new light fixture for the office on the list. I walked around the lighting section and was smitten with a visually lightweight, filigreed silver pendant light. I found him, said I have something to show you. He meandered over after picking out some tools, looked up at the light as he rounded the corner at the opposite end of where I was standing, pointed to the one I liked and said “I like that.” Well, good! Decision easily made. Something magic in the home improvement aisle! 🙂
We brought it home, enlisted the aid of tall Bytes and a very short time later, had a new light fixture in the office! Here’s how we did it in seven easy steps.
1 Turn off power at the source. Go to your breaker box and switch off the circuit that powers the light. Note: DO NOT assume that this circuit also controls other electrical hookups in the same room or even that it controls all the visible wires in the electrical box that powers the light. Assumptions will get you in trouble! Bytes can attest to this as he thought it was okay to replace a wall outlet because the ceiling light went out when he tripped the breaker. Big flash and smarter Bytes! Fortunately he was using a screwdriver with insulated handle. He recommends you do, too!
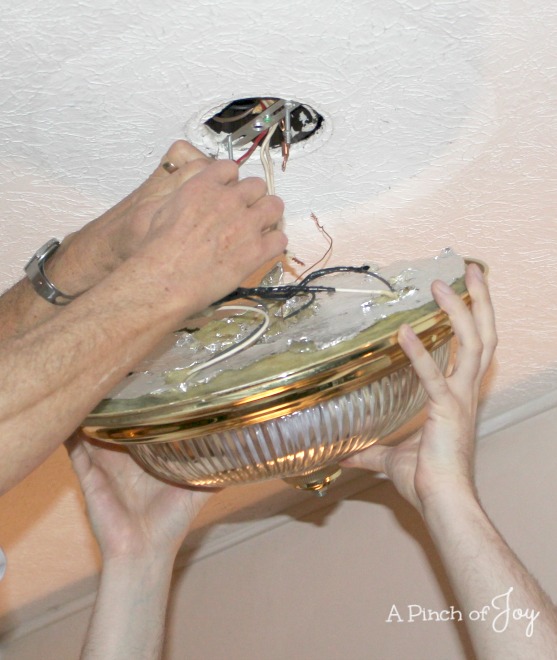
2 Remove old light fixture. A helper to hold the fixture while you do the next steps is good! You are both, of course, standing on a firm surface. People who are 6’4”ish with boots on, like Bytes, can stand on the floor. Shorter people (6 foot or less, like Wheels) are using a sturdy ladder. At my short height, I know my limitations. I chase dropped screws and find tools of which I do not know the name. . . but that are always located somewhere unspecific in the cold garage.
3 Use a circuit tester to make sure that the fixture is not receiving power. If you don’t know what this is – please take time to do more research (and buy one of these inexpensive tools, if necessary). Get in the habit of doing this every time you work with electric wiring! Inspect the wiring to make sure it is in good shape with no broken insulation and no bare wires. Make sure the electrical box in the ceiling is firmly installed. Tighten screws if necessary.
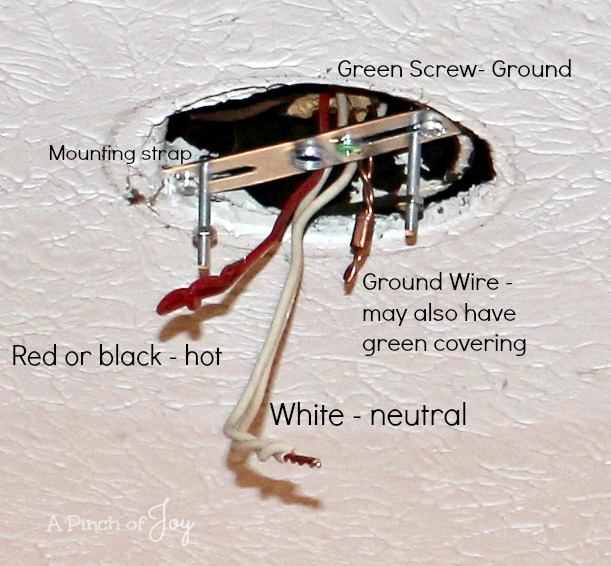
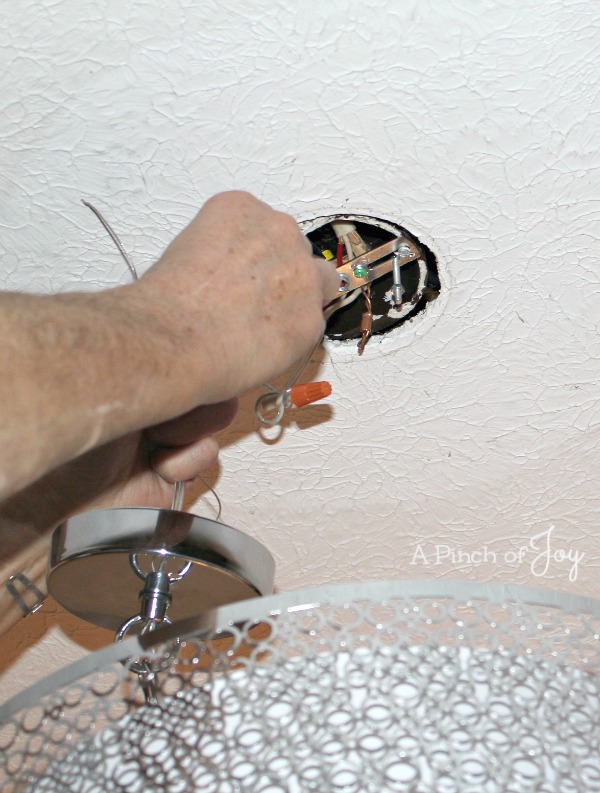
4 There are matching wires on the light fixture itself. The colored wire is the hot wire. It is usually black, but can also be red. The white is the neutral wire. Green is ground. Sometimes the ground wire is bare, but will be fastened with a green screw to a bracket. Remove the electrical tape or wire nuts from the wires in that order. Set aside or dispose of the old fixture.
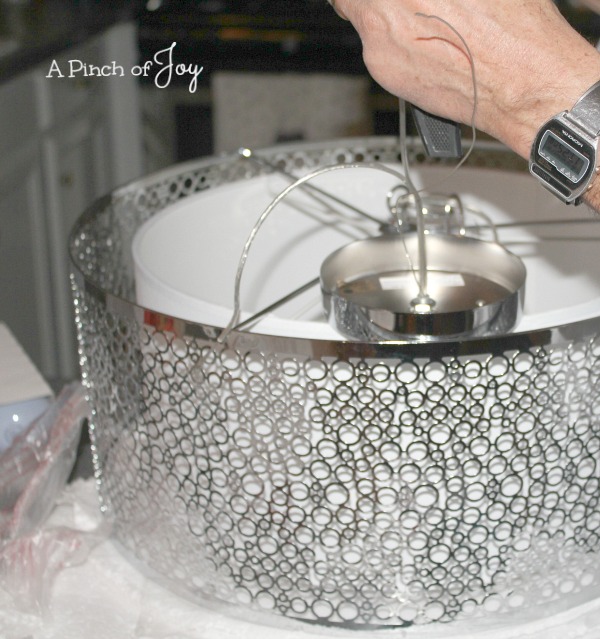
5 Unpack the new fixture and check the instructions for how your specific fixture needs to be fastened to the ceiling. Certain basics apply but there are some differences depending on weight, style, etc. If you are switching the light fixture for one of the same type – a domed light for a domed light, for example – you may be able to use the old installation hardware. Check to see before removing the old one. If there is substantial difference or you are switching from one type of light fixture to another, install any straps, fasteners or brackets according to directions.
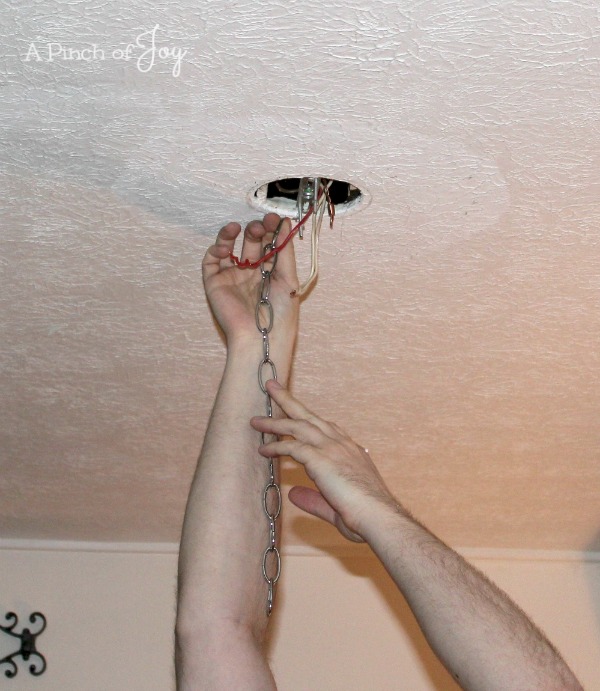
In our case, we were switching from a dome to a pendant so we also had to install the new and correct mounting hardware. Here Bytes is checking the length of the chain. He was concerned for head clearance — for some reason.
6. Have a helper hold the light fixture while you match and fasten colored wire to colored wire, white wire to white and screw the ground wires down with the green screw.
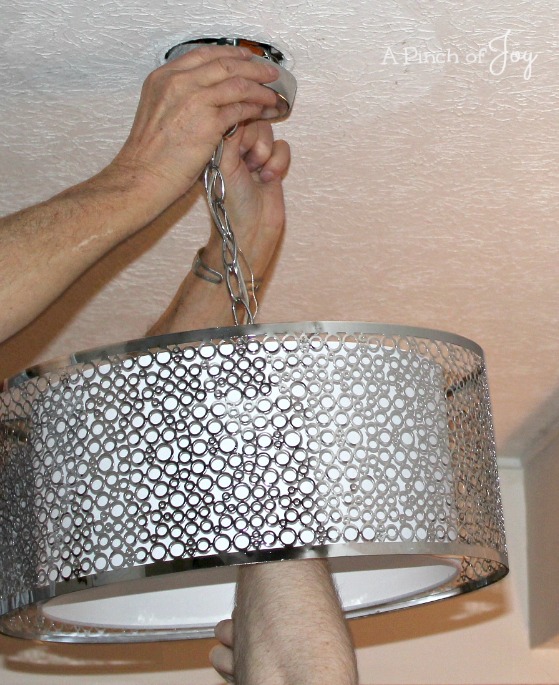
7. Finish the installation. Raise the light fixture to the ceiling and into place. Fasten screws.
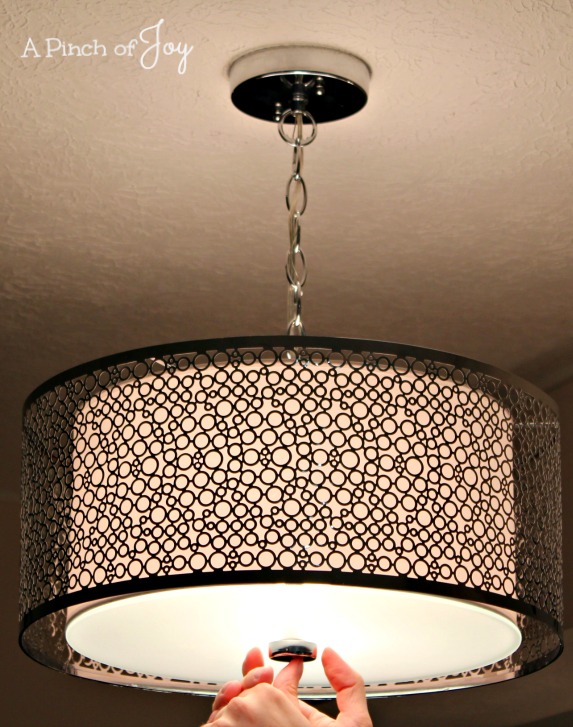
Add the recommended light bulbs and the fixture cover. Turn the power back on.
admire!
P.S. — I’ve had inquiries about where we found this fixture. Lowe’s. 🙂
I’m so glad you stopped by today! Be sure to follow A Pinch of Joy so you don’t miss a thing! I’d love to have your company on this venture!!
Subscribe: email on the sidebar or follow on Facebook / RSS feed / bloglovin’ / twitter and check out my pinterest boards. Share: if you found this helpful or inspiring please click one of the buttons below! Your support of A Pinch of Joy is appreciated!
Discover more from A Pinch of Joy
Subscribe to get the latest posts sent to your email.

 Welcome! I’m Charlene. I love to share quick and easy recipes, whatever I’ve learned in our last DIY project – anything that helps make life easier, better and more fun!! I hope you will find inspiration and add a pinch of joy to your day!