With Valentine’s Day and birthdays this month, I am still in doll mode. All three dolls need sleeping bags. Well– more like I bought a new sewing machine and needed to do some straight stitch practice. And what better way to practice than by making sleeping bags?
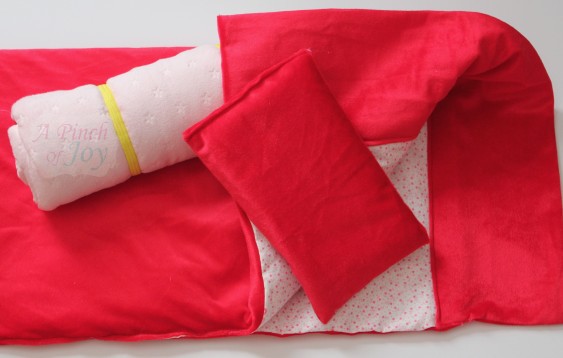
First to determine the size of said sleeping bags. This is an admittedly arbitrary process, at least the way I did it. But I’ll tell you the thought process so you can change if needed – or you can skip right down to How to. . . .. Either way, you will save you a lot of time. I figured an 18” doll would need a couple of inches on either end or 22 inches. And, more importantly, my fabric happened to be just that measurement! How wide to make the sleeping bag? Hmmm — dolly’s body is about 7 inches across so multiply that by two for top and bottom – that’s 14”. She’ll need “uppage” too – add another 7 inches for dolly thickness. I know she’s not that thick, but it’s a nice round number. And another few inches for wiggle room. Hey! The fabric piece I had in my hand measured 54 inches wide and half of 54 is 27 inches. I can make two sleeping bags from one 22 inch by 54 inch piece of fabric! I cut the third bag using different fabric with the same dimensions.
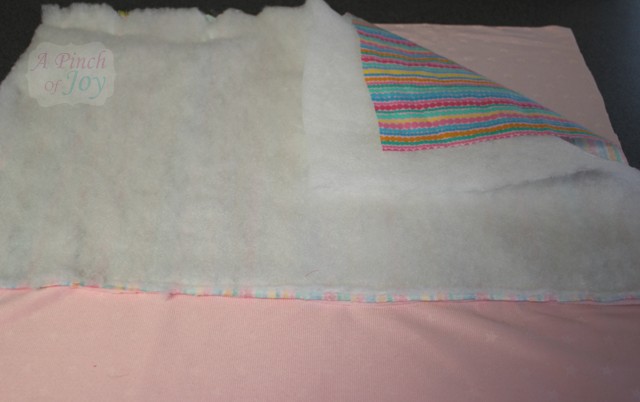
Batting would give it a more realistic look – but make it harder to handle when tucking Molly (or Samantha or Robin) in. So I decided to use batting only in the lower section. The top could be folded back to keep the doll’s face uncovered. A pillow would compensate for lacking of padding under the head. Again the measurement was arbitrary – based totally on the dimension of the fabric I wanted to use for the inside. It was also 54 inches so it matched that of the outer layer and both were cut in half – but the other dimension was 18 inches so that became the length of my inside layer and the batting.
How to make sleeping bag:
- Each sleeping bag outer layer is 27 x 22inches before stitching.
- Each inside layer was 27 inches by 18 inches before stitching.
- Batting dimensions equal that of inside layer – 27 inches by 18 inches
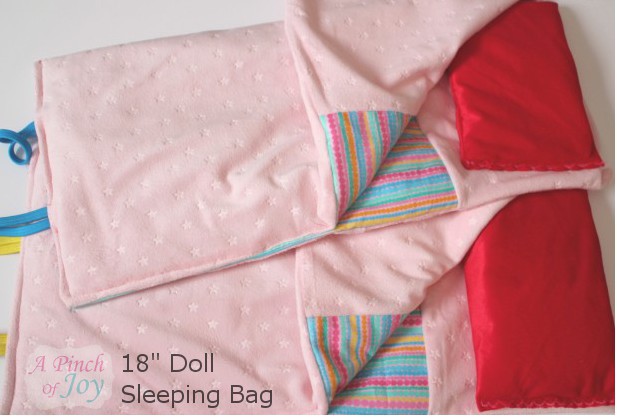
Making the sleeping bag was much simpler than figuring the dimensions. Since grain doesn’t matter in this project, lay the 27 x 22 inch fabric out on the table. Pin the 27 inch side of the inside fabric and batting to the 27 inch end of the outer fabric, right sides together. Using a one fourth inch seam allowance, stitch together.
Keeping right sides together, fold the entire piece in half. Pin and stitch both sides, again using one fourth inch seam allowance.
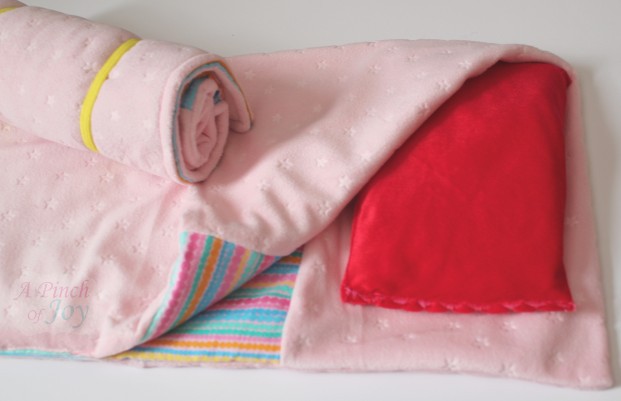
For the bottom straps Cut dollar store elastic headbands in two equal pieces, make a loop and place it between the two right sides with the loop upward, before stitching. I also notched the batting around the ends of the loop so the layers were not so thick. (I swear I took pictures of that but Yahooti ate them – nowhere to be found!) You can use grosgrain ribbon to tie or Velcro or omit this altogether, if you like
At the bottom on the side where the straps are located, stitch halfway across. Leave the other half open.
Trim corners across on an angle to reduce amount of fabric in corners. Turn so the right side is outward. Pin the opening closed and top stitch.
Fold the sleeping bag in half. The dimensions of the folded bag will be approximately 22 inches high and 13 inches wide.
Pin bottom together, right sides facing outward. Pin sides together, beginning at the bottom corner, about halfway to two thirds of the length of the bag. Push fabric back toward the bag center to keep seams tight and as thin as possible. Place pins fairly close together to keep the layers from slipping. Top stitch, beginning at the fold on the bottom and ending at the opening near the top of the bag. Done!
How to make pillow:
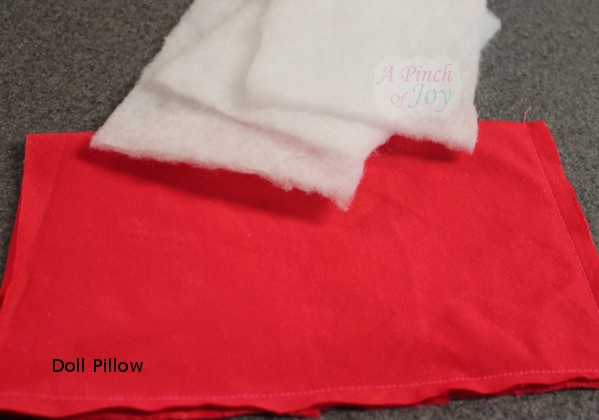
- Cut one piece of fabric to 8.5 inches by 10 inches.
- Fold right sides together to form 8.5 by 5 inch rectangle.
- Stitch one short end and the long end closed.
- Turn so right sides are out.
- Cut three layers of batting 8 inches by 5 inches. More layers = fatter pillow. Stack layers and slide into pillow case.
- Fold open edges into pillow and top stitch closed. I used different decorative stitches on the two pillowcases going to the same household, so they would know which is whose.
Other 18″ doll projects:
How to Make a Parka for 18 inch doll
Jacket, Hat and Scarf from Dollar Store purchase with jacket pattern
Pillowcase Dress for 18″ Doll with pattern
Party Dress for 18″ Doll
Fiesta Skirt from a fat quarter
Be sure to check out Busy Monday Link party for great ideas from around the web!
Don’t miss a thing! Subscribe to get new posts by email, follow on facebook, twitter or by RSS. If you see something you like, use the Pin button on the top or one of those cute little share buttons down below!
Have a joyful day!
Linking up to these awesome parties here
Discover more from A Pinch of Joy
Subscribe to get the latest posts sent to your email.

 Welcome! I’m Charlene. I love to share quick and easy recipes, whatever I’ve learned in our last DIY project – anything that helps make life easier, better and more fun!! I hope you will find inspiration and add a pinch of joy to your day!
Katie says
My daughters would love these for their Build a Bears! I would love for you to share this with my readers on Blog Stalking Thursday! http://thecraftyblogstalker.blogspot.com/2012/03/blog-stalking-thursday-31_07.html
Melody of ChattyChics.com says
Oh Charlene! How precious! Great job!
Amy says
These are great! Would be a nice gift if you don’t have little girls. Mine are teenagers but they would have loved them when they were little.
Connie says
What a cute little sleeping bag!
Kimberlee says
I have been looking up all kinds of doll ideas for my girls, and I love the sleeping bag idea. How neat!!! Would love to have you come link-up at Finished it Friday! Have a fabulous weekend! ~Kimberlee, The Spunky Diva
Lisa Cash Hanson says
This is so cute. I can barely sew a button LOL.
LeAnn Johnson says
Cute sleeping bags! There will be 3 happy girls and dolls! I had never thought of the elastic head bands for tying the bag when rolled and find that a good thought for little hands that maybe don’t yet know how to tie ribbons!