 How to create a faux tray ceiling – and take very bad photos in rainy weather when trying to show it! That’s really what the title of this post should be! Have you ever tried to take a picture of your ceiling? Did you know that chandeliers look very different when you are lying on the floor? Just roll with the pictures today – you’ll get the idea!
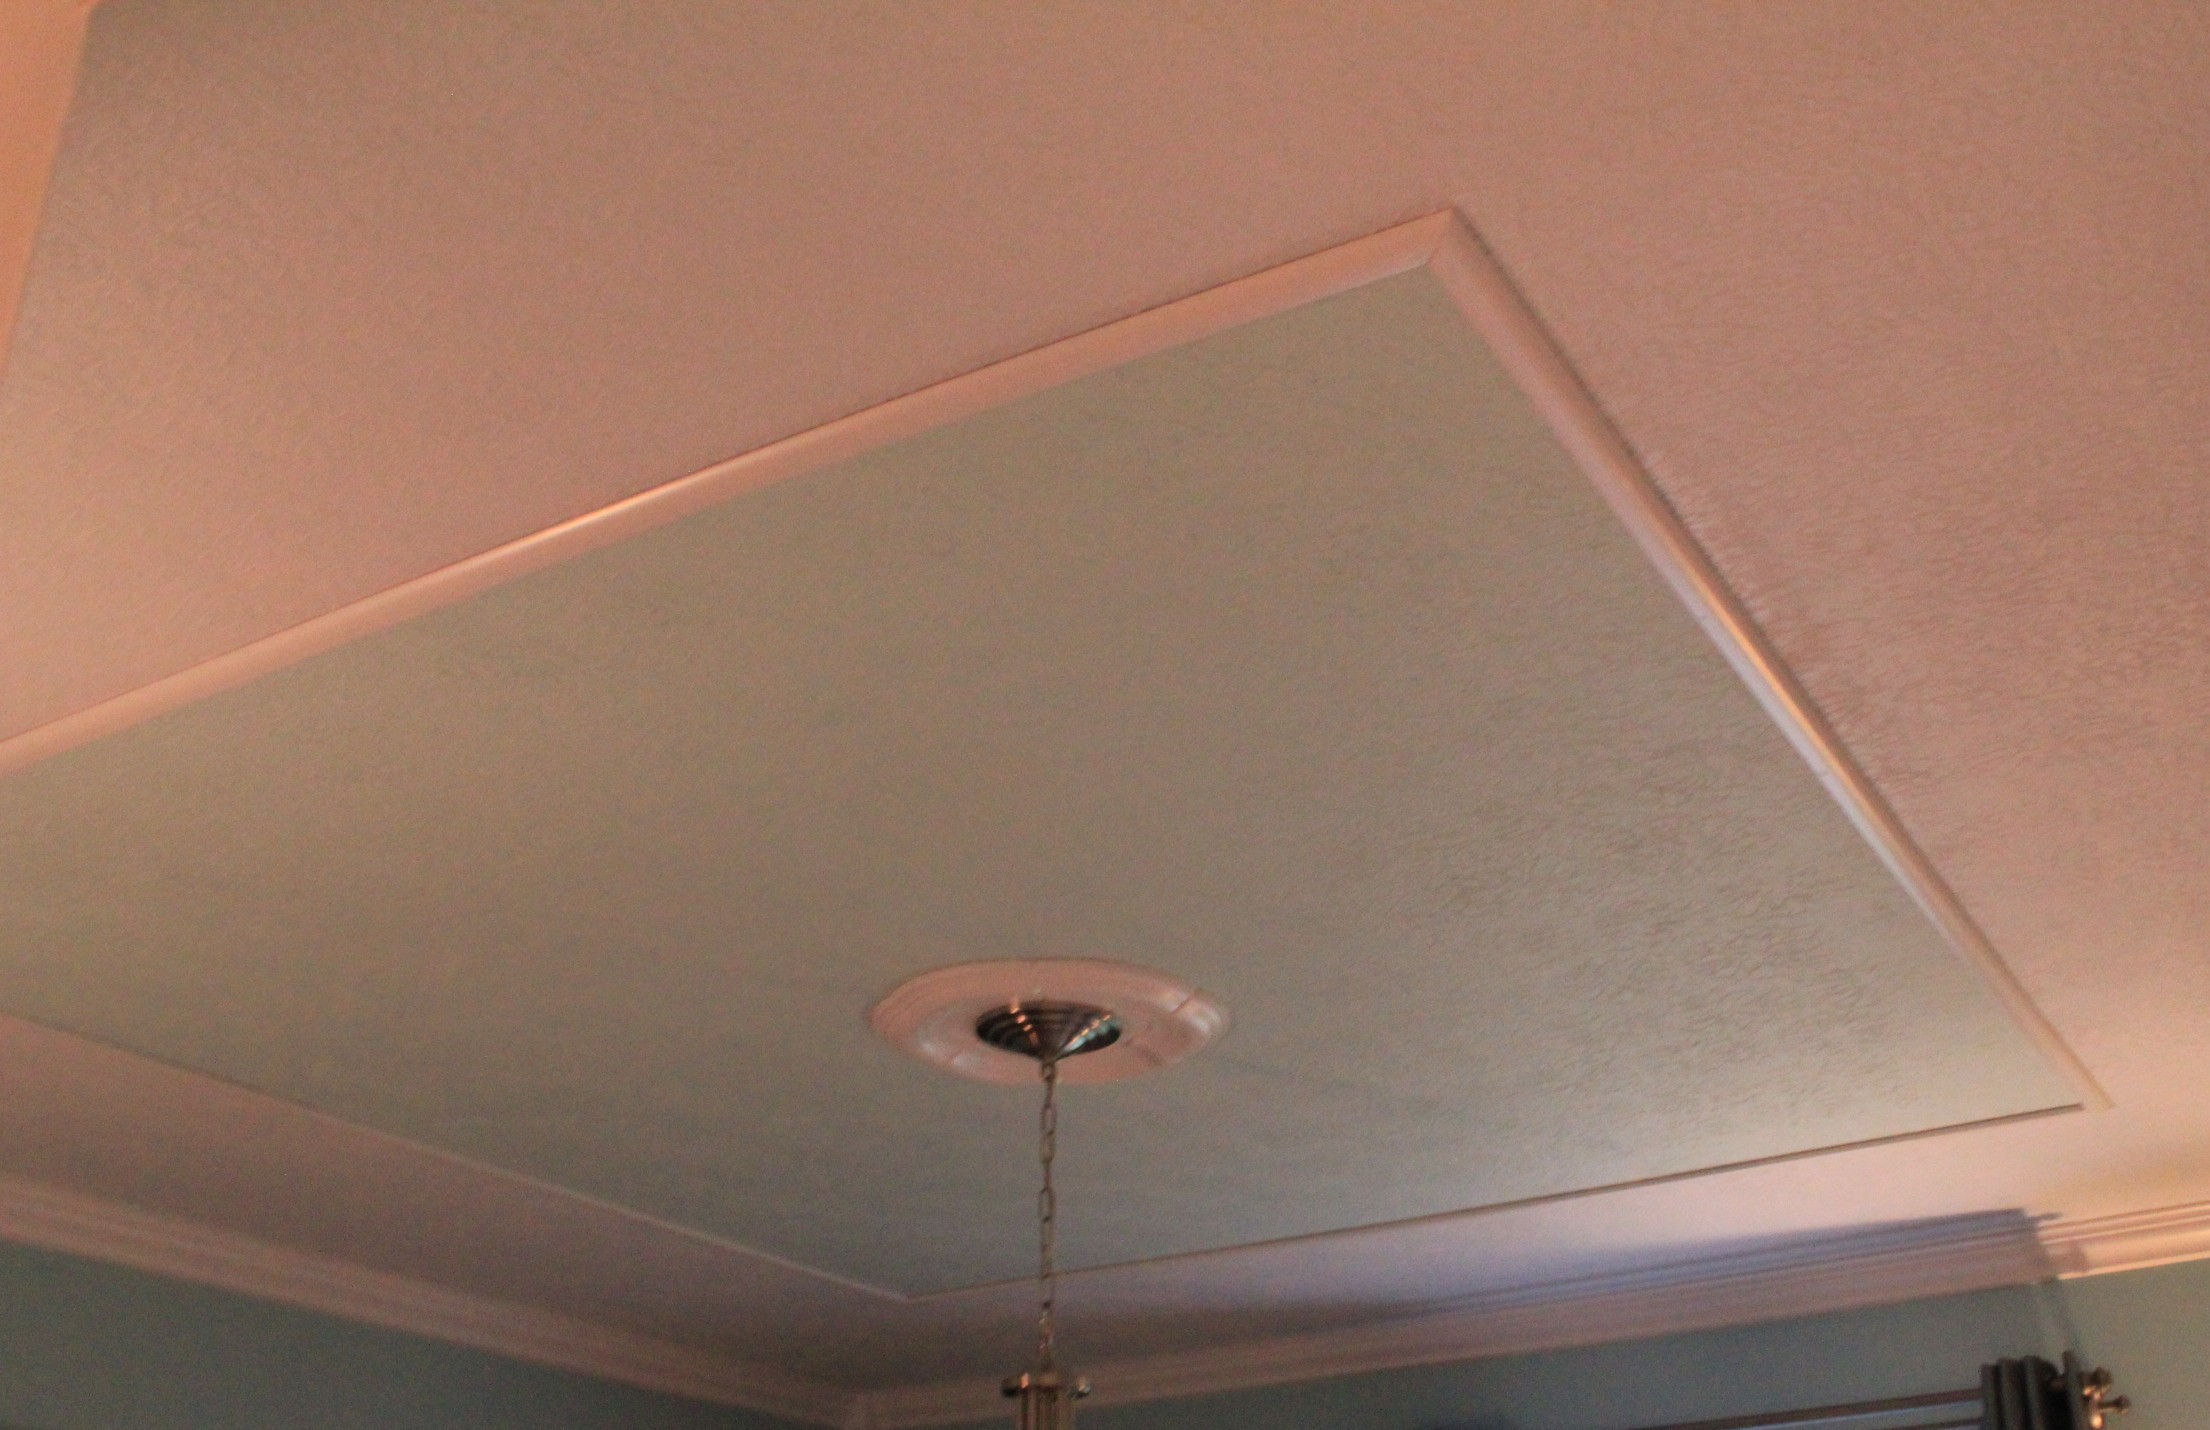
I saw a room photo once upon a time, who remembers where, but the ceiling trim shown came to mind when we decided to redo the dining room. Our dining room was basically a square box with openings on three sides and no distinguishing characteristics whatsoever. We set out to give it a little character. As our confidence grew, so did the character! I love it now – including the ceiling. Visitors don’t see that detail right away, but when they notice, they are full of positive comments. Character should grow on you like that!
The ceilings were all done with the texture process common at the time this house it was built. They added their own spin and created stalactites up to half an inch long. One of the very first things we did, was shave the ceilings. We didn’t have the time or desire to completely remove the texture then. We’re more familiar now with the techniques the builder used in the rest of the house, so have decided it’s better there is some texture to hide the flaws! Might be true that textured ceilings are so yesterday, but they’re staying. With a couple of coats of paint over the shaved texture, they do what ceilings do. Fade into the background until you take photos of them!
Let’s get down to the how-tos of creating a faux tray, otherwise known as putting molding on your ceiling, in three easy steps.
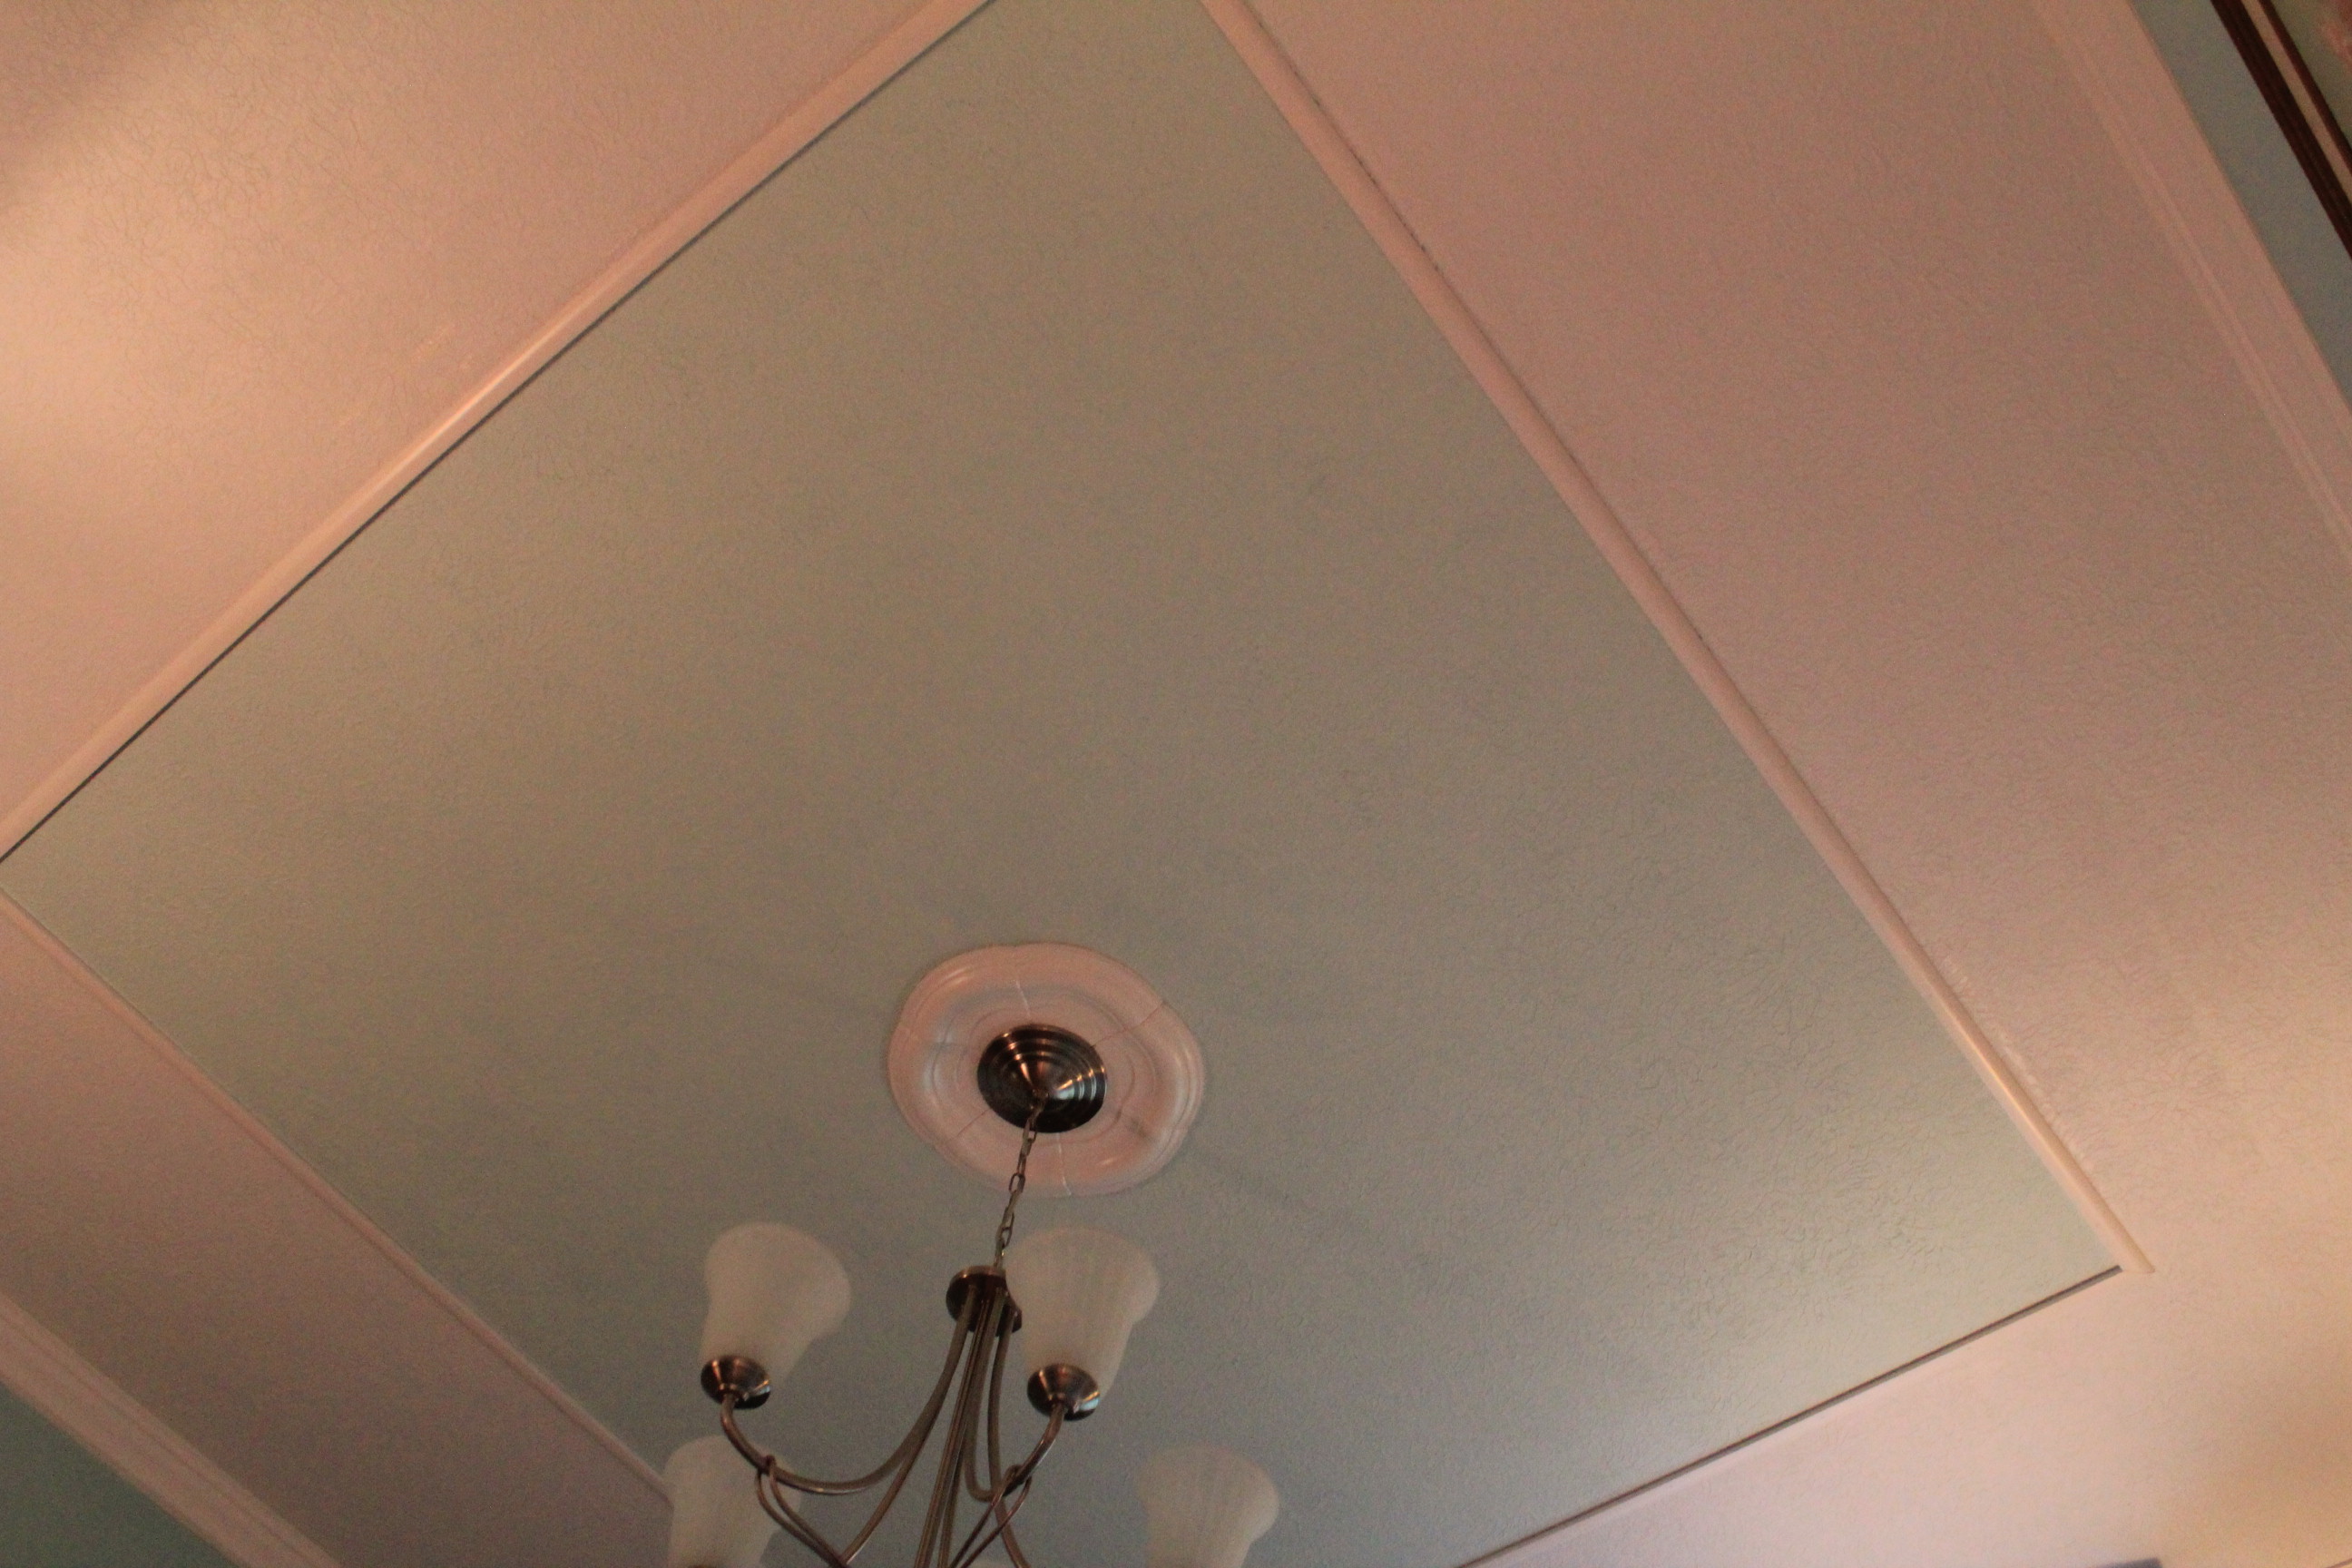
1) Make color choice: I recommend painting the entire ceiling a white chosen to coordinate with wall colors. We chose a cool white in a white outside/ color inside the tray scheme. This could be reversed to color outside/ white inside the tray. Or even white on white. If you want something less traditional you are on your own! I selected a related color for the inside of the tray, several shades lighter than the wall color. Often when ceilings are painted, the wall color can be mixed at 50% or 25%. Basically, that means adding just a percentage of the coloring pigments to the base. The wall color is deep and saturated, so I didn’t want to repeat it because I thought it would be too overwhelming.
2) Determine size: We began by measuring the room and dividing both the length and the width into fifths. Why fifths? Because that produces proportions that are pleasing to the eye. The colored inside of the tray area is three fifths of the linear dimension and the surrounding white outside areas each measure one fifth of the dimension. Add them together like this: Outside + inside + outside = five fifths. This is true whether you measure length or width. Our room is almost square so the outside white area was the same on all sides. If yours is longer than wide, you could end up with the outside areas being different measurements. Measure and use masking tape to outline your tray on the ceiling. This allows you to check out the proportions and adjust, if needed, before painting the other color you’ve chosen.
 3) Apply trim: Bytes did this, since he is the tallest person in the house. Plus he makes true cuts with the mitre saw! We chose a flat trim because the room is not large and we just wanted to outline the area. We’d never done anything like this before, so it seemed less daunting than something more ornate. Trim comes in 8 feet length or 10 foot length. We chose the longer because it would go the full dimension we needed without having to splice. Paint your trim before cutting. We chose the same color as the rest of the wood trim in the room, also a cool white. Since you have already measured the tray area, taped and painted it, it is easy to see where the trim should be applied.
 Measure carefully, remembering to be consistent as to whether you measure the long part of the angle you will cut or the short part. We called the longer part “an outie” and the shorter part “an innie” so we could keep them straight. (Edited to add photo so you can see what I mean.) Cut each corner at a 45 degree angle. Because this is a rectangular or square application, make sure that the “outies” on each end of the trim are on the same side! If you hold up the trim and the outie on the left is on the upper side, the outie on the right should also be on the upper side. (Can you guess why I am covering this in such detail? mmmhmmmm. Follow the tips — it will save much time!) Match corners on the ceiling. Use finish nails to nail into place. Caulk carefully. That was my job — I am the shortest and can set on the ladder to better control the caulk!
Hang chandelier and enjoy!
Other dining room projects:
How to choose and install crown moulding, How to determine where to place a chair rail, How to install a chair rail, 5 Things to Know about replacing a chandelier
I’m so glad you stopped by today! Be sure to follow A Pinch of Joy so you don’t miss a thing!
Subscribe by email on the sidebar or follow on Facebook, RSS feed, bloglovin’ twitter and check out my pinterest boards. If you found this helpful or inspiring please share below! Your support of A Pinch of Joy is appreciated!

~~~~~~~~~~~~~~~~~~~~~~~~~~~~~~~~~~~~~~~~~~~~~~~~~~~~~
Discover more from A Pinch of Joy
Subscribe to get the latest posts sent to your email.

 Welcome! I’m Charlene. I love to share quick and easy recipes, whatever I’ve learned in our last DIY project – anything that helps make life easier, better and more fun!! I hope you will find inspiration and add a pinch of joy to your day!
Karen @ Feral Turtle says
That looks really nice. I would love to do this in my house but I have the dreaded popcorn ceilings. Maybe I should start scraping. Cheers!
Inspire Me Heather says
Wow, that does look great! Thanks for the idea!!
Charlene says
Thanks for stopping by!
Jen says
Great idea with the ceiling application. What a nice way to add some architectural detail. Visiting from “Lolly Jane”
Charlene says
Thanks for stopping by! BTW — I love Paris, too! Your photos are fabulous!
Sherry says
Great idea! Thank you for linking it with Home Sweet Home!
Sherry
Carlee says
What a great idea, I just love adding extra touches to make a home looked finished!
Thanks for showing off!
Carlee
http://www.ladybirdln.com