We’ve had a gallery wall along the basement stairs for – evah! Because we live so far away from family, this was the landing place for all the graduation, wedding, new baby photos from the extended family. Add our own family milestone photos as well and it was an impressive number! I picked out half a dozen that I wanted to keep on display elsewhere and put the rest into an album. It was refreshing to have all that open space!!! And boring. It needed to have a pop of color, a place to rest the eye.
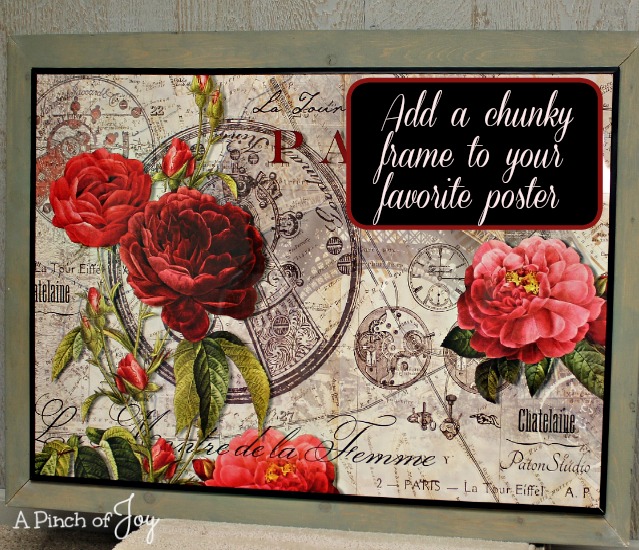
To the rescue, Hobby Lobby. Posters 66% off. I loved the colors in this women’s watch poster, the background went beautifully with the new wall color, the roses added the pop so badly needed! I already had a poster frame from a grocery store clearance — even better at 90% off! Perfect!!! Except it wasn’t. It looked a little forlorn hanging on the big expanse of wall. In keeping with my low budget production, I decided to repurpose the train shelves we took down as part of the basement redo. It was a quick and easy project, a little bit rustic in keeping with the basement walls.
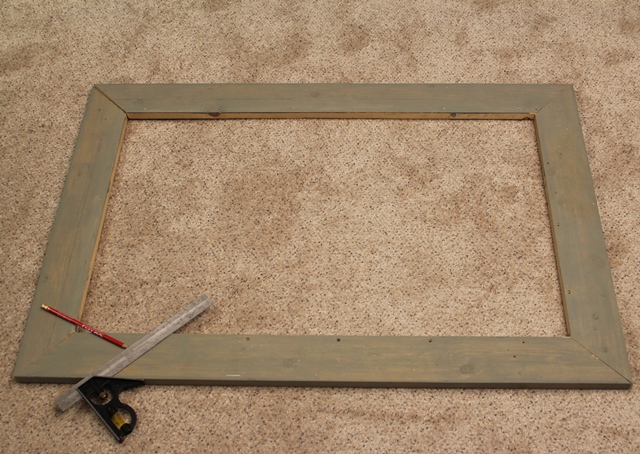
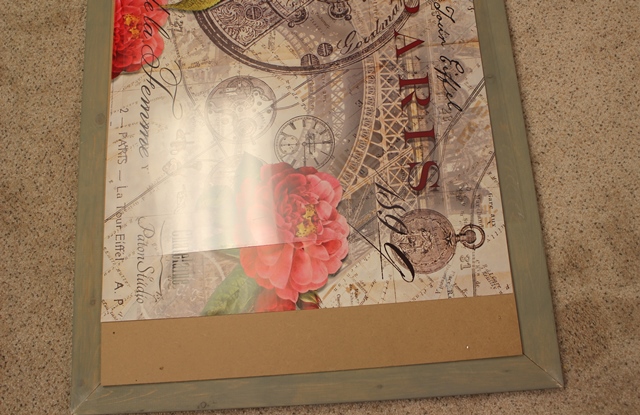
Bytes measured the poster. He measured the 4″ wide pine boards so that the poster dimension fell in the exact middle of the diagonal corner cut. Once this center point is marked, draw a line at 45 degrees with the smaller dimension on the bottom of the frame piece. The poster frame lays on top and will leave room to securely tack the poster and frame to the new gray frame and still have half the new gray frame showing around the poster frame. (Not clear? The second picture down from here might help!) He mitered the corners and laid the pieces out in a rectangle. The wood had been stained gray to match the basement wall for its previous life. Worked for this purpose, too.
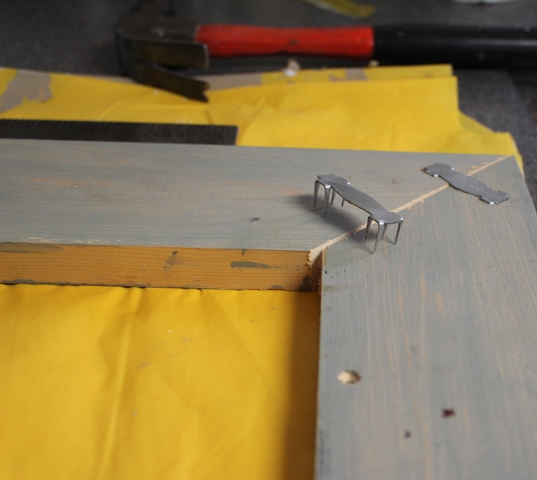
A couple of cleats from some other long forgotten project to hold each corner in place. The kitchen counter was the makeshift workbench. Of course. Isn’t your kitchen a multipurpose room? Especially in the winter when it is so cold in the garage that the thermometer doesn’t register.
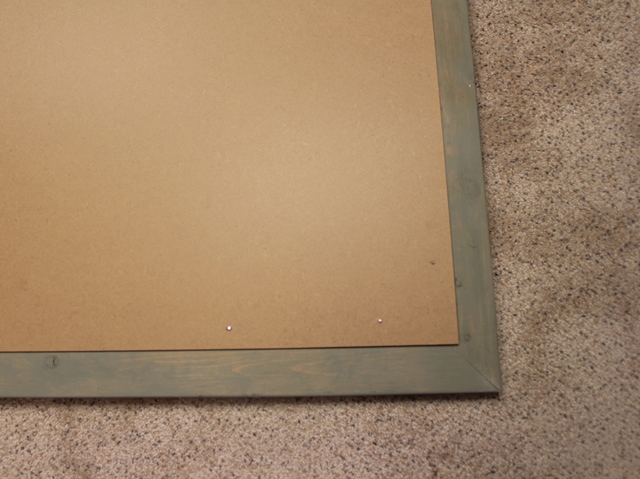
We laid the poster backing — a thin board — in place and tacked it down. Be sure to keep brads least one inch from the edge so you can slip the poster frame channel into place. The corner of the poster backing is on the diagonal cut where the measurements were taken. Semi – precisely.
Add the poster and plexiglass covering.
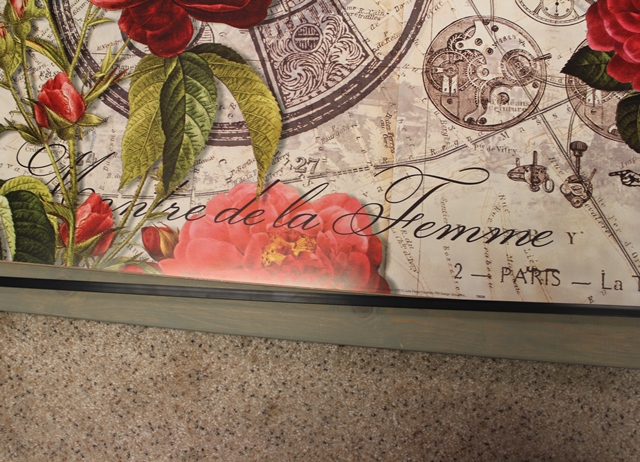
Slip the black channel that comes with the poster frame over the backing, the poster and the plexiglass. Add your hanger arrangement of choice to the back.
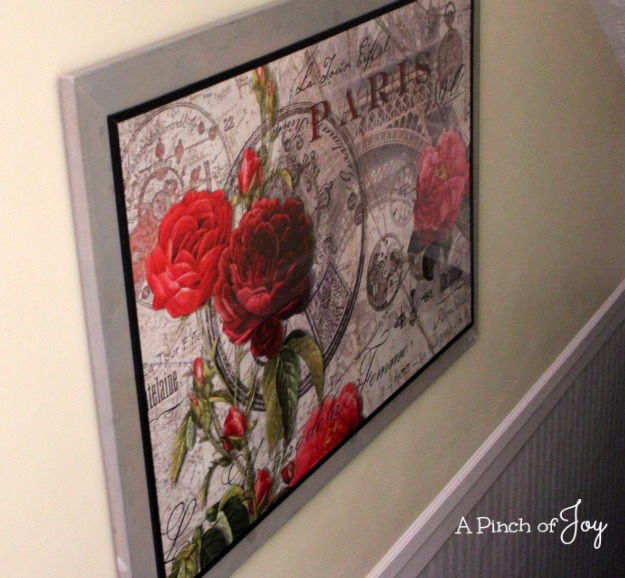
And there you are! A nice sized pop of color for a staircase wall with a frame to make it an outstanding accent!
A quick and easy project that took fifteen minutes from concept to hanging on the wall.
Love it when things just flow together!
I’m so glad you stopped by today! Be sure to follow A Pinch of Joy so you don’t miss a thing! I’d love to have your company on this venture!!
Subscribe: email on the sidebar or follow on Facebook / RSS feed / bloglovin’ / twitter and check out my pinterest boards. Share: if you found this helpful or inspiring please click one of the buttons below! Your support of A Pinch of Joy is appreciated!
Discover more from A Pinch of Joy
Subscribe to get the latest posts sent to your email.

 Welcome! I’m Charlene. I love to share quick and easy recipes, whatever I’ve learned in our last DIY project – anything that helps make life easier, better and more fun!! I hope you will find inspiration and add a pinch of joy to your day!
Gabriel Patterson Winnipeg says
Pretty! This was a really wonderful post. Many thanks
for supplying this information.
Gabriel Patterson Winnipeg recently posted…Gabriel Patterson Winnipeg
Nellie says
Your picture turned out lovely, such a pretty picture too.
I do that myself, but not easy finding nice posters anymore that are reasonably priced.
I have also taken them to Michaels and had the poster foam cored, and they have a
modern look to them, very light with no frame. Just put a hanger on the back.
Good job, hope you enjoy it.
Blessings, Nellie