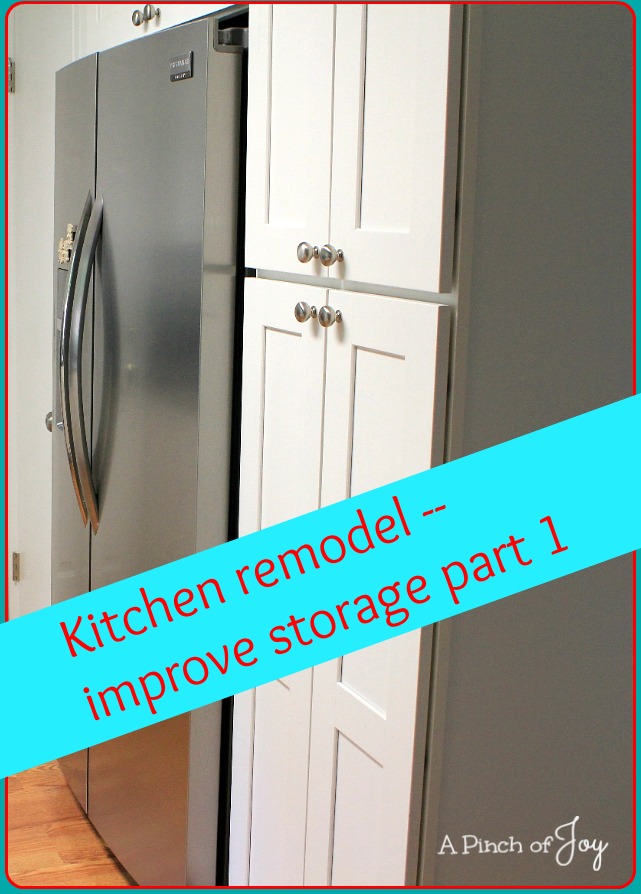
One of the goals in our kitchen remodel was to improve the amount of storage available. This is the pantry wall. For this wall I wanted it to be storage from floor to ceiling and to make the refrigerator look like it “belongs”. We met — and exceeded — the goal so much that I’m going to make a separate post on just this wall. Here’s how we gained a huge amount of storage space ending with the takeaway for planning your kitchen remodel!
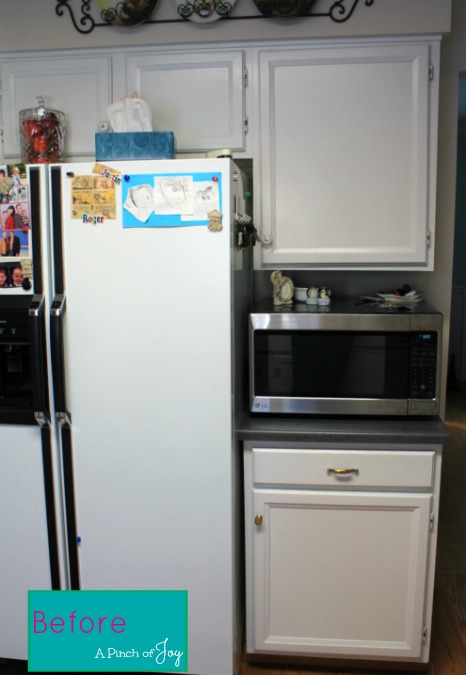
Before: the upper cabinets were a standard 12 inch depth. I couldn’t even reach the handles on the cupboard above the refrigerator! Because the kitchen was built before the microwave was standard, this was the only bit of counter space available to put a microwave. I actually liked it at this height (have I mentioned I’m not a tall person??). My original idea was to “build in” this microwave like the refrigerator, but changed my mind for several reasons. The lower cupboard had one of those half shelf arrangements so it was not worth much in terms of storage. I wanted to replace it with several drawers, but found that to be a costly storage solution and not as efficient as I had hoped.
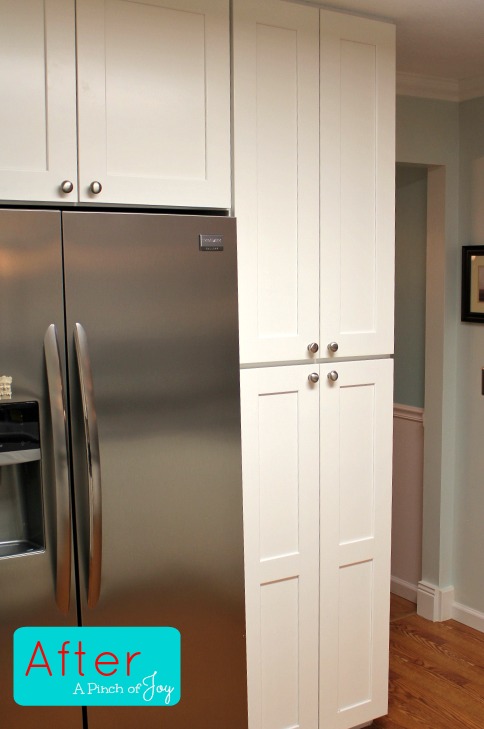
Love the after!! We were able to remove the soffit above the old cupboards which gave us the unbroken floor to ceiling storage we were after! Our preliminary check showed a four inch heat duct ran diagonally across the right hand corner of the soffit. We really wanted that soffit gone and thought about opening the back of the the upper cabinet and building around the duct. When our experienced advisor arrived on the scene, he determined that we could rework the heat duct to fit in the wall and ceiling (like it probably should have from the beginning). Bingo — soffit gone and open space. We had room to install usable storage above the refrigerator and an eight foot tall cupboard between the refrigerator and the opening to the dining room.
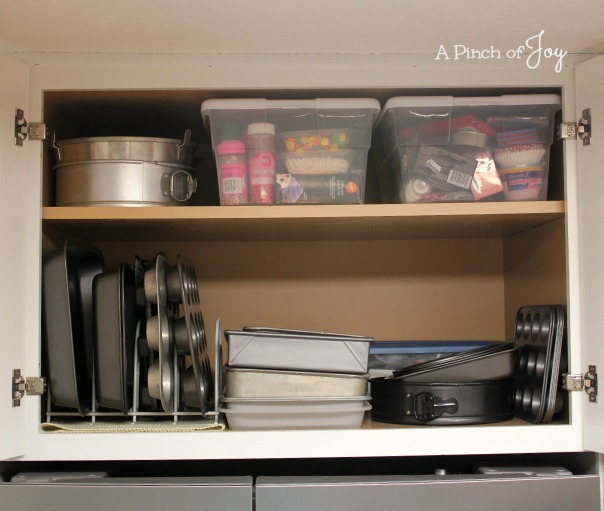
The cupboard above the refrigerator is 24 inches deep. I can reach the knobs to open the door! I can reach everything on the bottom shelf! Standing on the floor! Well, except the cake decorating stuff in the blue lidded container at the very back — but since I don’t often decorate cakes I will gladly get a stepstool for that. The upper shelf is also requires a stepstool which is just a few steps away in the garage. Wheels or Bytes are usually willing to reach up (so easily!) and lift them down for me if they happen to be passing through. (I may or may not plan retrieval from that shelf based on their arrival in the kitchen.) I might add another rack on the left someday for smaller baking pans but for now this is perfect!
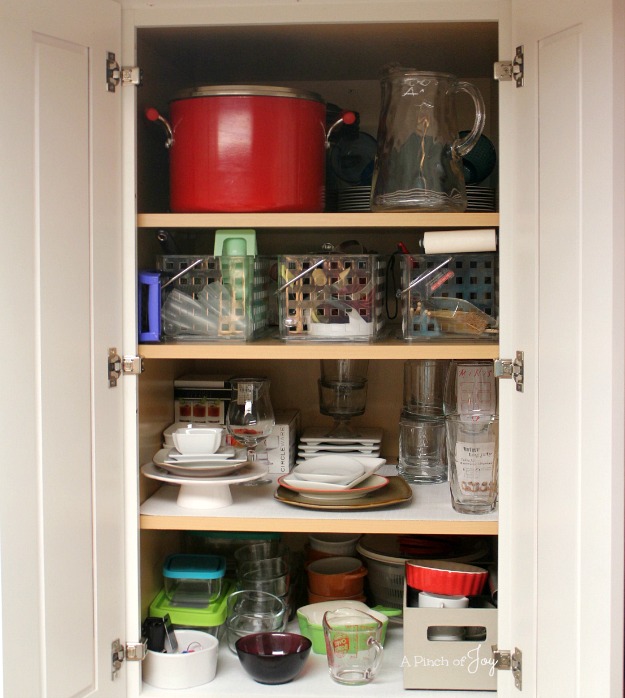
This is the top of the eight foot tall storage cabinet. It is also 24″ deep. Lots of room! The upper shelf holds two deep pots on the right that I don’t use often. The left is seasonal. It’s too chilly to eat on the deck so right now all the dishes, glasses, pitchers, the box with napkins, salt, lighter, etc. that are used there are on the top left hand side. In the summer that space held extra mugs and “winter” things. Never thought I had seasonal kitchen stuff — but there it is. And there is room for it!
Second shelf: Drawers are scarce in this kitchen. There is no place to put them! And they are more expensive than shelves. So compromise. This shelf holds three plastic baskets of odd-shaped, space hogging kitchen tools. Like the pastry cutter, the grater, that handy little rolling gadget from Pampered Chef (about the only PC piece I own and so handy). And other such things. I can snag the handles and pull the basket out to reach the tools. Behind are more things I use less and don’t mind grabbing a step stool to reach (yes, I’m that short! Think I have a complex about that?)
Third shelf: Food bloggers will recognize the frequently used photo props. (There’s more in the dining room buffet.) Actually this shelf is thinned out quite a bit right now since we’ve had two garage sales this year. I’m always picking up interesting pieces here and there, some I keep, some I use once or twice and rotate out. But I can rearrange and choose standing on the floor. And there is room!
Bottom shelf of the top unit: Prime real estate. Glass refrigerator dishes are here. The glass ramekins have lids so work for both leftover storage and microwave reheating. An extra measuring cup. The salad spinner in the back. Bowl for loyalty cards and odd keys. Any one who answers “Hey, where’s the. . . . . ” question 99,999 times a day, will know why these items are at eye level and very visible!!!!
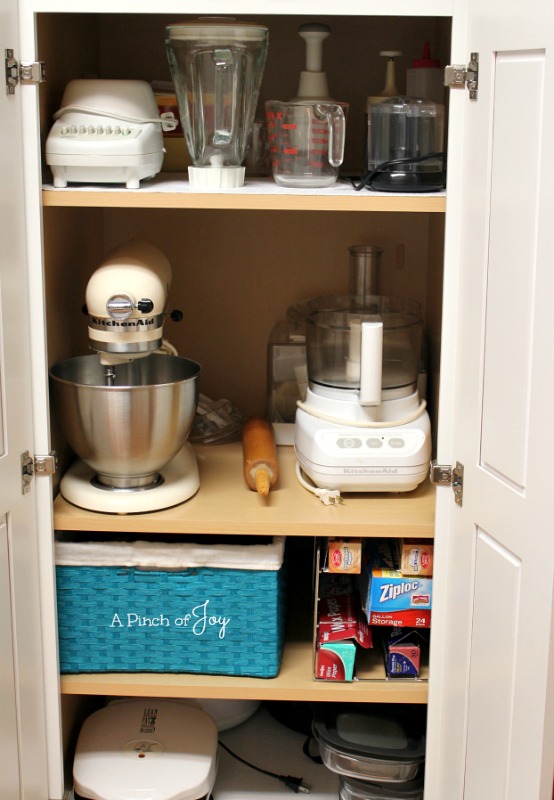
You can see the bottom half of this storage unit holds mostly appliances. More about the Kitchen Aid mixer later. I need to get over the learning curve on the food processor. It was a gift several years ago, but I didn’t have room to actually store in the kitchen before. Now that I do, I don’t think of it when I could use it. Any tips on that? The blue basket is another no-drawers in this place compromise. It holds kitchen towels. That arrangement works fairly well. The rack with parchment paper, foil, etc has travelled all over. I found a better home for the most frequently used clear wrap, but these are still nomads. Oh, the thick rubberized shelf liners . . . . you’ll see those on shelves where things need to stay put or need a bit of extra protection, etc. Shelves are bare where things need to slide across them.
Wanna see where many of these things were stored before? A BEFORE before picture?
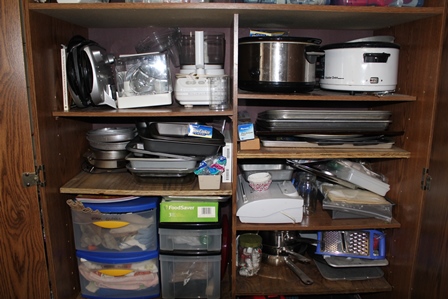
Yeah — in a big cabinet in the garage. But I could reach everything while standing on the floor. In the cold. Or blazing heat. 🙂
I love my new kitchen storage!!!!
TAKEAWAY for your kitchen remodeling:
- Know what problems you hope to correct, like the ten I listed in Reasons to Remodel Your Kitchen.
- Know what limitations you will have. I mentioned in a previous post the limitations we had — like not changing the door, the flooring or the old kitchen footprint. Some of these you won’t know until you get more into the process.
- Get more specific and think about the individual items you use, how often they are used and collect ideas on how/where those items can be accommodated.
- Think about the space you have available and how it can be maximized. Our removing the soffit was “free space” that wasn’t affected by any of the limitations. Same with making the over refrigerator cabinet 24″ deep instead of 12″. And choosing a different place for the microwave so we could have a 24″ deep cabinet from floor to ceiling in it’s place.
- Think about how YOU and YOUR family use things and wonder how that can be made better or how you can arrange things to accomodate your habits.
- Be flexible and willing to try something different.
You will love the results!!! Next time, more storage decisions. . . .
Begin the Kitchen Remodel Transition Kitchen 3 Reasons to Remodel Your Kitchen
Kitchen Storage Part 1 Kitchen Storage Part 2 Improve Kitchen Storage Part 3
I’m so glad you stopped by today! Be sure to follow A Pinch of Joy so you don’t miss a thing!
Subscribe by email on the sidebar or follow on Facebook, RSS feed, bloglovin’ twitter and check out my pinterest boards. If you found this helpful or inspiring please share below! Your support of A Pinch of Joy is appreciated!
Discover more from A Pinch of Joy
Subscribe to get the latest posts sent to your email.

 Welcome! I’m Charlene. I love to share quick and easy recipes, whatever I’ve learned in our last DIY project – anything that helps make life easier, better and more fun!! I hope you will find inspiration and add a pinch of joy to your day!