Welcome to Busy Monday.
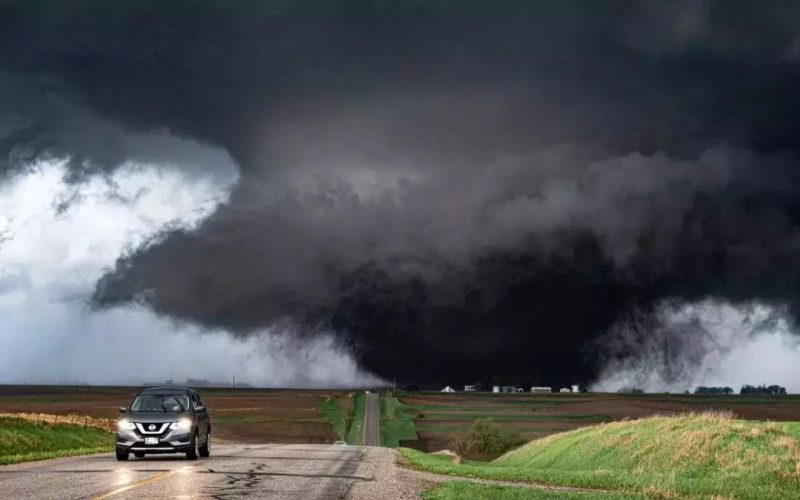
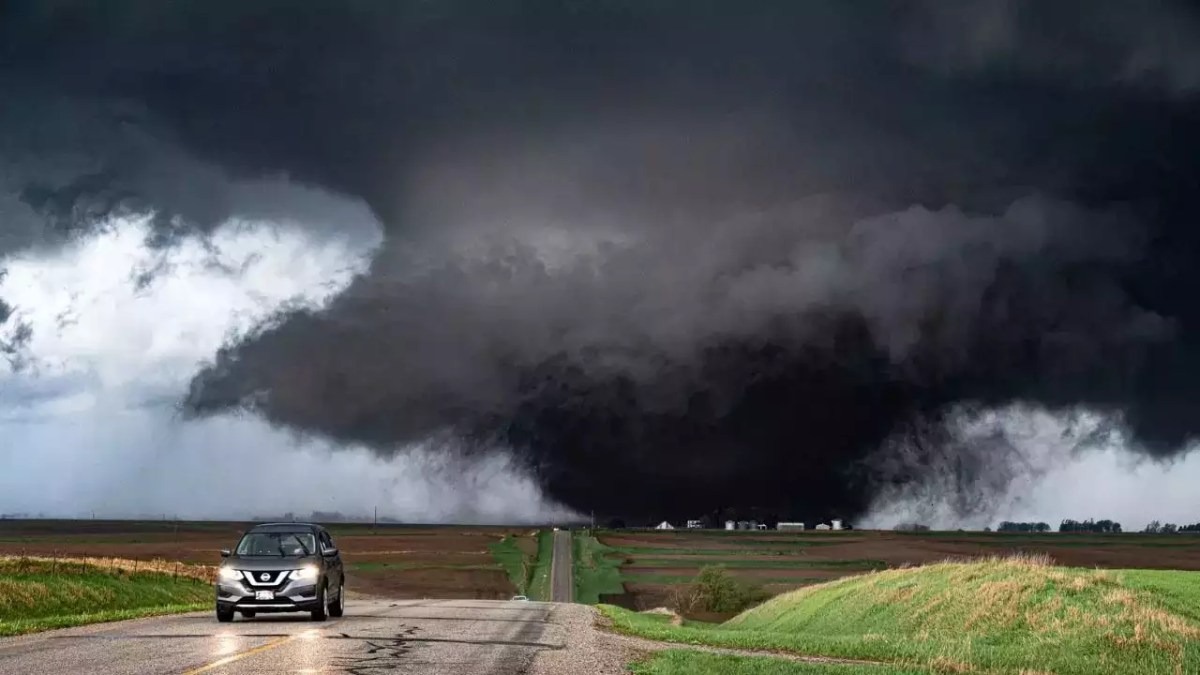
This week we were holding our breath while a chain of storms ripped through area close to a number of Friends and Family. No one We knew was hurt or had any property damage. We would like to say Thank You to the volunteers and originations that prepare for these destructive storms. It’s worth the time to make a personal plan, and set aside some supplies: even if they’re never needed. Hope the next week will sunnier and calmer.


 Off to sister Bee’s to meet the other sisters and their families. It’s a beautiful day for an egg hunt, much good food and lots of catching up, talking and laughing. My contribution to the feast is a birthday cake for Bytes! We are looking forward to a day of many celebrations, big and small. May you have a wonderful week filled with celebrations of your life and family! Thanks for stopping by to share your awesome posts!