Here are links to six great articles for teaching children to manage money with easy to implement tips for all ages from toddlers to teens. Teaching children how to manage money is a gift that will have a lifetime of benefits!

Teaching Your Children How to Manage Money — Simply Real Moms provides tips by age group of things you can do to teach your children about money.

Many Money Habits are Set by Age 7 — msn Money says that parents need to start teaching and modeling good money management for kids before they enter kindergarten.
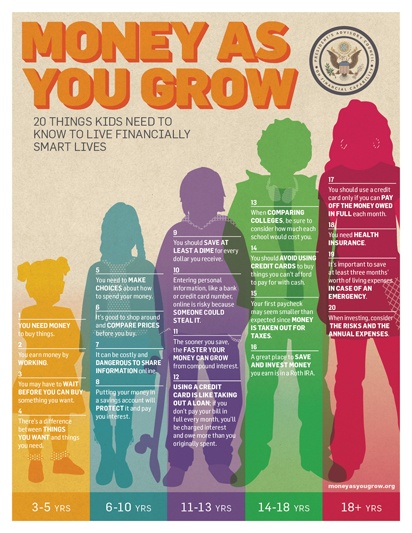
Twenty Things Kids Need to Know to Live Financially Smart Lives — Money as You Grow, an initiative of the President’s Advisory Council on Financial Capability. Lessons and activities by age group.
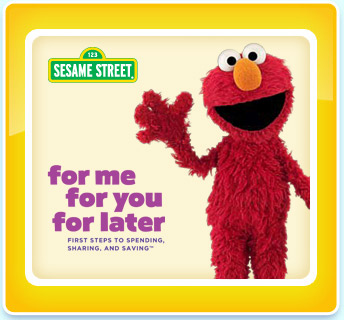
For Me, For You, For Later: First Steps for spending, sharing and Saving — A Sesame Street series provides strategies and resources to turn everyday experiences into financial learning.

Money Management for Kids — Money Girl’s Smart Moves to Grow Rich. Five innovative financial resources for all ages.

Five Ways to Raise a Financially Responsible Kid — Feed the Pig.
I’m so glad you stopped by today! Be sure to follow A Pinch of Joy so you don’t miss a thing! I’d love to have your company on this venture!!
Subscribe: email on the sidebar or follow on Facebook / RSS feed / bloglovin’ / twitter and check out my pinterest boards. Share: if you found this helpful or inspiring please click one of the buttons below! Your support of A Pinch of Joy is appreciated!
Discover more from A Pinch of Joy
Subscribe to get the latest posts sent to your email.

 Welcome! I’m Charlene. I love to share quick and easy recipes, whatever I’ve learned in our last DIY project – anything that helps make life easier, better and more fun!! I hope you will find inspiration and add a pinch of joy to your day!
Cranberry Morning says
Money management! This gives me hope for the younger generation. Goodness knows our government has no idea how to manage money, only to print more of it. It is SO important to teach real money management to our kids! Good for you.
Cranberry Morning recently posted…Downton Abbey for Felines, Highclere Castle, Castle Howard – Anglophile Friday