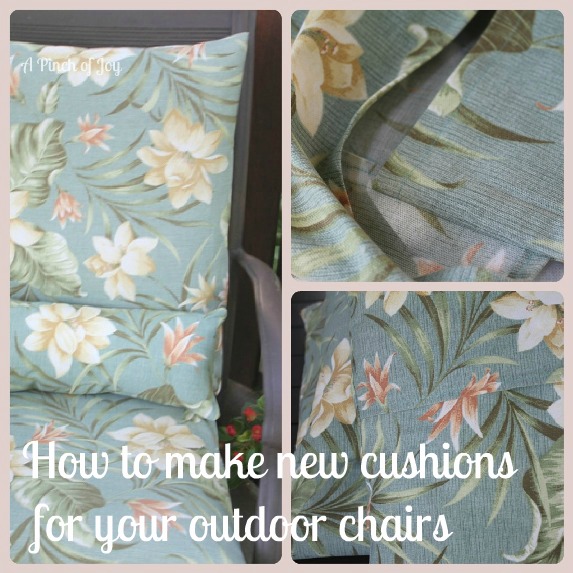
Boring beige. Tired and sad looking. The cushions came with the chairs when they were brand new six years ago and had served well – but time for buh-bye! We eat almost every meal outdoors on the deck when the weather is nice. We needed something a livelier than beige and a bit of pattern to contrast with the dark furniture. A trip to the fabric store turned up the perfect pattern with soothing colors in an outdoor fabric. Here’s how to make new cushions for your outdoor chairs in five easy steps!
1. Measure your chairs. Choose a pillow form that most closely matches the size of your chair. Mine was 20 inches by 20 inches and each chair required 2 forms – one for the seat and one for the back. I determined how much fabric to buy by measuring the circumference to get 40 inches plus the inch of ease for 41 inches. Then adding ¾ inch for a hem on each end plus two and 1/2 inch overlap (you’ll see what this means further down) for a total of 45 inches. The width I needed was the pillow size plus an inch of ease AND two seam allowances – about 22 and a half inches. Fabric comes in different widths, but the outdoor fabric I chose was 60 inches wide. Each cut measured 45 inches by 22 ½ inches. No matter how I placed my cuts I needed 45 inches wide and 45 inches deep for two cushions. Every two cushions meant I needed one and a fourth yards and would have a 15inch x 45 inch piece left.
2. Cut your fabric according to the measurements and plan you made in determining how much fabric to buy.
3. Hem the narrow ends of each piece, using ¾ hem allowance.
4. Lay the fabric on a table right side up. Fold one end toward the center approximately one third of the finished size of the pillow – in this case about 8 inches. Fold the other end toward the center, overlapping the first end by about 2 and one half inches. Right sides are folded in and what you see is the wrong side of the fabric. Measure from fold to fold. The measurement should be the same as the pillow form plus the amount you allowed for ease. Pin the open edges together on one side and then the other.
5. Stitch the open edges together using the seam allowance you determined in step one. I double stitched mine, but you don’t have to do that. Trim the corners by nipping off a triangle from finished seam to outside. This reduces fabric bulk in the corner. Turn right side out, pushing corners out with point of scissors as needed. Insert pillow form into the larger part and then fold the smaller part over so it lays smoothly. Smile happily!!
The smaller back roll cushions were made from the 15 inch leftovers. I just folded a 21 inch piece of fabric in half, right side in and stitched them together leaving a narrow end open. Added handfuls of stuffing material (also available at the fabric store in the same area you find pillow forms). When I had enough stuffing to suit, I folded in the raw edges of the opening and machine stitched them closed. The finished size is 7 inches by 20 inches. Easy peasey!!
A custom, one of a kind look for less!
If you found this post helpful, it would be ever so lovely it if you gave it a Stumble, Tweet, Pin, or Facebook Like. You can also follow along via email or rss. Thanks so much!
Linking up to these awesome parties here and


Athena at Minerva's Garden says
This was a very helpful tutorial, and I really like the fabric you selected–so pretty and summery!
Linda @ it all started with paint says
Charlene,
What an excellent tutorial! So easy and such a great update to that boring tired beige …
🙂
Linda
Charlene says
Thanks for the kind words! Much, much better than the beige!
Linda @ it all started with paint says
And thanks so much for sharing at Pillowpalooza!
🙂
Tamara @ Etcetorize says
Love the fabric you chose! So nice. I think I’m going to have to recover my chairs soon. Will definitely keep your tutorial on hand. Thanks for sharing at Etcetorize!