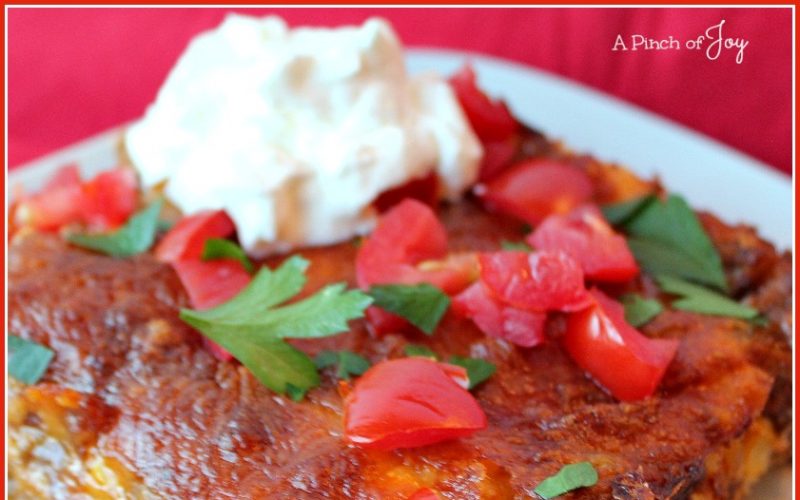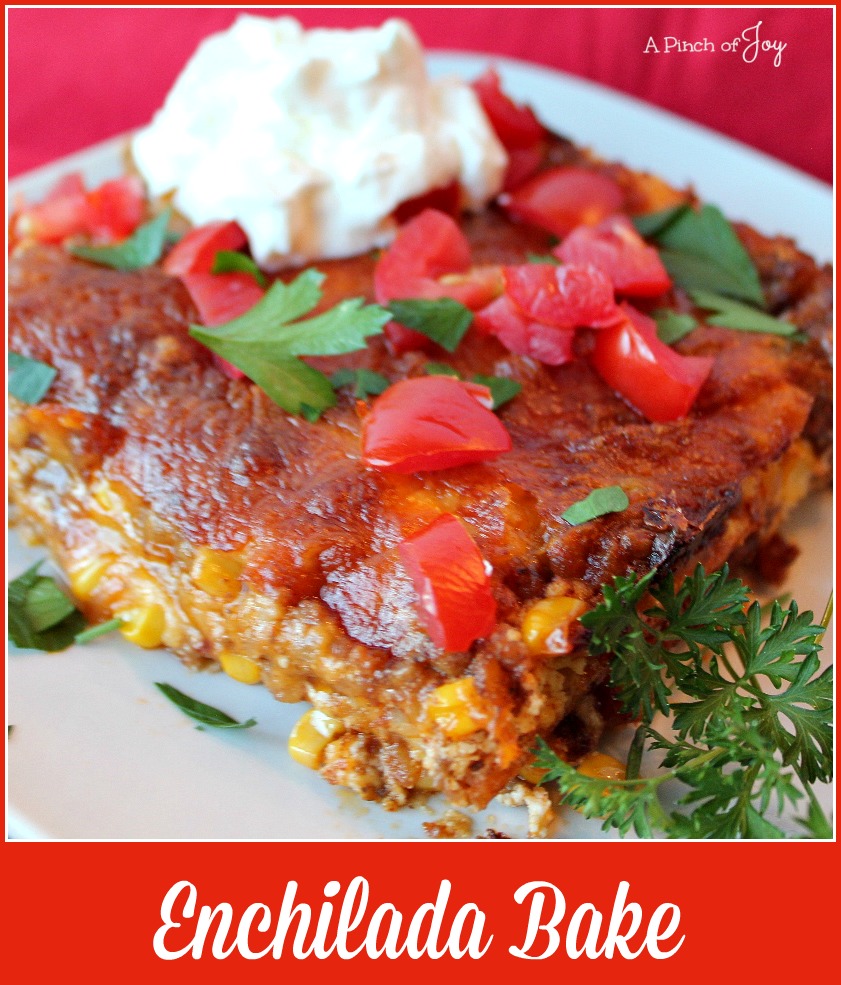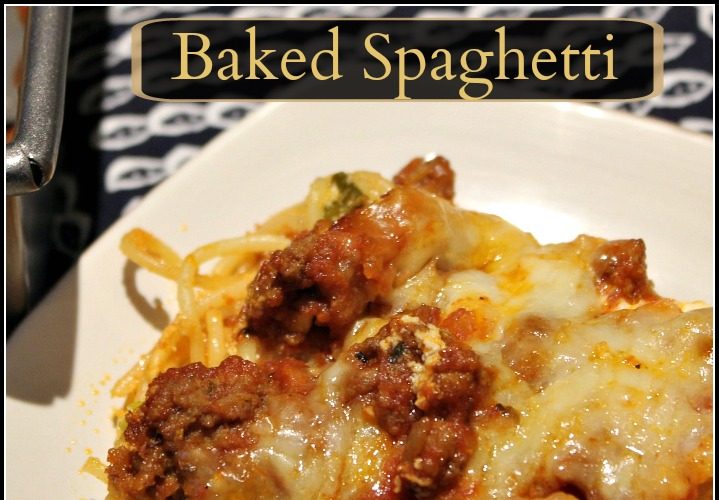
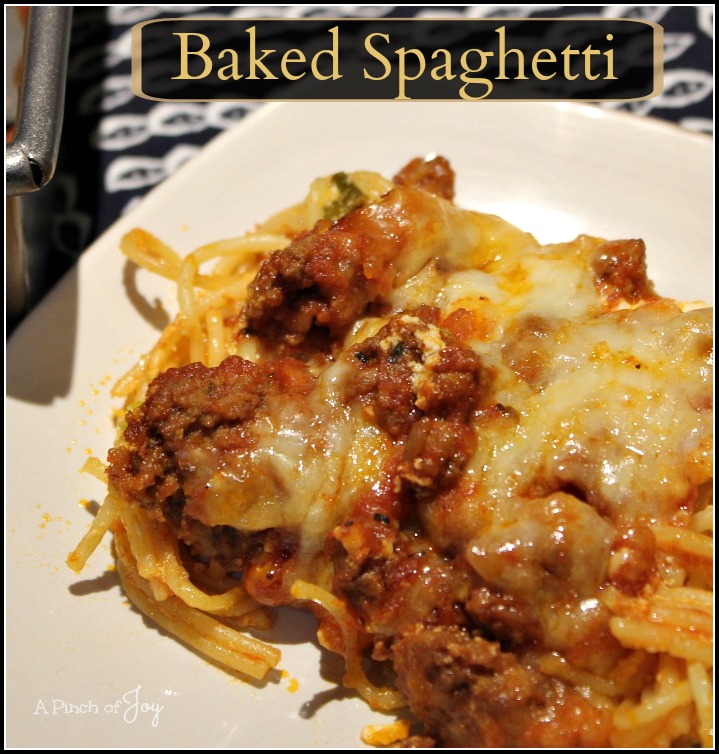
What’s for lunch? A big pan of baked spaghetti. Or Pasketti as Bytes’ Big Brother used to say. The whole family will love it! Layers of pasta, meat sauce, sour cream and cheese – comfort food of the highest order!
The number of servings will depend on the appetites at your house. It makes 8 large servings, which will serve the three of us with two man-sized servings (and one regular serving for me) for TWO meals. Two littles usually ate the equivalent of one of the 8 servings. Which means enough for the man sized eater, two littles and one regular serving. The point? You may very easily get TWO meals for the effort in making one! And that’s a bonus in my book.
If your cooking tends to be based on last minute decisions, you’ll find no judgment here because there are a lot of good reasons for this to be the case! There are ways to accommodate that. For example, I brown most of our ground beef when I bring it home from the store. When done and drained, I bag it in packages of about two cups – roughly the equivalent of one pound. For this recipe, I pull a bag out of the freezer. If I plan ahead of time, the bag will thaw in the refrigerator overnight. Most often, it is last minute decision. Which means a minute thirty seconds in the microwave for the package of ground beef, while I am getting the water on the stove for the spaghetti and gathering ingredients. I take the mostly thawed package of meat out of the microwave, toss it in the skillet where it breaks up with a little help from the heat of the burner and a wooden spoon. Chop the onion, add the garlic, stir in the spaghetti sauce. And very likely the ten minute boil to cook the pasta will be done, just about the time the spaghetti sauce has simmered for 10 minutes. You will need to keep busy, but the preparation time will be cut in almost half.
Assemble in the order given above. Simple, easy peasey! Use the bake time to put a salad or a fruit plate together. Cover and refrigerate leftovers. They will also freeze well for thawing and reheating later!
For other casserole ideas check out the recipe index here.
- 1 package (8 ounces) spaghetti
- 1 pound ground beef
- 1 small onion, chopped
- 2 garlic cloves, minced
- 1 jar (14 ounces) spaghetti sauce
- 1/2 teaspoon salt
- 1/4 teaspoon pepper
- 3 ounces cream cheese
- 1 cup sour cream
- 3 green onions, chopped
- 1-1/2 cups shredded Monterey Jack cheese
- Spray 9x 13 baking pan with cooking spray. Preheat oven to 350. Set out 3 ounces cream cheese to soften.
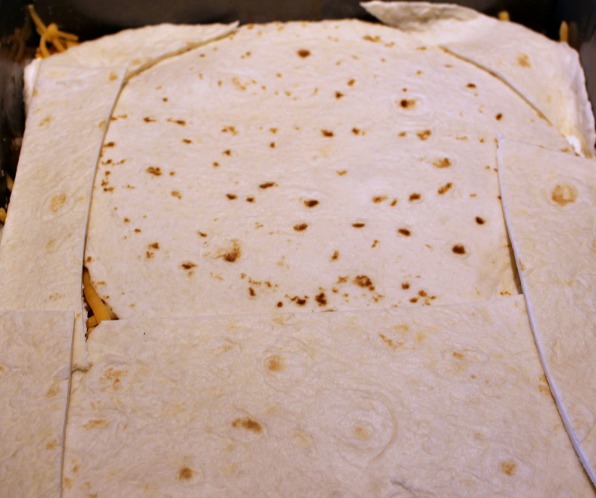
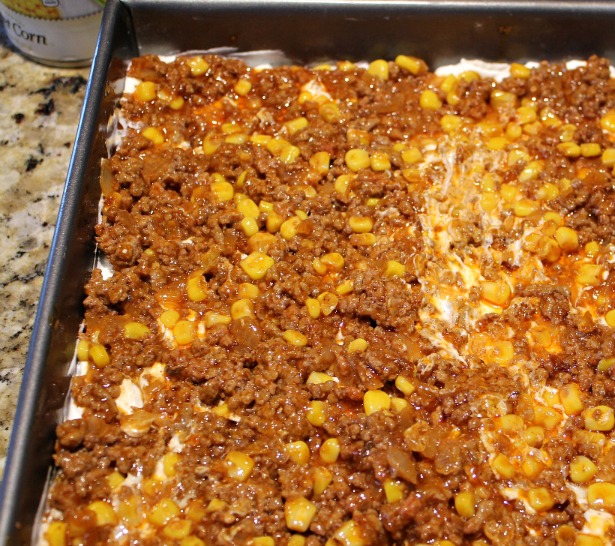
- Cook spaghetti according to package directions for al dente; drain. Pour into prepared pan and spread evenly across the pan.
- Meanwhile, in a large skillet, cook the beef, over medium heat until beef is no longer pink, 6-8 minutes. Stir occasionally until beef breaks into crumbles; drain.
- Add onion and garlic to ground beef. Stir in the spaghetti sauce, salt and pepper; bring to a boil. Reduce heat; simmer, uncovered, for 10 minutes, stirring occasionally.
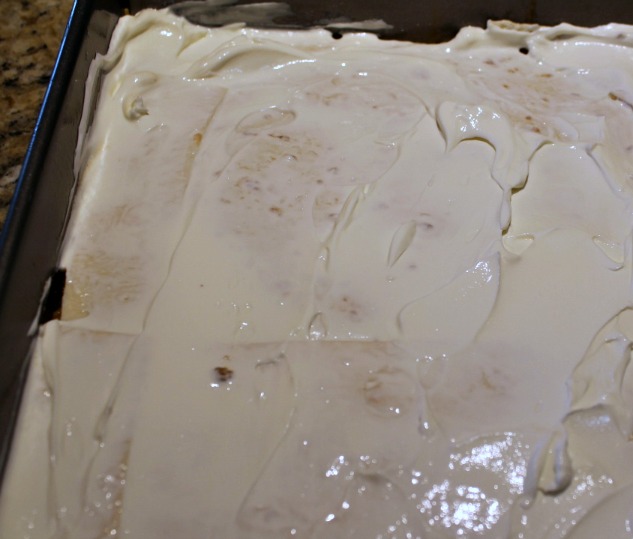
- In a small bowl, mix cream cheese and sour cream until blended; stir in green onions. In a greased 11×7-in. baking dish, layer the spaghetti, cream cheese mixture and meat mixture. Top with shredded cheese.
- Cover with aluminum foil. Bake at 350° for 25 minutes. Uncover and bake until cheese is bubbly, 5-10 minutes longer.
Welcome to A Pinch of Joy! I’m so glad you stopped by today! Follow A Pinch of Joy using the icons on the teal bar at the top of the page so you don’t miss a thing! I’d love to have your company on this venture!! Share: if you found this helpful or inspiring please click one of the buttons below! Your support of A Pinch of Joy is appreciated!
Shared with these awesome link parties here