Skip to primary navigation
Skip to main content
Skip to primary sidebar
Skip to footer
About
Connections
Blogroll
Printables
I’ve Been Featured
Link Parties
Random
A Pinch of Joy
Eat Healthy, Do it Yourself, Live Well, Have Fun.
Desserts
recipes for desserts
Select Category
Bars and Brownies
Cakes, Pies and More
Candy & Sweets
Cookies
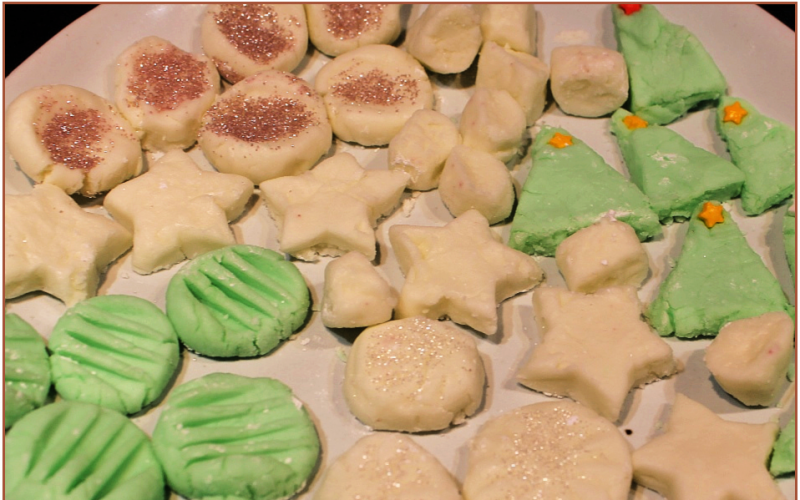
Cream Cheese Mints
Ritz-y Rolos
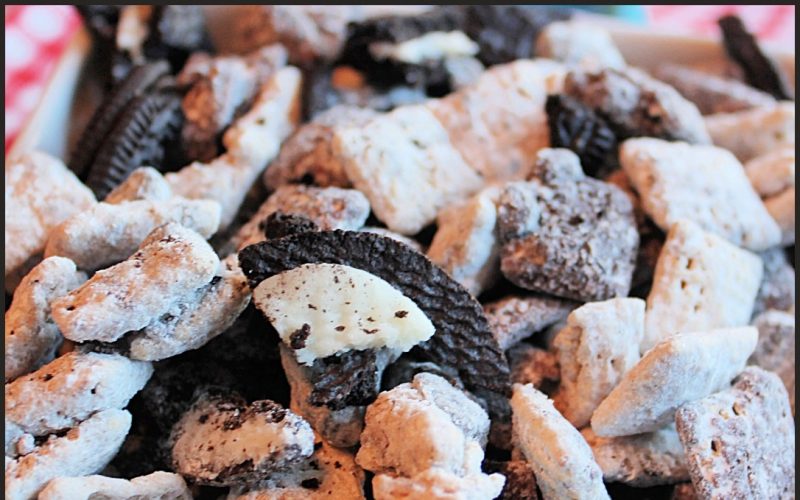
Cookies and Cream Muddy Buddies
Crispy Candy Easter Baskets
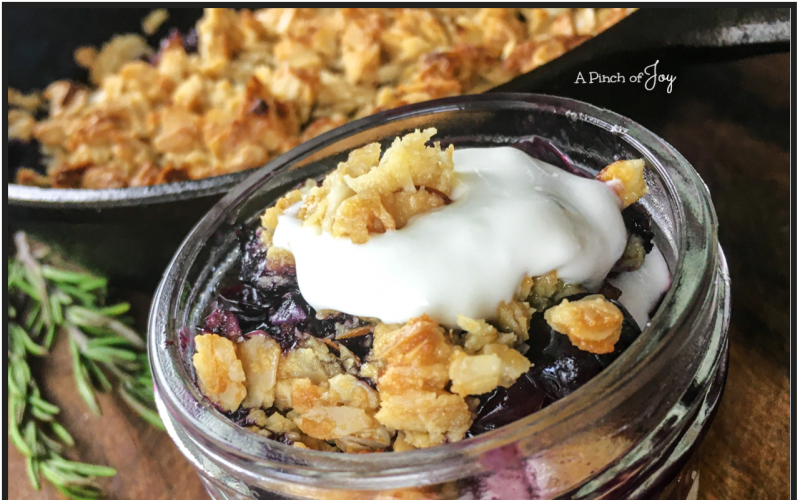
Blueberry Maple Crisp
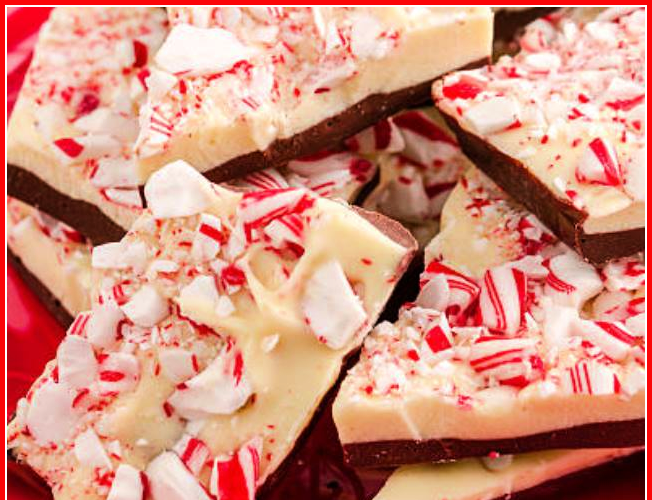
Festive Peppermint Bark
Next Page »