We managed to put quite a few gallons of paint on the past several days! The dining room went from deep gold to soft Tradewind (Sherwin Williams). Every wall is so deeply colored that it takes three coats to cover — primer and two coats of color. Every. wall. That is why it is taking us so long:-)
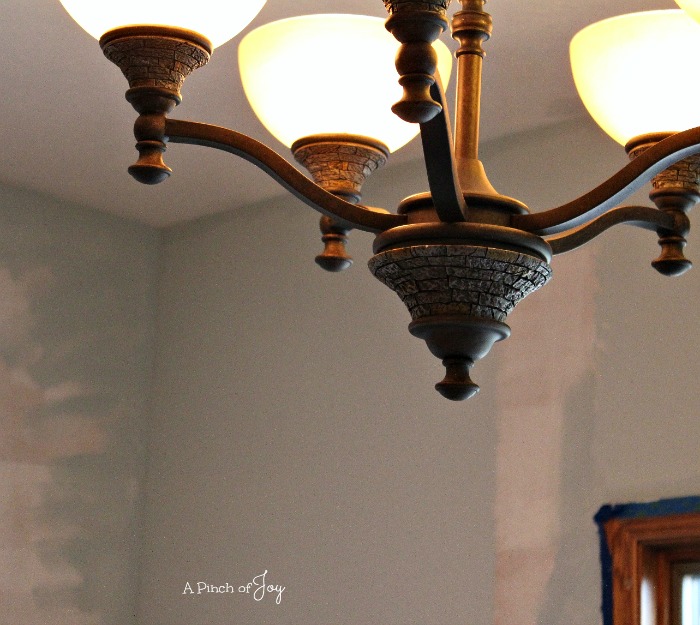
The light fixtures also express an Old World Tuscan flavor with oil rubbed bronze and gold globes. One of the things we noted when looking at the house was the consistency. There was an obvious master vision and it carried all the way through. The colors flowed and were consistent with architectural details and accessories like the light fixtures. Wheels said as we walked out the door on our first visit that this house was a jewel box. Our vision is different but we are working toward our own jewel box effect. (Fingers crossed!)
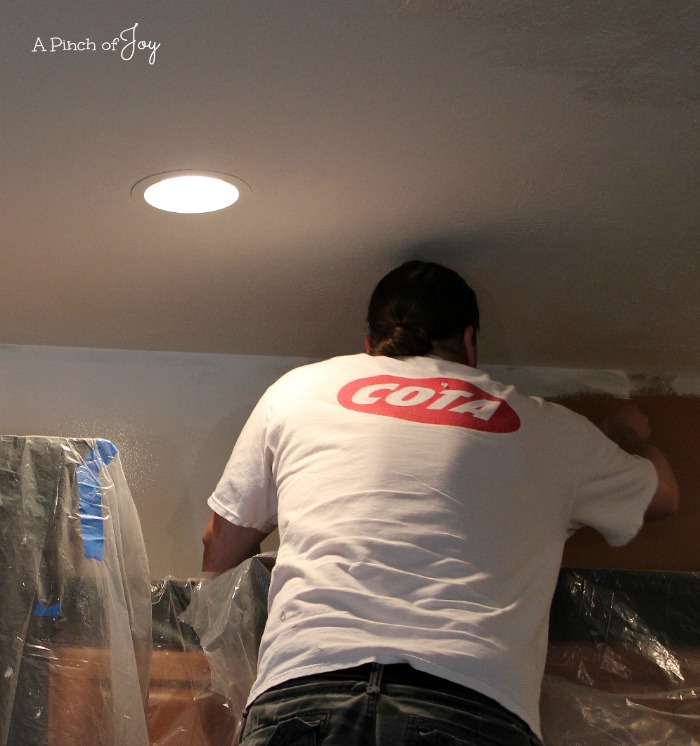
Bytes is cutting in the primer above the kitchen cabinets. Walls are 9 feet high which adds to the challenge! The color here will also be SW Tradewind, which goes well with the tile backsplash and granite. We’ve all learned to cut in without using masking tape. Saves a TON of time! Yeah, that’s a really dark spot on the kitchen ceiling. It’s from a batch of paint that was mixed differently. That 10 foot square has been repainted. Twice.
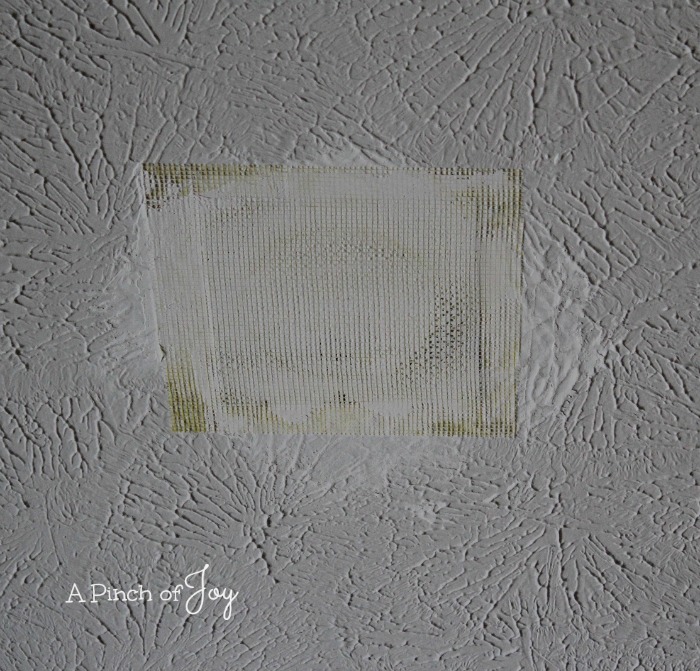
The ceiling has been painted from the front door to the back door. Rather than using stark white, I chose Heron Plume (SW) — a soft warm barely there baby brown. There was a huge fan in the middle of the living room that we removed. (I can’t tolerate air movement across my shoulders –one of the remnants of an auto accident.) It makes the room look SO much bigger without it. Still needs to have the patch finished, though.
We’ve also been able to unpack more boxes and get things a little more organized here and there. Feels like progress! New Home updates: Changing colors Solar tubes Painting Progress Home Update Week 7 Home Update Week 11 Week 19 Painter’s Progress New Home Update Week 22