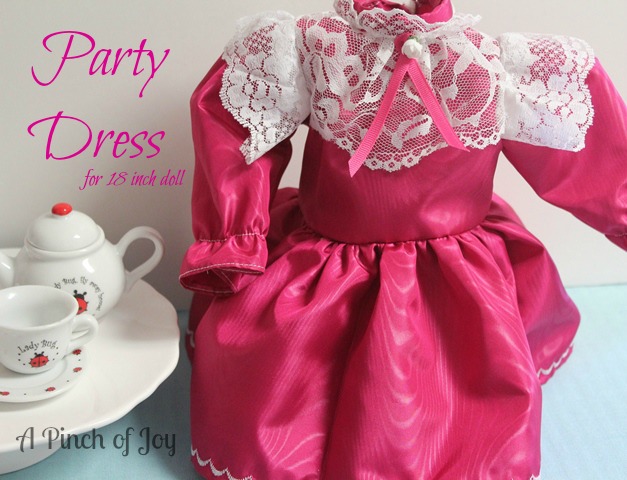
This gorgeous party dress was intended for Samantha who was retired from the American Girl lineup several years ago. Samantha is a dead ringer for a little one I know and I was thrilled to find a Samantha doll in excellent condition for the little sweetie pie a couple of years ago. The dress is true to the turn of the century historical period Samantha depicted — but it is classic style that any modern doll mama would love her 18 inch doll to have! The original source of this pattern is the delightful AGPlaythings. In addition to this and other clothes for Samantha there are a number of free pdf patterns for other retired dolls on this site. If you or someone you know loves AG — check it out!
I followed the pattern, but made some changes in the directions. Some sewing methods have changed since the patterns were issued. And you know me — always tweaking to make things faster and easier. Here’s the way I constructed the Party Dress:

I wanted to make the dress with material I had on hand. Rather than buying flat lace I used a ruffled lace from my stash and pleated it around the neck opening on the front bodice.
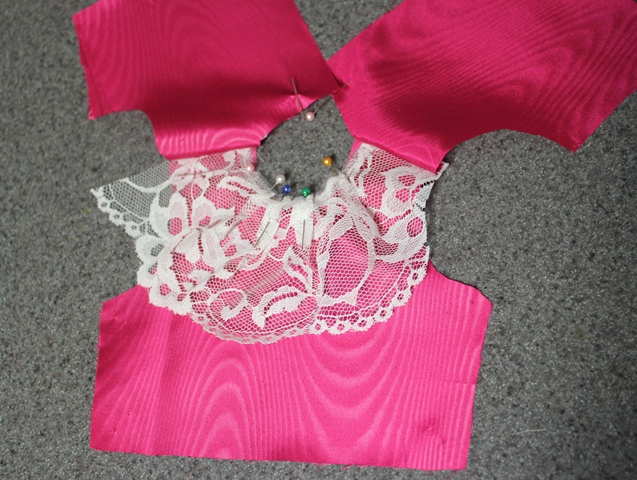
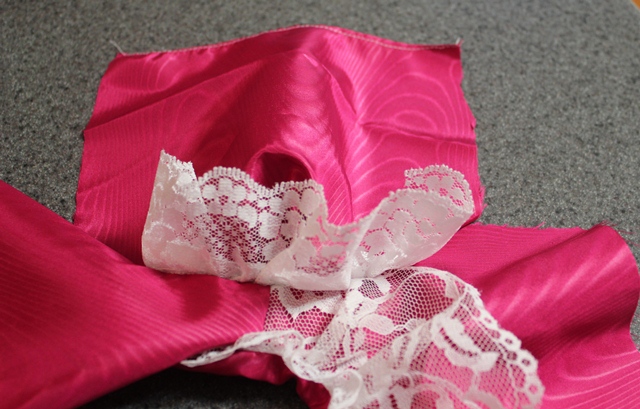
I made two dresses — one right after the other –and photographed both so let’s hope we don’t cause confusion with the pictures. Don’t ask me why this one has pins around the neckline at this stage! What I wanted to show you was the way the lace was trimmed to fit the armhole and then captured in the shoulder seam when the back and front of the bodice were stitched together. I finished all the seams with an overcast machine stitch.
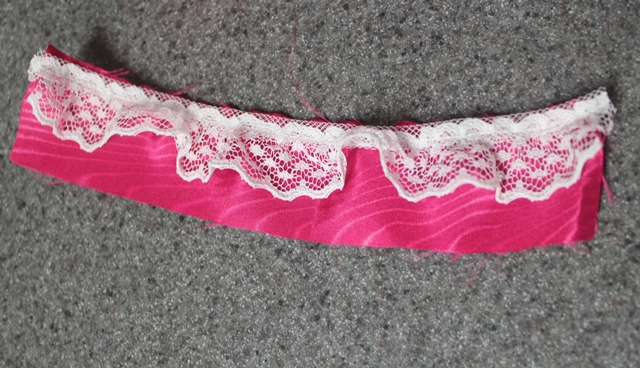
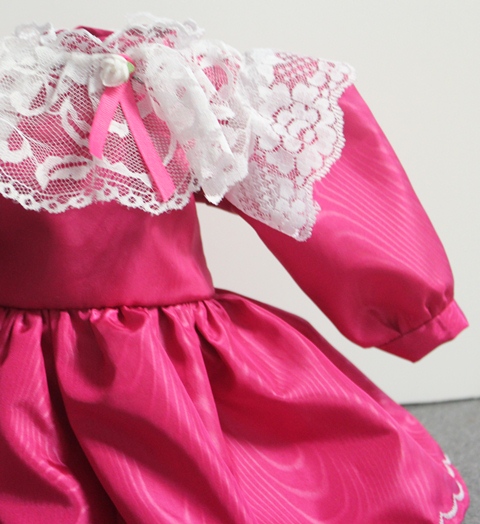
Next apply the collar. Use a smaller ruffled lace to sew at the bottom of the collar front. Follow the pattern directions to attach the collar and finish the inside by hand. Attach a hook and eye or snap fastener on the collar. Smaller girls may ignore these fasteners, but the older girls will use them if they are easy to manipulate.
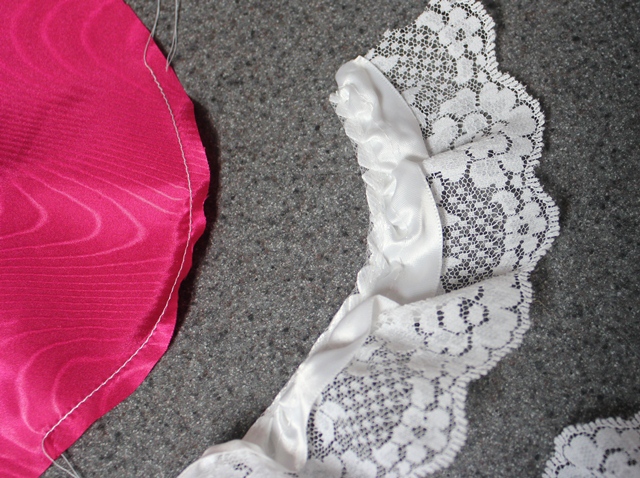
I had some of this ribbon in my stash. It has a white satin ribbon stitched along the gathered edge to help the lace stand away from the fabric to which it is applied. Perfect for the sleeve lace because it creates the puffy stand up look for the lace. I turned the lace under on the ends but did not stitch them as this was intended as a play dress. For a collector’s dress, you would want to hand finish with a small rolled hem.
You can see that the sleeve cap has a single gathering thread. In a full size pattern for child or adult there would be two lines of stitching, but for the small doll patterns I only use one. It is adequate for the job and more likely to be fully covered in the finished seam than two lines. If you are worried about pulling the gathering thread through, tie a knot in one end ,but I just gather from both ends until the sleeve matches the armhole. Once the sleeve is sized add the lace with the ribbon next to the right side of the sleeve. Set the sleeve in the sleeve opening.
 The bodice and sleeve will have right sides together with the lace sandwiched in the middle. Note that the sleeve is set in before the side seams are sewn. It’s much easier to handle the smaller pieces that way. Imagine fitting that small sleeve into the small armhole – especially with slippery fabric! Finish the edges with an overcast stitch.
 The pattern calls for a cuffed sleeve which provides a clean polished look and is historically accurate. I made one dress this way.
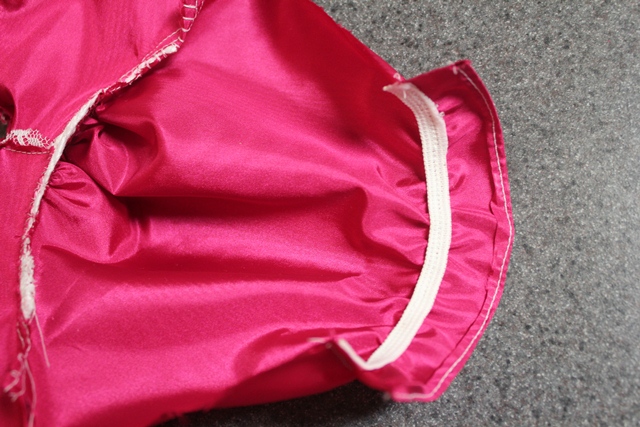
For the second dress, I hemmed the sleeve and stitched elastic across the sleeve to gather the fabric. It saved quite a bit of time, but also is easier for a younger child to put on the doll. Whether you use the cuff or the elastic the next step is to sew the side seam. Put right sides together, matching armhole seams and stitch the entire length from bottom of the bodice to the end of the sleeve. Use an overcast stitch to finish the seam.
Finish the bodice construction by adding the velcro fastener along the entire length of the bodice. Sewing the full length of the garment helps keep things neater looking, I think, and it is easier for the child to use. It is also more durable for long term use.
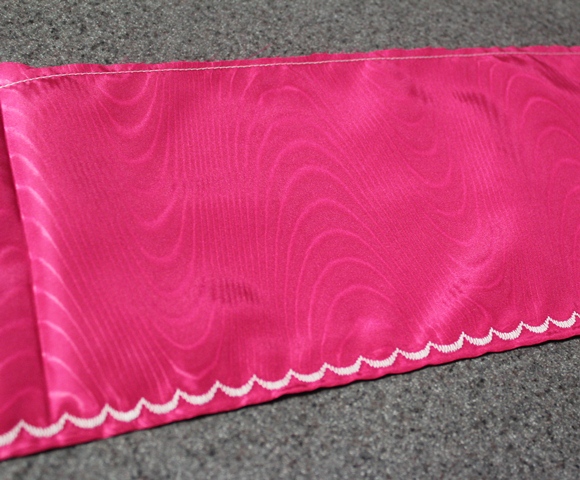
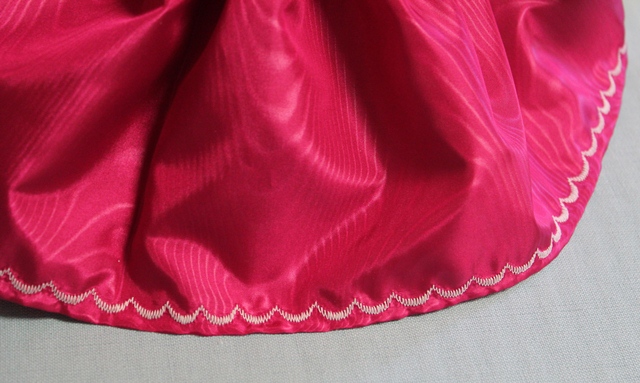
Hem the skirt first. Backwards to usual garment construction I know, but so much faster. I used a decorative stitch in a contrasting color to hem. Also finish the center seam. I chose NOT to stitch the skirt together in the back and just hemmed each side making a double turned hem as wide as the hook and loop fastener that I planned to use. After the skirt is attached to the bodice add hook and loop fastener the entire length of the skirt. The single line of straight stitching across the top of the skirt in the photo is the gathering thread.
Pull the gathering thread from both ends, gathering the fabric evenly, until it is the same size as the bottom of the bodice. Stitch the skirt to the bodice and finish the seam with an overcast stitch. This is the point at which the hook and loop fastener is added the full length of the skirt as mentioned above.
Embellish the neckline with a coordinating ribbon cut twice the width of the lace. Fold in half and stitch at neckline. Add tiny silk flower. You can add a sash to the dress as well. Samantha and Robin and your doll family will wear with pride!
Other 18″ doll projects:
Fiesta Skirt
How to Make a Parka for 18 inch doll
Jacket, Hat and Scarf from Dollar Store purchase with jacket pattern
Pillowcase Dress for 18″ Doll with pattern
Party Dress for 18″ Doll
Doll Sleeping Bag
Don’t miss a thing —click the buttons above to subscribe by email or RSS feed, follow on facebook or twitter to catch the latest post! Share with others by giving this post a Stumble, Tweet, Pin, or Facebook Like by clicking the buttons on the bottom of this post. Your support of A Pinch of Joy is appreciated!
Linking up to these awesome parties here
Discover more from A Pinch of Joy
Subscribe to get the latest posts sent to your email.

 Welcome! I’m Charlene. I love to share quick and easy recipes, whatever I’ve learned in our last DIY project – anything that helps make life easier, better and more fun!! I hope you will find inspiration and add a pinch of joy to your day!